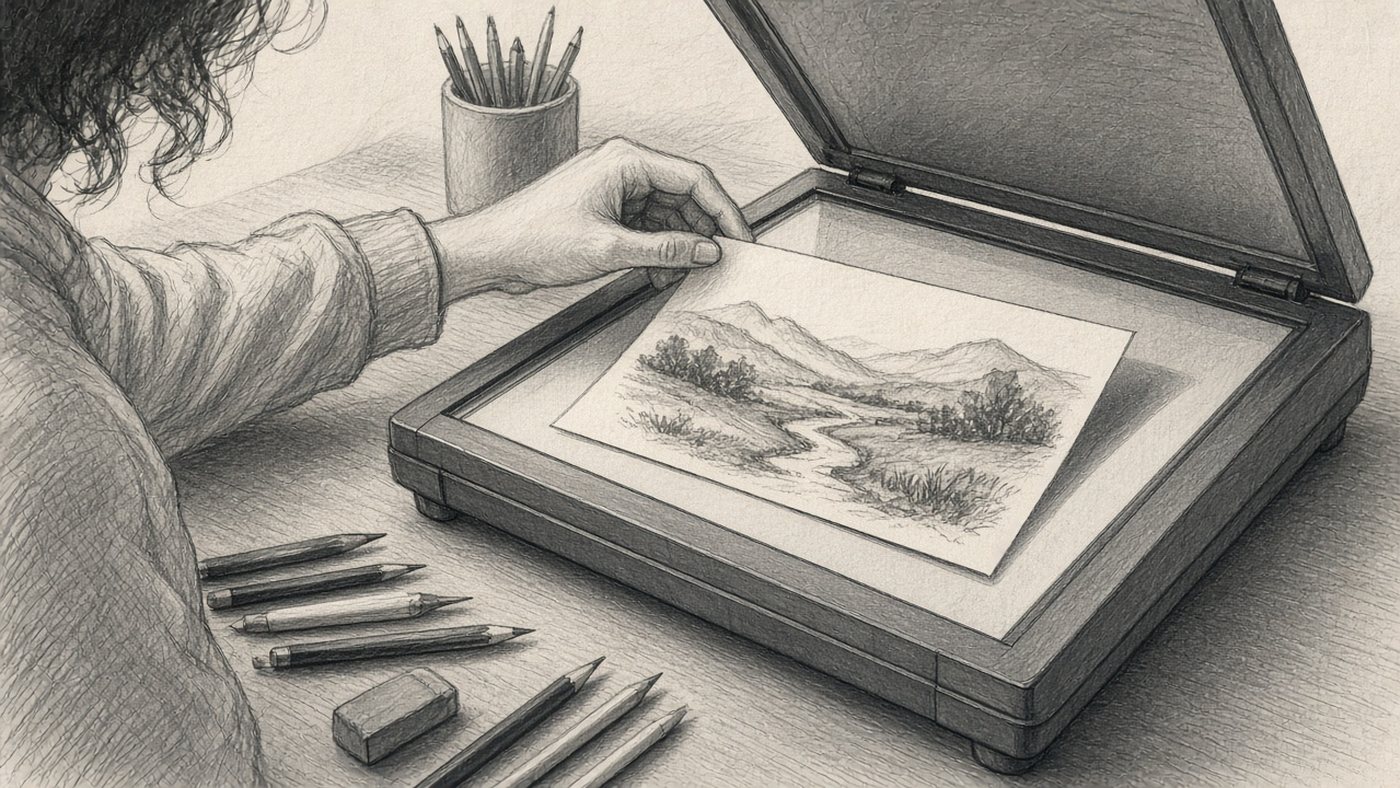
A scan is flatter than a photo
A scan does not make the drawing prettier. It moves the sheet without a trapezoid and without a lamp glare on the stroke. A phone photo almost always adds both, unless you set it up on purpose. Why the file needs that many pixels is in resolution and DPI.
Even light
In a scanner the lamp travels along the sheet. A shadow from your hand and a yellow patch from the ceiling do not appear. Pencil that vanished in a photo was often just buried under a glare.
No perspective on the sheet
On a scan the edges of the sheet stay parallel to the edges of the file. In a photo the near edge is closer and wider. A circle on the paper becomes an oval in the file, and you have to fix the proportions again.
- Brush off eraser crumbs. They scan as dots.
- Seat the sheet in the corner of the glass, not rotated.
- Close the lid, or the background goes gray.
- Scan to a file, not straight to a print.
Scanner settings
A drawing at home does not need a print-shop setup. It needs two choices: how many dots, and gray or color.
300 or 600 dpi
300 dpi is enough when the sheet is about letter or A4 size and you will view it on a screen or print it at the same size. Use 600 dpi for a small drawing you will enlarge, or for a fine pencil stroke thinner than a millimeter. 1200 dpi only bloats an ordinary sketch.
Gray or color
Scan pencil and charcoal in grayscale. Color mode adds a pink cast from the paper that you then have to remove. Watercolor and colored pencil need color. A black-and-white threshold eats the light strokes. How not to lose that when you save is in export without quality loss.
If you have no scanner
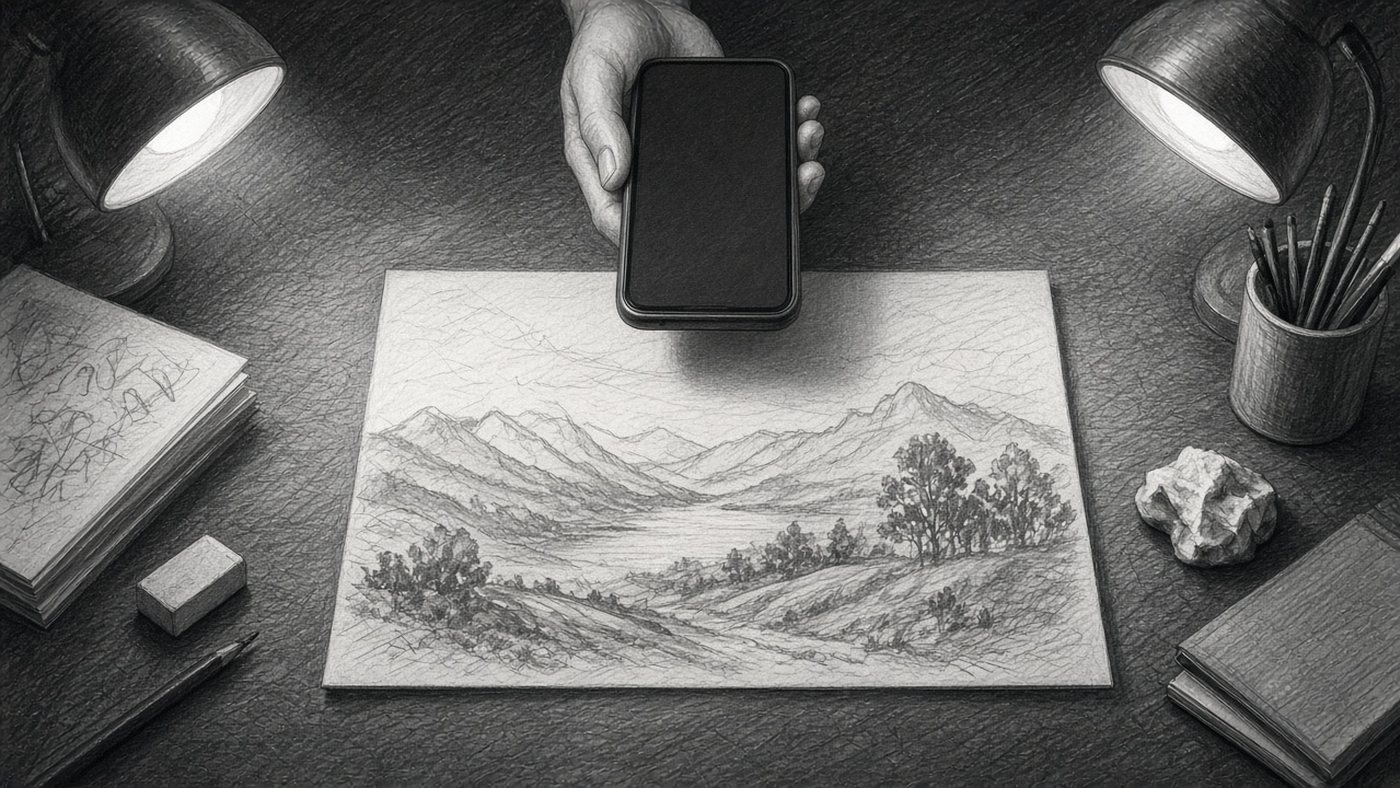
A phone works if you remove its two favorite distortions: the angle and the flash.
The phone straight above
The lens sits over the center of the sheet, and the phone is parallel to the paper. The corners in the viewfinder should be corners, not a trapezoid. If the near edge looks thicker, you are not above it yet. Shoot in daylight by a window. Do not pinch-zoom: phone zoom often crops and softens.
Two lights
One lamp makes a glare and a shadow from any buckle in the paper. Two lights, left and right, both weak, kill the shadow. The phone flash hits the graphite and turns a stroke into a hole. Turn it off.
- 300 dpi to keep the sheet size, 600 for a fine stroke.
- Gray for pencil, color for paint.
- Phone parallel to the sheet, flash off.
- Two lights from the sides, not one lamp overhead.
Check
Find the lightest stroke from the paper in the file. If it is gone, the scan is too contrasty or the photo was flooded by one light. Do it again. Do not invent the missing stroke out of empty pixels.
Cleaning the file
Cleaning strengthens the paper and the stroke. It does not invent lines that were never there.
Levels, not one brightness slider
One brightness slider turns the white gray or the stroke pale. Levels move the black point and the white point apart: the paper lightens, the graphite stays. Turn them until the paper is nearly white and the lightest stroke is still visible.
Keep the original
Do not overwrite the original scan. Put the edit on a copy. A week later the contrast may be too much, and there is no way back if the original is already gone.
Time to draw, not just read
Theory fades in a couple of days if you never use it. Open the editor and spend 15 minutes on what you just read. That is enough for the skill to stick.
Try it now
A free online editor: brushes, layers, a palette, and a shared canvas. No install and no sign-up.
Start drawingTopics in this guide
- scan a drawing
- dpi for a drawing scan
- photograph a drawing
- levels after a scan
- pencil into digital