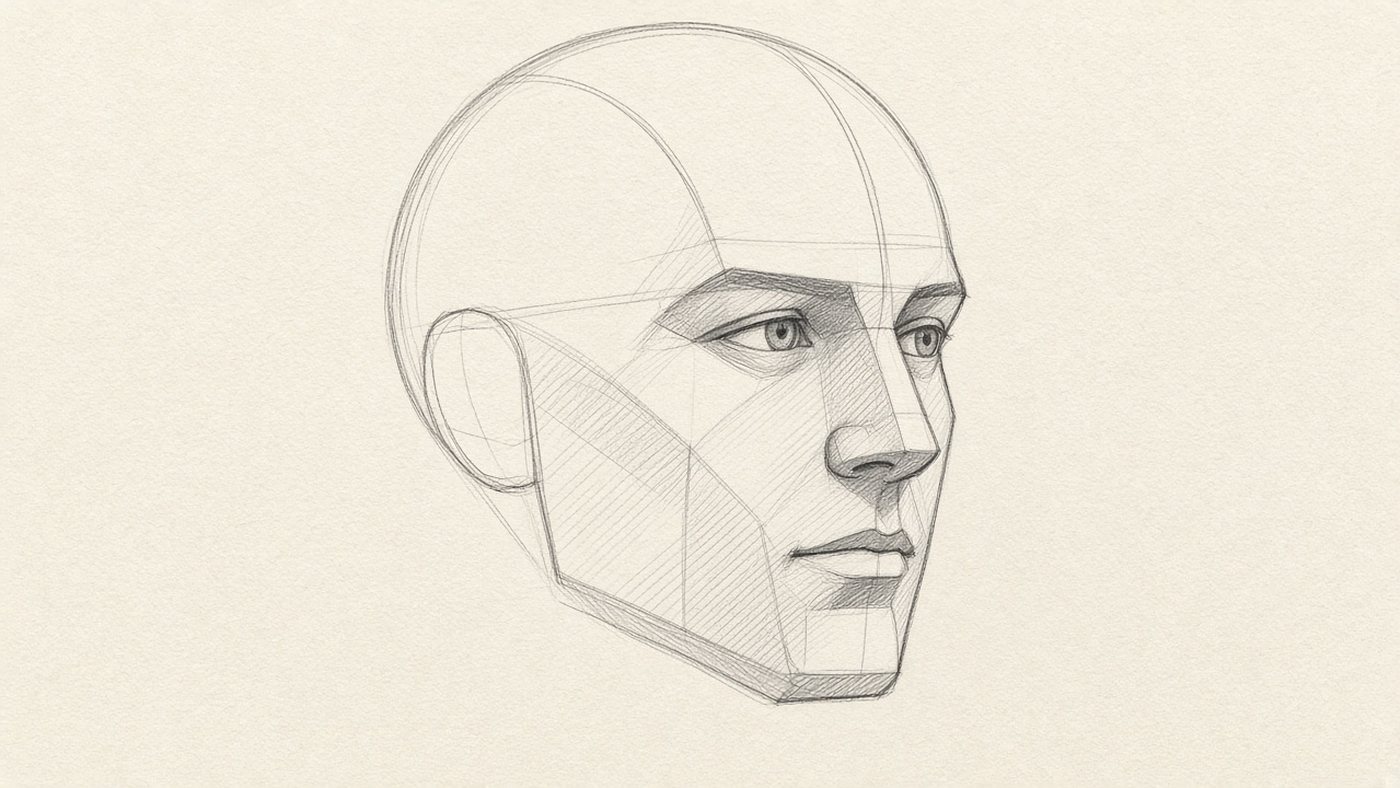
The Head Is a Volume, Not an Oval
An oval with two dots inside is a mask, not a head. A skull has depth and flat side walls, and the features sit on those walls. Once you build the volume, the angle holds itself.
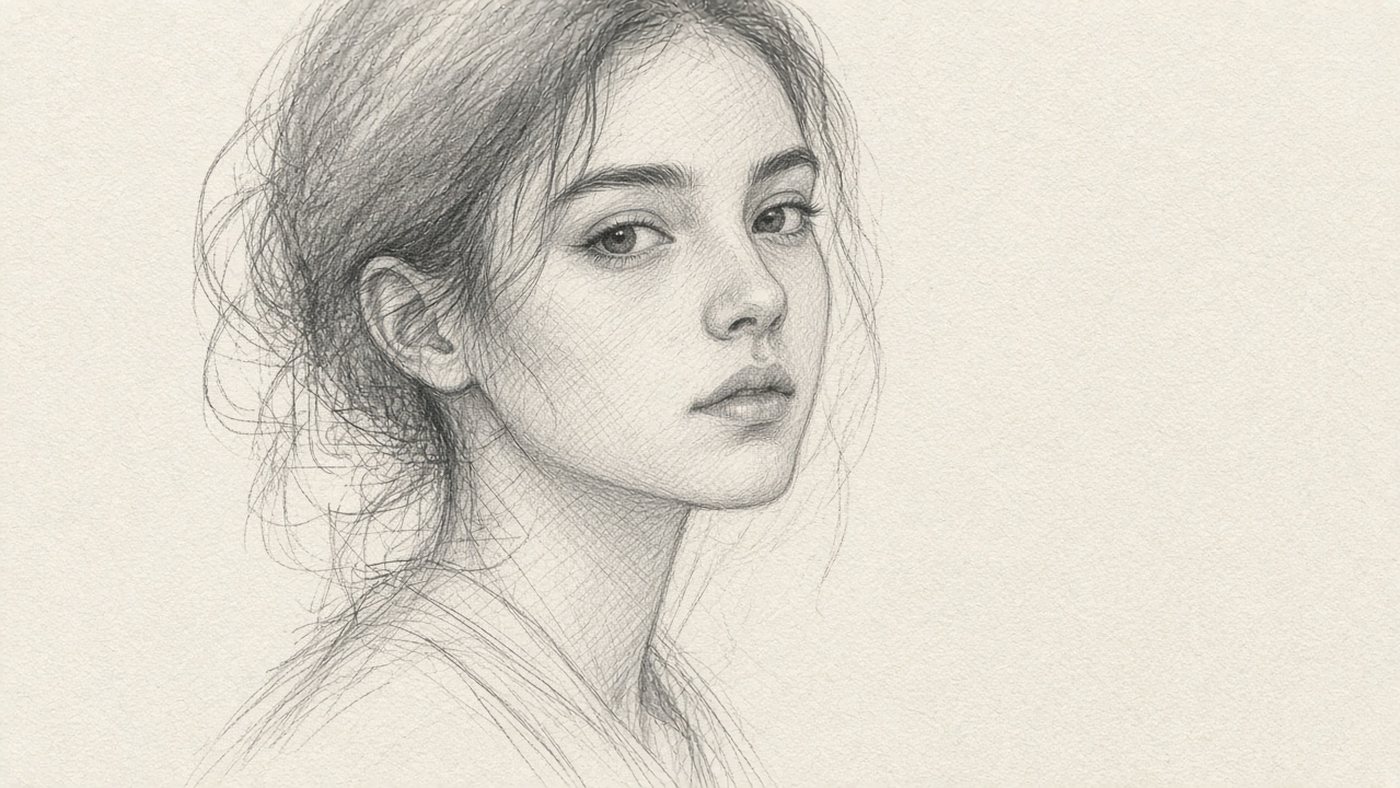
A Sphere and Cut Planes
Draw a circle. That is the cranium. Cut a side plane off it with an oval, and you get a flattened sphere. Drop the chin down from the edge of that cut by a third of the radius.
The Loomis Method in Plain Language
The Loomis method is that sphere with two cuts, plus a grid of axes on it. The order is:
- Draw a circle and cut the side plane with an oval.
- Draw the vertical centerline of the face across the circle.
- Draw the horizontal eye line along the bottom edge of the circle.
- Drop the chin a third of the radius below the circle.
- Connect the side oval to the chin. That gives you the cheekbone and the jaw.
- Mark the ear between the eye line and the nose line, just behind the cut.
Marking the Proportions
Face proportions rest on a few measurements that are nearly the same for everyone. Learn them once, and the eyes stop drifting upward.
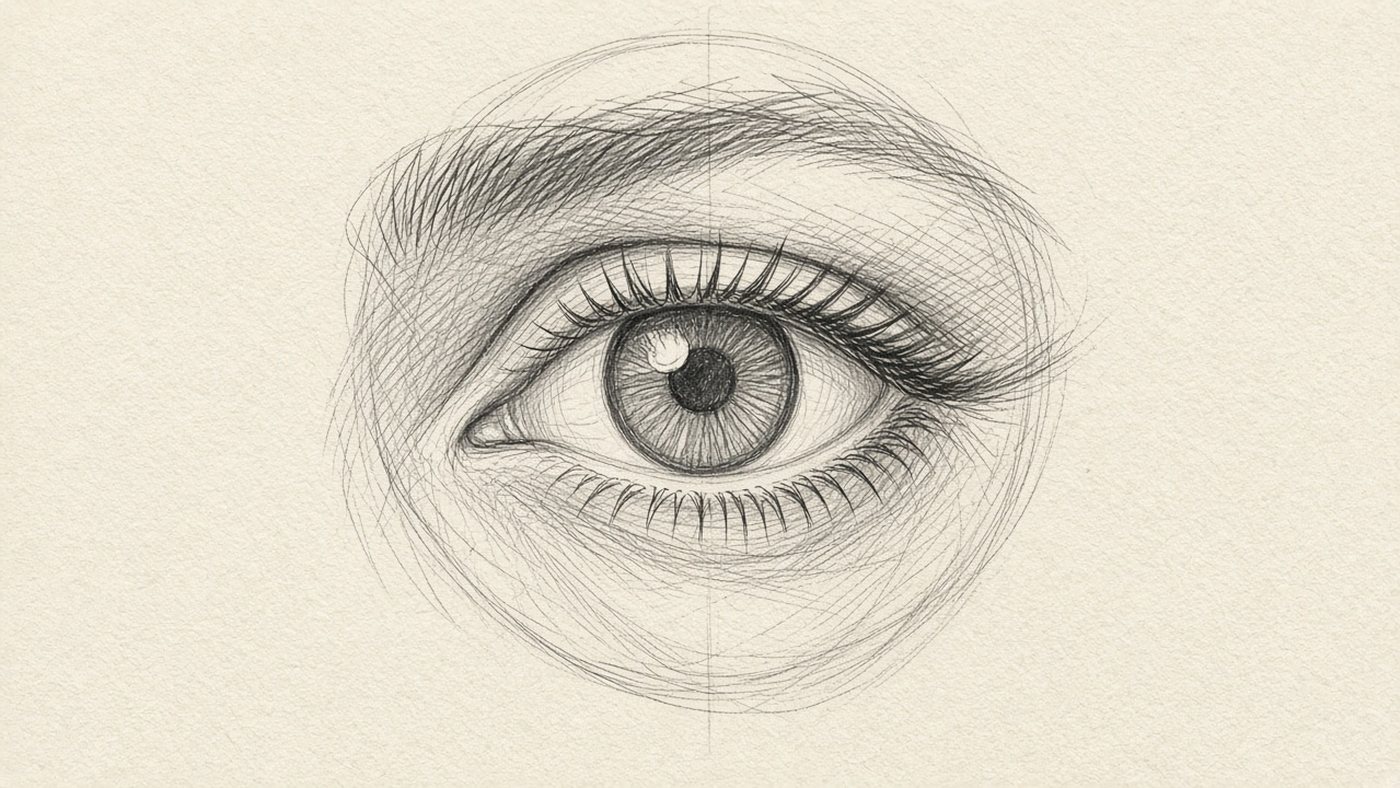
The Eye Line at Mid-Head
The eye line runs exactly through the middle of the head's height, from the crown to the chin. Beginners think that must be wrong. Check it on a photo of yourself: the midpoint lands right on the pupils.
Distances Between Features
The width of the head at eye level equals five eyes: exactly one eye fits between the eyes, and one eye's width remains on each side. The lower half of the face divides into three equal parts: the eye line, the base of the nose, and the mouth line at the top of the lowest third. More measurements are in the guide on proportions.
Angle and Tilt
When the head turns, the centerline bends into an arc. The eye line wraps the head like a hoop. If the model looks down, both lines curve downward, and the ear rises above the eye line.
Features in Order
Draw the features last, and always in pairs: both sockets first, then both halves of the nose. That way you compare them to each other instead of polishing one of them to perfection.

Eyes as Spheres in the Lids
The eye is a sphere in the socket, and the lids lie on it like fabric. They have thickness. The upper lid overhangs and casts a shadow on the iris, so the top of the iris is always darker. A full breakdown, including highlights, is in the article on how to draw eyes.
The Nose as a Simple Prism
Build the nose as a prism: a top plane for the bridge, two side walls, and a bottom plane with the nostrils. The width of the wings equals the distance between the inner corners of the eyes.
The Mouth on the Cylinder of the Teeth
The lips sit on the cylinder of the jaw and wrap with it. The upper lip is darker than the lower lip: it tilts away from the light, while the lower lip catches light on its plane. The corners of the mouth fall under the centers of the pupils.
Light and Shadow on the Face
Volume comes from knowing where a plane turns away from the light, not from hatching. Look for large shadow shapes, not a transition at every wrinkle.
The Large Planes of the Forehead and Cheekbones
The forehead is three planes: a front plane and two side planes that turn toward the temples. In light from above, the side planes are two value steps darker than the front planes. How light zones are built is covered in the guide on light and shadow.
Shadows Under the Nose and Chin
In light from above, the darkest places are under the nose, under the lower lip, under the chin, and in the eye sockets. The shadow under the chin is darker than the neck it falls on. Don't smear its edge.
Likeness and Character
Likeness comes from the accuracy of a few distances, not from the number of details. A portrait with perfect lashes and an eye shifted by two millimeters looks like a different person.
What Makes a Face Recognizable
- the distance between the eyes and their tilt;
- the width of the jaw compared with the width of the cheekbones;
- the height of the forehead and the hairline;
- the profile of the nose: a bump, a straight bridge, or a concave bridge;
- the distance from the nose to the upper lip.
The Mirror Check
Flip the canvas horizontally. In an editor that is one button. The twists show up instantly: one eye higher, the jaw off to the side. Check this way every fifteen minutes.
Check
Squint and look at the portrait. If the face breaks into clear patches of light and shadow, the volume is there. If you are left with gray mush, the values are not strong enough.
Common Mistakes
Almost every beginner mistake in a portrait comes down to two things: a wrong layout, and no volume. Both are fixed by going back to the construction.
Eyes Set Too High
The brain remembers a face, not a skull, so the forehead comes out short and the eyes drift up. Draw the eye line before any feature, and measure from the crown, not from the brows.
A Flat Face with No Volume
The face goes flat when the features are drawn carefully but sit on an empty oval. A simple exercise helps: draw the same head in five turns using only axes and planes, with no eyes and no mouth. Build the hairstyle on the shape of the skull too. The details are in the breakdown on how to draw hair.
Time to draw, not just read
Theory fades in a couple of days if you never use it. Open the editor and spend 15 minutes on what you just read. That is enough for the skill to stick.
Try it now
A free online editor: brushes, layers, a palette, and a shared canvas. No install and no sign-up.
Start drawingTopics in this guide
- how to draw a portrait
- building the face
- head proportions
- Loomis method
- portrait for beginners
← How to Draw a Landscape: A Step-by-Step Guide for Beginners How to Draw Anime: From Building the Face to a Finished Character →