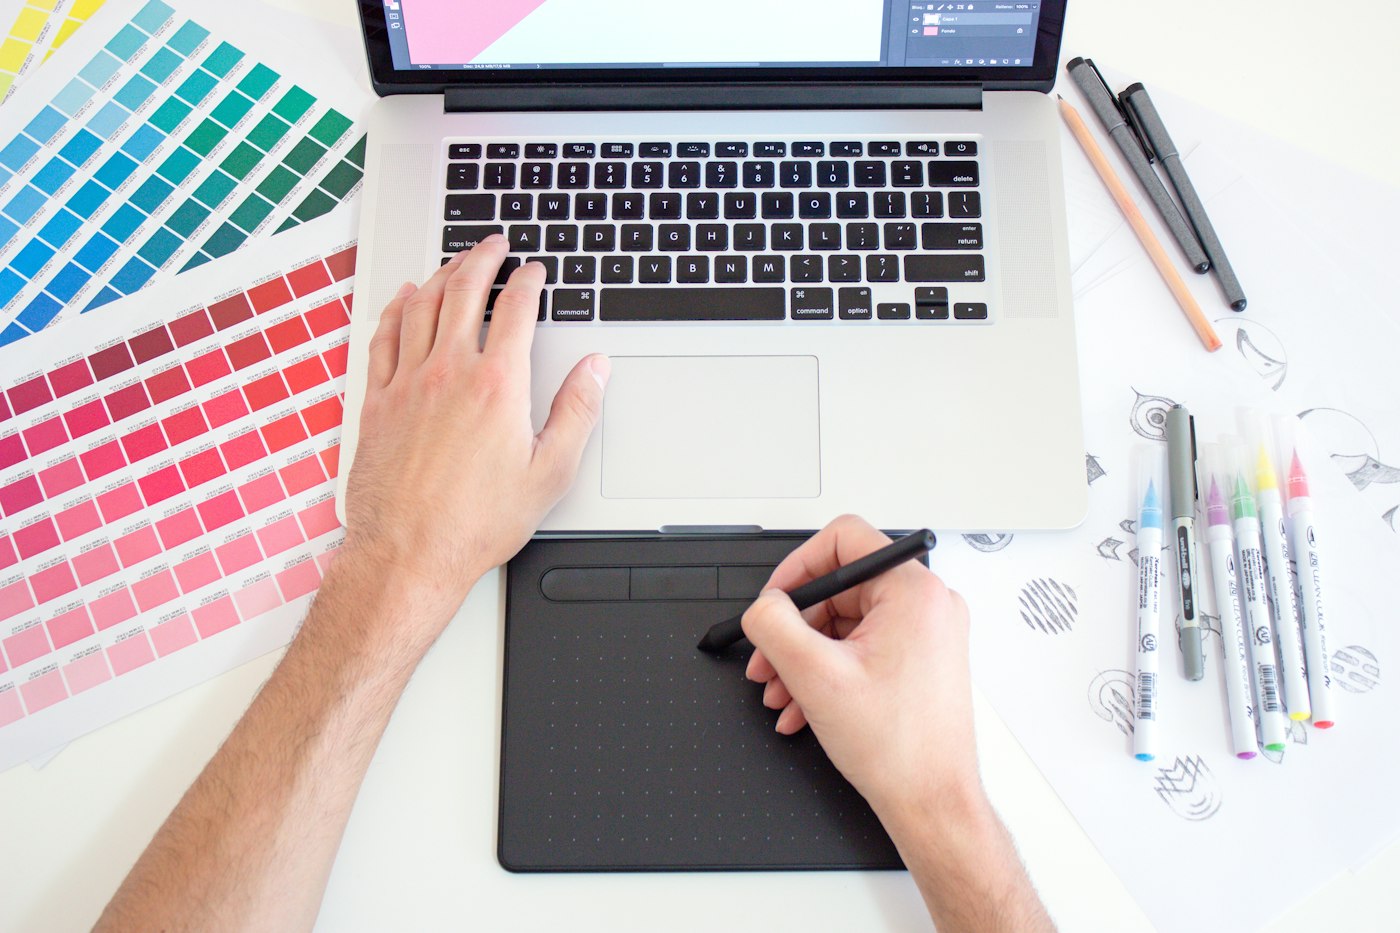
What a layer is
A layer is the most useful thing digital work gives an artist. On paper, every line sits on one plane, and any edit bumps into its neighbors. In an editor, the drawing is split into independent levels.
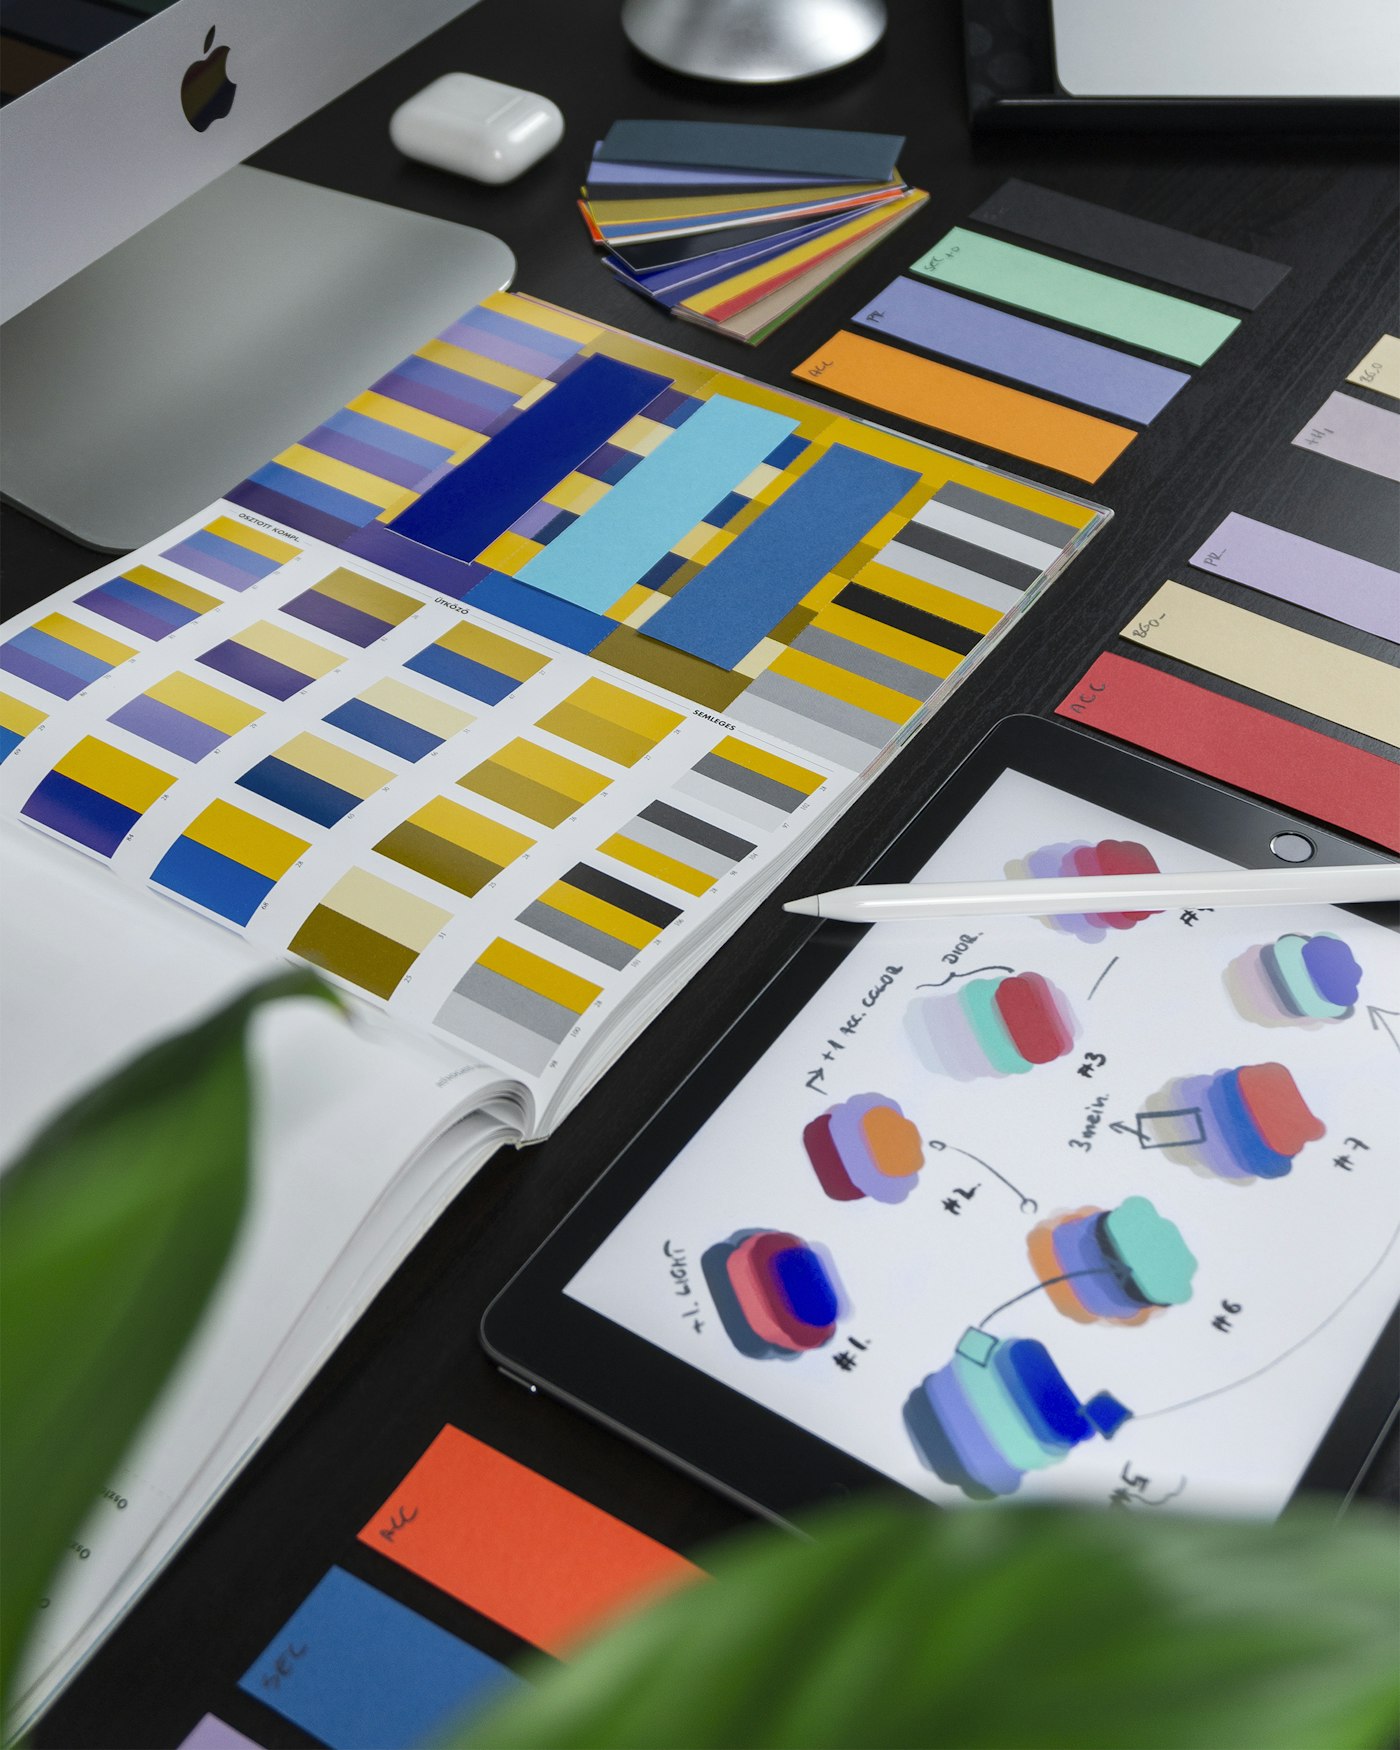
A transparent sheet over the canvas
Picture a stack of clear sheets: the background on the bottom one, the character on the next, the highlights on top. Each sheet is transparent where you have not touched it. Erase something on one, and the rest stay intact.
Layer order and overlap
In the panel on the right, layers are shown as a list, and the top one covers everything below it. That sets the stacking logic: the background goes to the very bottom, and details and light rise to the top. You can drag layers with the mouse at any time.
A working setup of five layers
Don't invent a new structure for every piece. Use a ready setup: sketch, line art, local color, shadow with light, and background.
Sketch and line art
Keep the sketch at the top of the stack while you fill, at 20–30% opacity: the lines stay visible, but they don't get in the way of the color. Draw the line art on its own layer over the sketch, with a 4–8 pixel brush. When the line art is done, turn the sketch off with the visibility checkbox.
Local color
Local color is the object's base hue with no shadow and no highlight: a green apple is simply green. Put that layer under the line art and fill it with mid-value tones. Split large parts onto separate layers: skin, clothes, hair. Then a shirt can be recolored in ten seconds.
Shadows, light, and background
Shadow and light live above the local color. Shadow is convenient to paint in Multiply, and light in Screen: then one semi-transparent stroke is enough. The mechanics are covered in the article on layer blend modes. The background always goes to the very bottom.
Managing layers
Creating layers is not enough. You have to manage them. Four buttons on the panel handle most of the work.
Opacity and visibility
The opacity slider changes the density of the whole layer at once. If a shadow came out too dark, don't repaint it. Drop the value to 60%. The visibility checkbox hides a layer without deleting anything: handy for comparing color options with one click.
Locking and alpha lock
A normal lock blocks every change. Put it on finished line art. Alpha lock is finer: it lets you paint only where pixels already exist, and the brush physically cannot leave the silhouette. Masks in a graphics editor give the same result, only with more flexibility.
Groups and folders
Once you have more than ten layers, put them in folders: "character," "background," "effects." You can hide a group, move it, or tone the whole thing in one action.
Shortcut
Keep a layer filled with 50% gray at the very bottom of the stack. A white background fools the eye and pushes you toward colors that are too dark. On neutral gray, the values read honestly.
Moves that speed up the work
A couple of utility layers never make the final image, but they save hours. Create them at the start and turn them off before export.
A flat layer for checking the silhouette
Duplicate the character layer and fill the copy with solid black. If the pose reads as one black shape, the composition works. If the figure turns into a blob, fix the pose before you color. This move comes up often in breakdowns of composition in a drawing.
A perspective grid layer
Draw the horizon line and the guides to the vanishing point on a separate layer, with a thin red line at 30% opacity. You build buildings and furniture against it, then uncheck visibility before export. How to place vanishing points is covered in the guide on perspective in a drawing.
Layer mistakes
Both classic mistakes come from habits, not from the tool. You can fix them in one evening.
Merged too early
Merging layers only makes sense once a stage is fully closed. A safe order:
- step away from the drawing for a couple of minutes and look at it fresh;
- save a copy of the file with every layer still separate;
- merge only neighboring layers from the same stage;
- for large groups, put them in a folder instead of merging.
Undo history is limited, so half an hour later you will not get merged layers back.
A hundred layers with no names
Twenty items named "Layer 14" is a guaranteed waste of time. Get the panel in order with a few habits:
- rename a layer right after you create it, with a double-click on the name;
- keep one name per object: "face," "jacket," "jacket shadow";
- put everything for one part into a shared folder;
- delete empty layers from accidental clicks;
- mark utility layers with the word "draft."
After a month of that discipline, you will find the layer you need in an old file in a couple of seconds.
Time to draw, not just read
Theory fades in a couple of days if you never use it. Open the editor and spend 15 minutes on what you just read. That is enough for the skill to stick.
Try it now
A free online editor: brushes, layers, a palette, and a shared canvas. No install and no sign-up.
Start drawingTopics in this guide
- layers in an editor
- how to use layers
- layers for drawing
- illustration layer structure
- grouping layers
← Raster and Vector Graphics: How They Differ and What to Choose Top 5 Brushes for Digital Painting: How to Set Them Up →