What perspective actually is
Perspective is a way to show on a flat page that one object is farther away than another. It rests on one fact: the farther an object is, the smaller it looks.
The horizon line is your eye level
The horizon is not where the ground meets the sky. It sits exactly at the level of your eyes. Sit on the floor and the tabletop opens from underneath. Stand on a chair and it opens into a wide rectangle.
Check it in a minute: set a mug on the table and crouch. The ellipse of the rim flattens, and at eye level it becomes a straight line.
Why parallel lines converge
Railroad tracks are parallel in real life, but in a drawing they meet at one point on the horizon, the vanishing point. Every set of lines that are parallel to each other in reality goes to that same point.
One-point perspective: a single vanishing point
The simplest case: you look at the object straight on. Verticals stay vertical, horizontals stay horizontal, and only the depth lines recede.

A hallway and a receding road
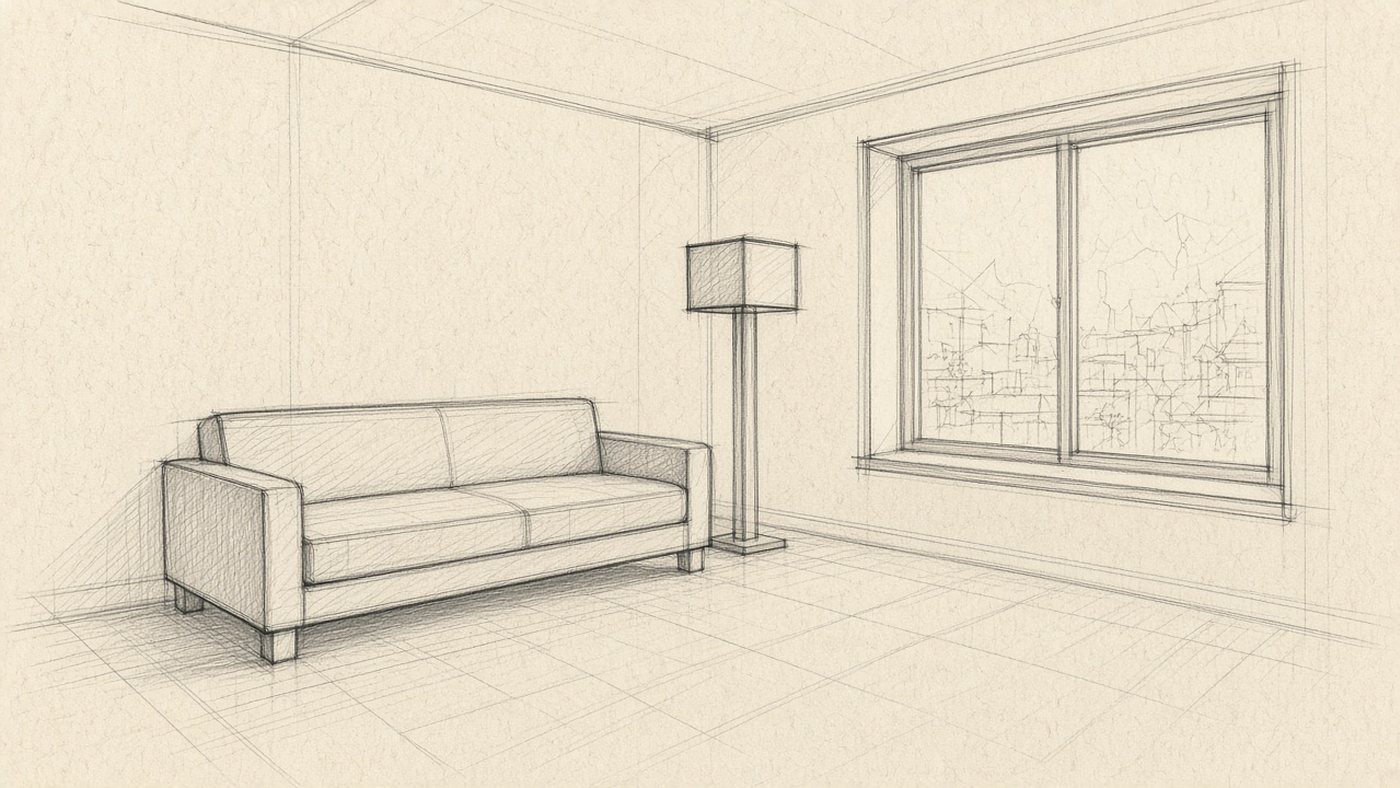
Draw a rectangle for the far wall. Place a vanishing point inside it and draw four lines from its corners to the corners of the page. You get a floor, a ceiling, and two walls.
Exercise: a room in 10 minutes
- Draw the horizon a little below the middle of the page, and place a vanishing point on it.
- Draw the rectangle of the far wall and connect its corners to the vanishing point.
- Add a window on the left wall: its top and bottom go to the same point.
- Place a table, a box whose depth lines go to that same vanishing point.
- Check the verticals: they should stay strictly vertical.
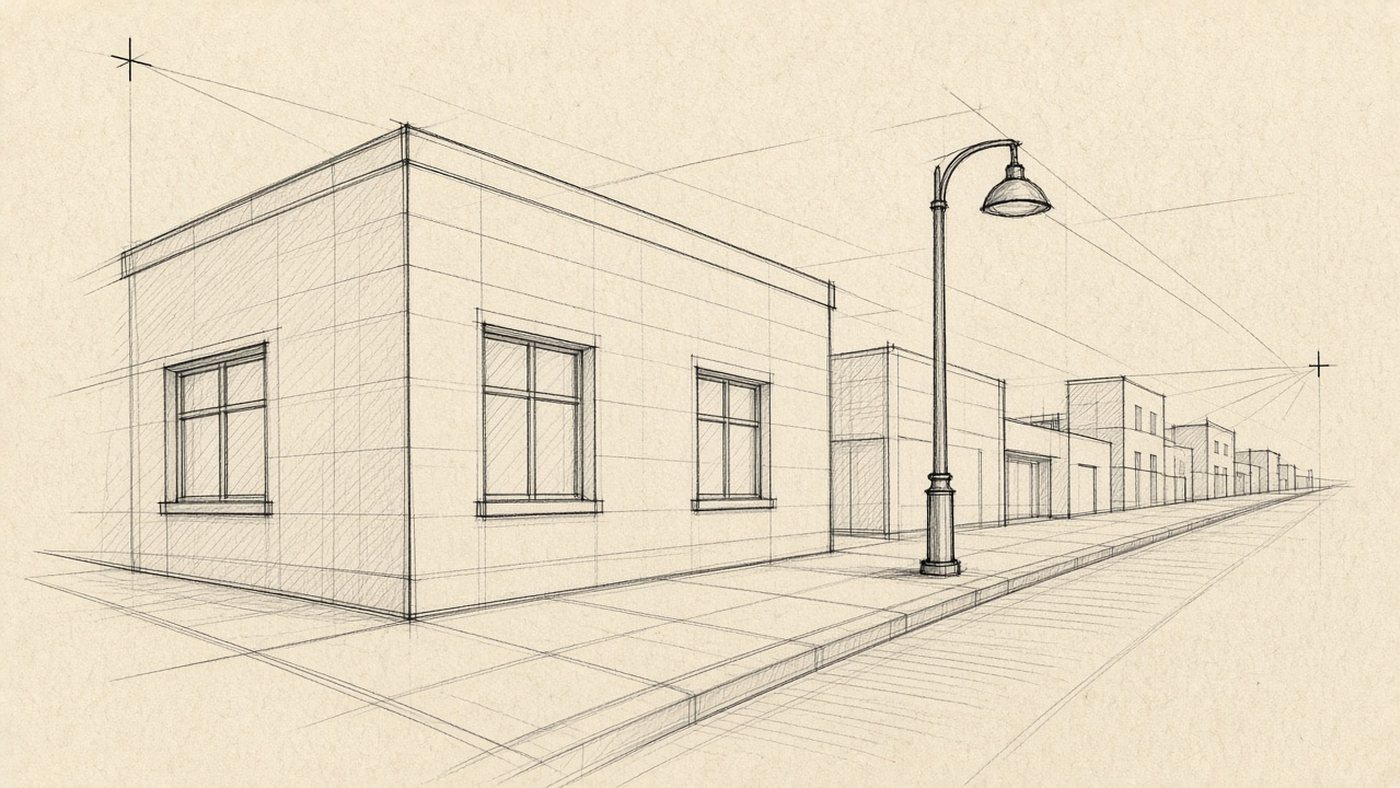
Two-point perspective: two vanishing points
As soon as the object is turned so a corner faces you, one point is not enough. Two appear: one past the left edge of the page, the other past the right. That is how almost every real object looks.
How to set a box at an angle
Start with the nearest vertical edge. From its top and its bottom, draw a line to each vanishing point, then close the volume with two verticals, and the box is done. Building volumes like this is covered in the article on geometric shapes.
The "points too close" mistake
If both vanishing points fit on the page, the object comes out warped, as if seen through a fisheye. In the editor, make the canvas four times larger, move the points onto the empty margins, and draw in the center.
Common mistake
Beginners give every box its own vanishing point. If the objects stand parallel to each other, houses along a street, for example, they share one vanishing point.
Three vanishing points: looking up and down
A third point appears when you look up or down. Then the verticals converge too, to a point above your head or below your feet. That is where the dramatic angles in comics come from.
A skyscraper from the ground
Lower the horizon to the very bottom of the page, place two vanishing points at the sides, and a third high above the page. The walls will narrow toward the top, and the building will look huge. The same method is in the piece on cities and architecture.
A character in foreshortening
Break the body into two boxes: the rib cage and the pelvis. Seen from below, the near foot will be large and the head small. Add details only after the boxes sit correctly.
Mistakes that break depth
A correct grid will not save the drawing if you forget size and thickness. These slips show from three meters away.
Distant objects all the same size
People at the end of the street cannot be the same height as the ones in the foreground. Put everyone's head on the horizon line, and the feet where the person stands: the height shrinks on its own. Atmospheric perspective pushes the depth further.
Forgotten thickness
A wall with no thickness looks like a sheet of paper. Everything has a second edge in depth, and that edge also goes to the vanishing point:
- a window opening and a doorway;
- a tabletop and a shelf;
- a step and a curb;
- a picture frame and a phone body.
Practicing perspective online
In an editor you learn perspective faster: you build the grid once and make dozens of versions on top of it. The eraser ruins nothing, so take sharp angles more boldly.
A grid layer in the editor
Create a separate layer, draw the horizon and a fan of lines from the vanishing points, drop the opacity to 20 percent, and draw on the layer above. How that is set up is covered in the article on layers.
Checking lines by flipping the canvas
Flip the canvas horizontally. Slants your eye has gotten used to will suddenly look wrong, and you will see which wall is drifting. Do this every 10 minutes of work.
Time to draw, not just read
Theory fades in a couple of days if you never use it. Open the editor and spend 15 minutes on what you just read. That is enough for the skill to stick.
Try it now
A free online editor: brushes, layers, a palette, and a shared canvas. No install and no sign-up.
Start drawingTopics in this guide
- perspective in drawing
- vanishing point
- horizon line
- linear perspective
- how to draw volume
← Drawing Basics: Six Skills to Learn First Composition: How to Place Objects So the Piece Reads →