Four basic forms
Construction drawing starts when you stop seeing "a mug" and start seeing a cylinder with an arc stuck on it. Four forms cover any object, from a stool to a car.
Cube, sphere, cylinder, cone
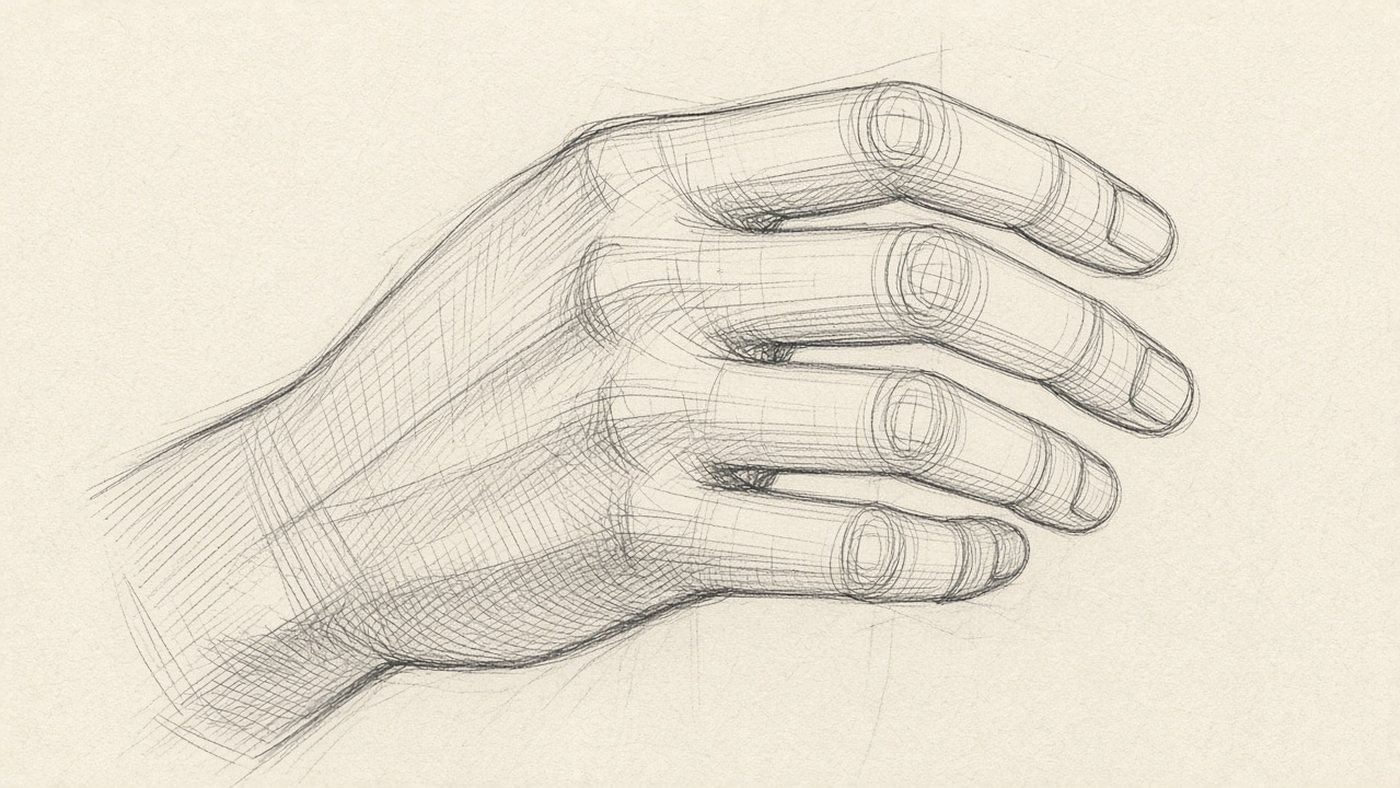
Each form has its own construction logic and its own light and shadow. A cube is three planes and three flat values. A sphere is a smooth transition with no hard edge at all. A cylinder is two ellipses and a vertical axis. A cone is the ellipse of the base and a tip on the axis. A separate breakdown of each shape is in the article on geometric shapes.
How to find them in household objects
- a mug: a cylinder plus a thin arc for the handle;
- a bottle: a cylinder, a cone, and a short cylinder for the neck;
- a laptop: two flat boxes on a hinge;
- an apple: a sphere with a dented top;
- a lampshade: a truncated cone;
- a head: a sphere with the sides cut off and a wedge for the face.
Axes and cross-sections
The axis is an invisible rod inside the object. If you mark the axis before the outline, the object will not tip over or drift across the page.
The central axis of the object
Start a drawing of a mug with a vertical line through its center. Build the top and bottom ellipses symmetrically around that line, and the vessel will stand instead of falling. For a tilted object the axis tilts too, but it stays the only one.
Ellipses as slices of a cylinder
An ellipse is a circle seen at an angle. There is one rule: the minor axis of the ellipse is always perpendicular to the axis of the object. The lower the object sits relative to your eyes, the wider the ellipse opens, and at eye level it becomes a straight line. Why that happens is explained by perspective.
The order of construction
Order matters more than neatness. If you start with the details, the proportions will have drifted by the end of the drawing, and you will have to redo the whole thing.
From the overall size to the detail
- Mark the overall size, a rectangle the object fits inside completely.
- Inside it, sketch the axes and break the object into basic forms.
- Refine the proportions of those forms by measuring and comparing.
- Build the cross-sections: ellipses, and lines across the cylinders.
- Only now add texture, lettering, and small details.
Checking symmetry
Draw the axis and compare the distances from it to the left and right edges at three heights: at the top, in the middle, and at the bottom. If even one distance differs, fix it right away. In the editor it is faster: flip the canvas horizontally, and the skew becomes obvious.
Tip
Build with light lines that take almost no pressure. Then you do not have to erase the extra construction: it simply disappears under the final stroke, or fades out when you photograph the drawing.
How to keep the volume when you add detail
It is frustrating when the construction was right and the object goes flat again after the details. The cause is always the same: the details are drawn on top of the form, not along it.
Details follow the form
A label on a can wraps the cylinder. It does not run in a straight line. Buttons on a sleeve follow the curve of the arm. A check pattern on a tablecloth narrows toward the far edge of the table. Test every detail with one question: which surface is it traveling on?
The outline comes last
A heavy line around the edge turns volume into a sticker. Draw the outline with a changing thickness: heavier where the object goes into shadow, and almost invisible where it comes into the light. How to place that shadow is covered in the piece on light and shadow.
Construction exercises
Construction comes from repeating the same object, not from hunting for new subjects. Twenty minutes a day, and in two weeks your eye will start taking things apart into volumes on its own.
Ten mugs from different angles
Take one mug and draw it ten times, changing the position each time: above eye level, below eye level, handle toward you, handle to the side, lying on its side. Two minutes per drawing, construction only, with the axis and the ellipses. The same method works in a still life, where there are already several objects.
Breaking an object into forms in the editor
Load a photo of an object, create a new layer on top, and trace only the basic volumes on it: boxes, cylinders, spheres. Then hide the photo and see whether the object still reads from the volumes alone. If it does not, you missed a form, not a detail.
Time to draw, not just read
Theory fades in a couple of days if you never use it. Open the editor and spend 15 minutes on what you just read. That is enough for the skill to stick.
Try it now
A free online editor: brushes, layers, a palette, and a shared canvas. No install and no sign-up.
Start drawingTopics in this guide
- drawing form
- how to draw volume
- construction drawing
- basic forms
- constructing objects
← Anatomy for Artists: How to Study So It Shows in the Drawing Straight Lines: A Warm-Up and Exercises Without a Ruler →