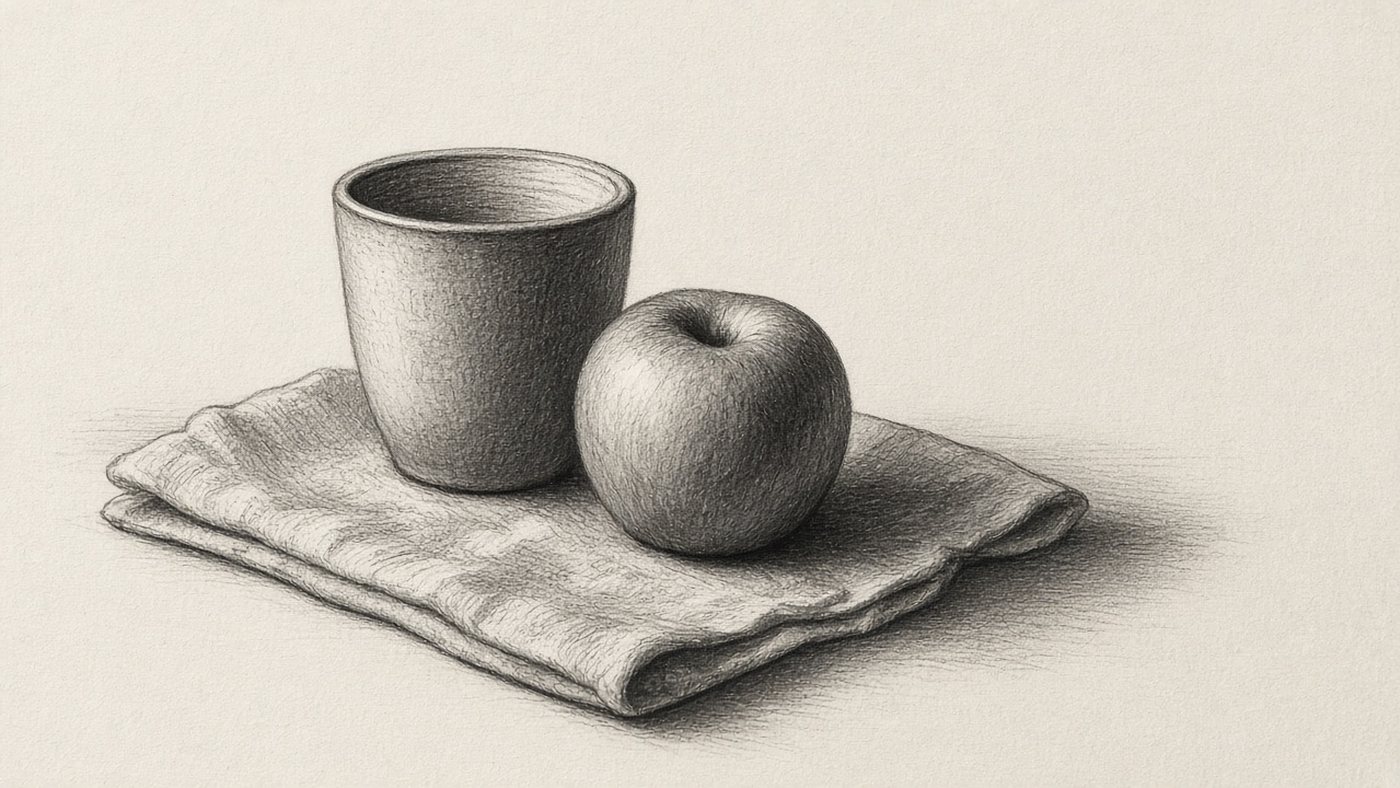
How to set up the arrangement
A still life starts at the table. If the objects stand in a line under a ceiling light, the drawing is flat before you begin. Build a scene you want to look at, before the pencil.
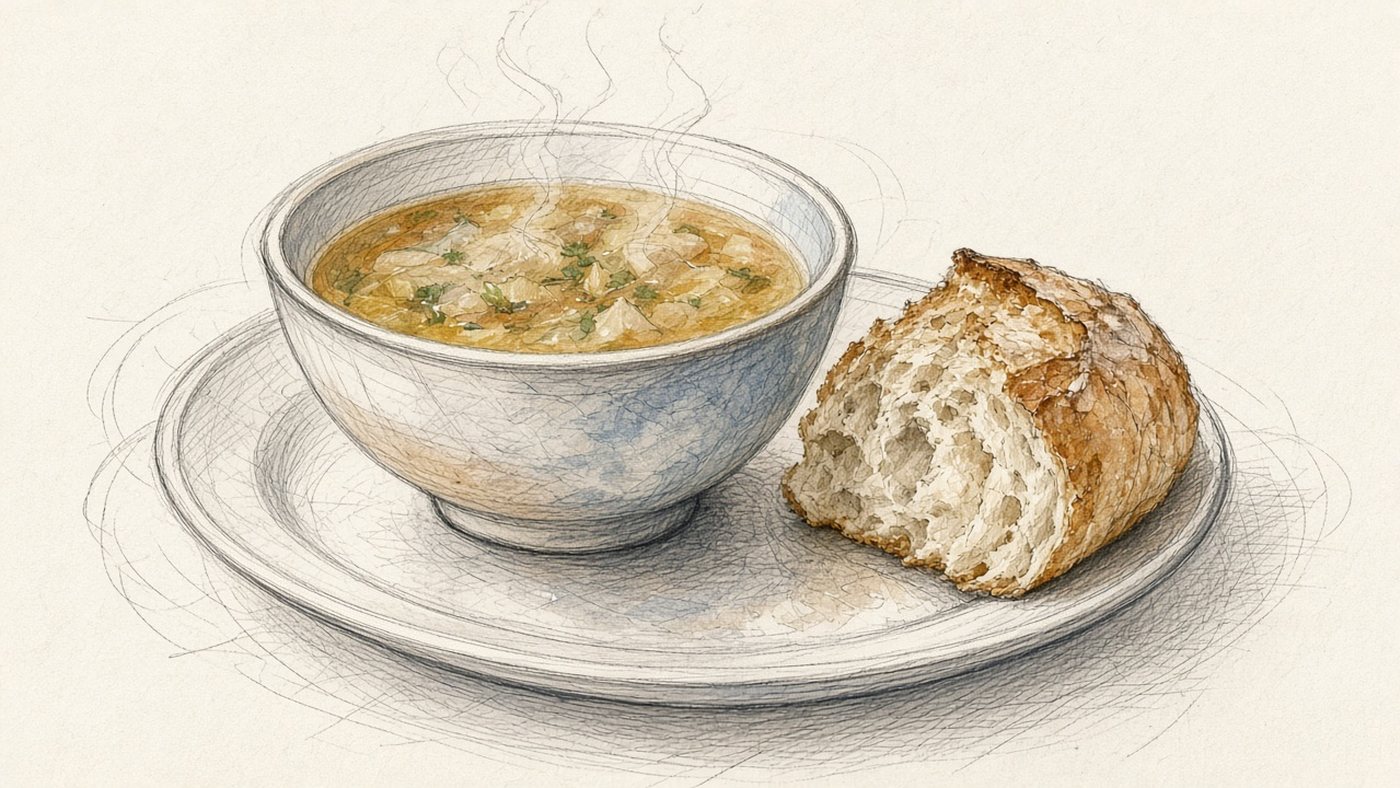
Three objects of different sizes
Take a large one, a medium one, and a small one: a pitcher, an apple, a spoon. The difference in scale gives you a hierarchy. Two matching objects compete for attention, and five small ones turn the table into a pile.
Different materials: ceramic, glass, fabric
Ceramic gives a soft highlight, glass gives hard highlights and transparency, and fabric gives folds. Together they cover the basics of material. The eye cannot sort three shiny objects.
One light source
A lamp to the left or the right at 45 degrees, and turn the overhead light off. The shadows fall one way, and you get a cast shadow and reflected light. Two sources erase the form. The zones of light are covered in the article on light and shadow in a drawing.
The composition of the frame
The setup can be alive and the frame dead if you look at it head-on and crowd the objects against the edge of the page.
A cluster instead of a row
Push the objects into a cluster: the large one in back, the medium one overlapping an edge, the small one closer and to the side. A row of "mug, apple, vase" reads like a store display. How to group a shape is in the article on composition in a drawing.
Space around the objects
Leave a field above at least as tall as the shortest object, and enough at the sides so the silhouette does not stick to the frame. Give a piece of the table below. A group touching all four edges feels choked.
Construction
Until you have axes and ellipses, light and shadow only hide the mistakes. Draw a set of simple solids, not "looks-like contours."
Overall size and axes
Block in a rectangle for the group, then the axes: the vertical of the pitcher, the axis of the apple, the direction of a fold. Squint and compare how many apples fit into the pitcher.
Ellipses at the same height
A neck and a base on the same shelf share the same ellipse "squint": closer to the eyes, narrower, and lower down, rounder. A top ellipse wider than the bottom one is a common mistake. The foundation of volume is in the article on drawing form and volume.
Checking proportions
Measure the width of the widest object with a pencil and lay that width onto the others. Flip the sheet. If the pitcher is "falling," fix the construction, not the value.
- Place three objects of different sizes on drapery.
- Turn on one lamp from the side and turn the overhead light off.
- Block in the overall size of the group and the axes.
- Construct the ellipses and the simple solids.
- Lay in three values, then the highlights and the reflected lights.
Value and material
Material reads from the character of the highlight and the edge of the shadow, not from texture. First cover the sheet with large shapes, then refine.
Three values to start
Light, midtone, shadow. Fill the whole setup with them, with no patterns. Join the cast shadows into one shape so the group becomes a single mass.
A highlight on ceramic and on glass
On ceramic the highlight is soft and oval. On glass it is a hard strip, and the background shows through. Fabric has almost no highlight, only the light edge of a fold. Flowers are built from the cup form. The order is in the article on how to draw flowers.
- ceramic: a calm gradient and one soft highlight;
- glass: a hard highlight, dark rims, and the background inside the object;
- fabric: soft transitions, and the edge of a fold lighter than the middle;
- metal: sharp contrast, a highlight near white, a shadow near black;
- fruit: a velvety midtone, and reflected light from the cloth below.
Tip
Photograph the setup with the phone in black-and-white mode. If the objects merge into one gray patch, the real setup has too little contrast: move the lamp closer or take out an extra object.
Color and the finish
Color depends on reflected light: the objects color one another. A local color with no neighbors looks cut out.
Reflected light from the drapery
Blue cloth lights the shadow of an apple with a cool color, and yellow cloth lights it with a warm one. Reflected light is weaker than the object's own shadow, or the object "glows." Do not paint the shadow black: the color of the surroundings lives in it.
Final accents
At the end, strengthen one highlight, the darkest corner of the cast shadow, and one sharp edge in the foreground. Leave the rest alone: a "just a little more" pass over the whole sheet dulls the contrast.
Time to draw, not just read
Theory fades in a couple of days if you never use it. Open the editor and spend 15 minutes on what you just read. That is enough for the skill to stick.
Try it now
A free online editor: brushes, layers, a palette, and a shared canvas. No install and no sign-up.
Start drawingTopics in this guide
- still life for beginners
- how to draw a still life
- still life setup
- drawing objects
- still life step by step
← Line Art and Minimalism: A Line That Holds the Drawing How to Draw a Dog: Proportions, Muzzle, and Fur →