Where a Landscape Starts
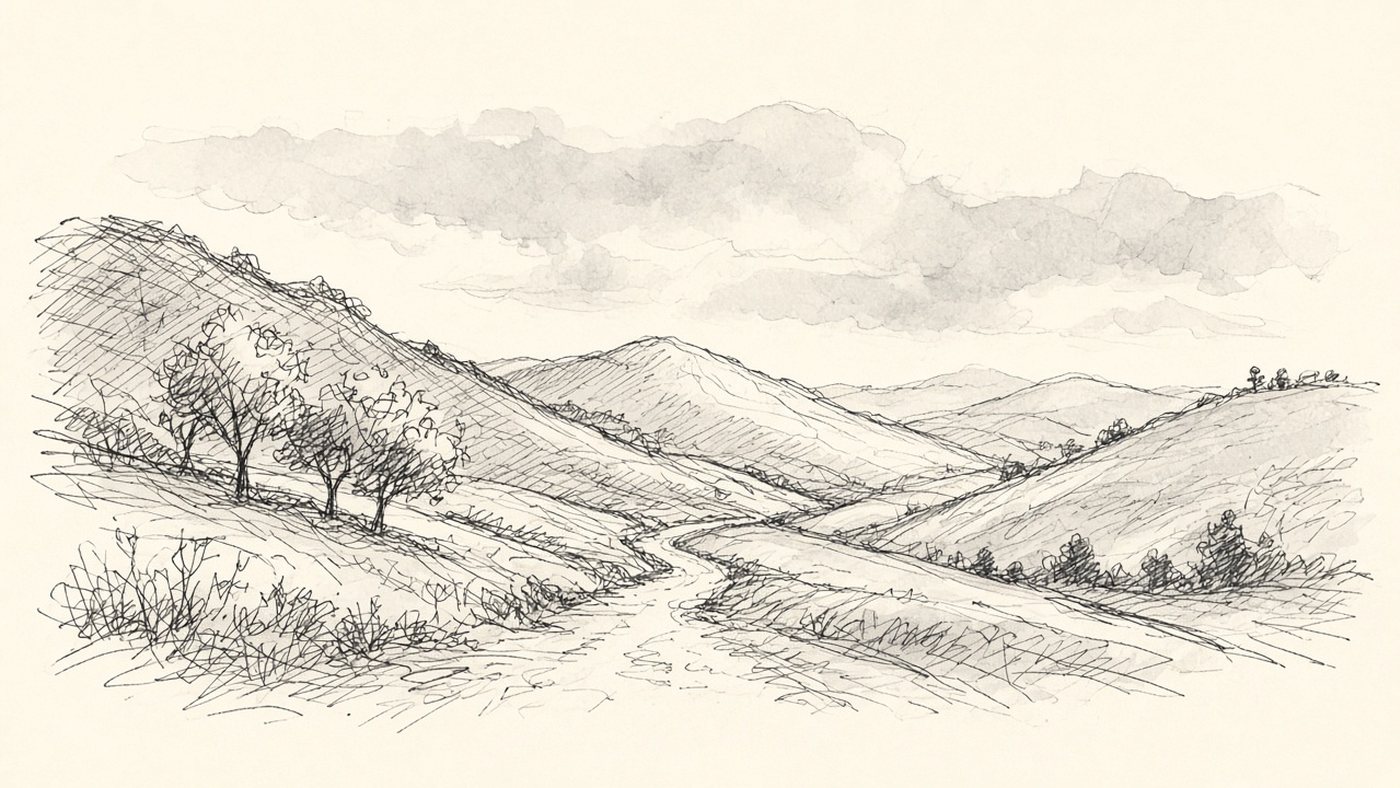
A landscape starts with a decision, not with a tree or a cottage: where the light shape sits, where the dark shape sits, and where the eye will travel. Five minutes is enough for that.
A 5×7 cm Thumbnail
Draw a 5×7 cm rectangle and fill it with three values: light, middle, and dark. No branches and no windows. Make three versions and keep the one that still reads at arm's length.
Where to Place the Horizon
The horizon is your eye level. The middle of the sheet is a poor place for it: half sky and half ground looks static. Drop the line to the lower third when you want more sky. Raise it to the upper third for a field or a river.
Three Planes and Atmospheric Perspective
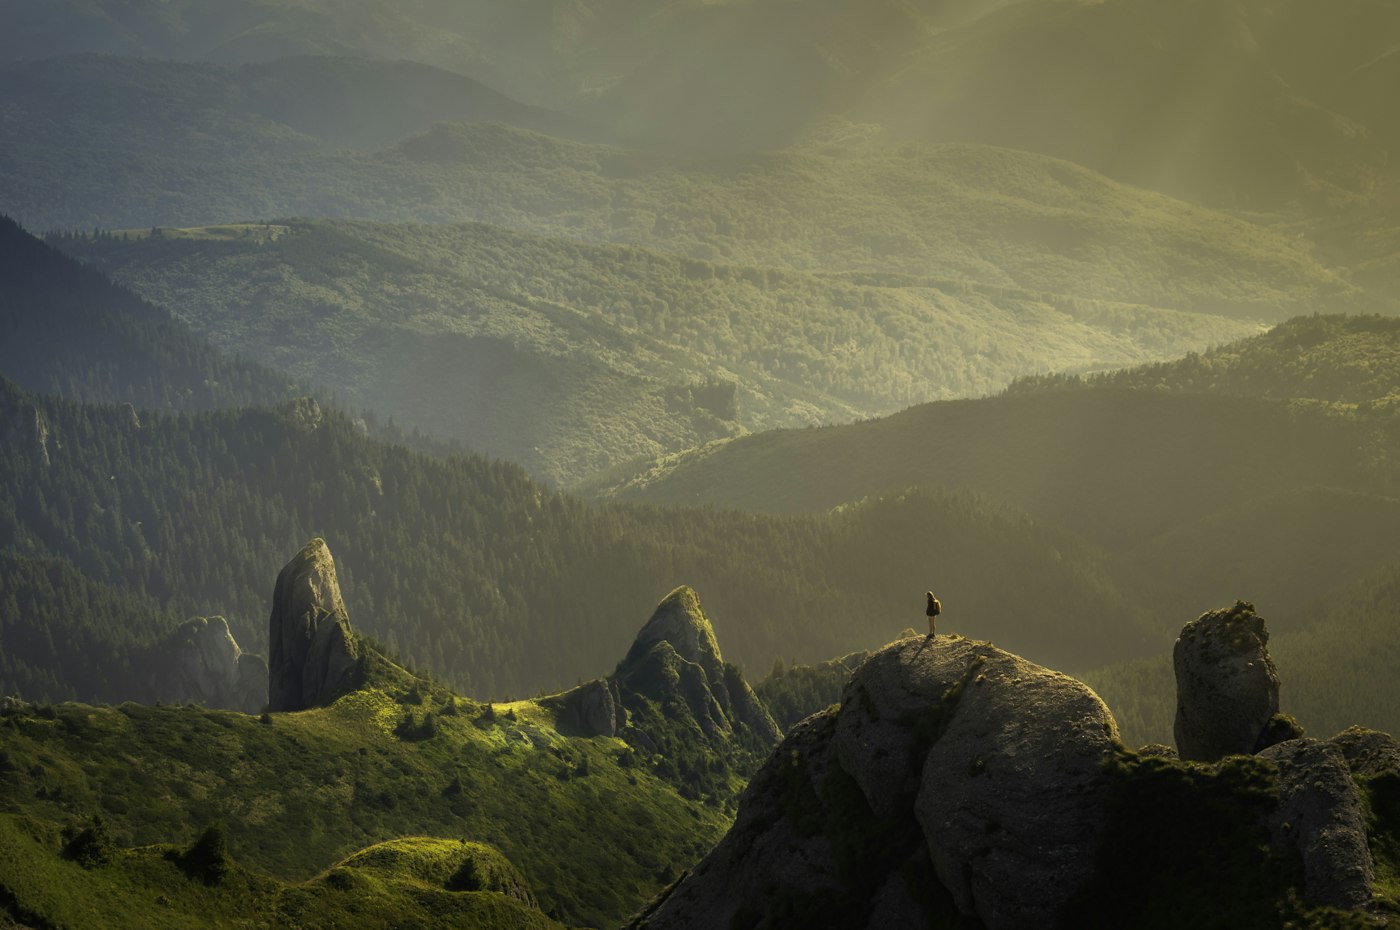
Depth comes from the difference between planes, not from the size of objects. Air mutes the contrast: the farther something is, the paler and cooler it gets. How that law works is covered in the guide on atmospheric perspective.
Foreground: Contrast and Detail
This is the darkest, sharpest part of the piece. It usually works as a wing along the bottom or the side, pushing everything else back into depth.
Middle Ground: The Main Subject
This is where the house, the boat, or the group of trees stands: a middle value, and the most saturated color. Place the main subject a third of the way across the sheet, not dead center.
Background: Pale and Soft
Distant mountains are painted in one cool value, two or three steps lighter than the middle ground. There should be no sharp line back there.
Sky and Clouds
The sky takes half the sheet and sets the light, so paint it first. A flat blue fill kills depth. A gradient creates it.
Gradient from Zenith to Horizon
At the zenith the sky is darker and cooler. At the horizon it is lighter and warmer. Blend from blue-violet at the top down to a pale yellow-pink at the bottom. In the editor, lay the transition in with a soft brush at 20–30% opacity.
Cloud Shape and Shadow
A cumulus cloud has a light crown, a flat gray-violet base, and a lit edge. Paint them as a group: one large cloud, two medium ones, and small strips near the horizon. Cloud types are covered in the article on sky and clouds.
Ground, Trees, and Grass
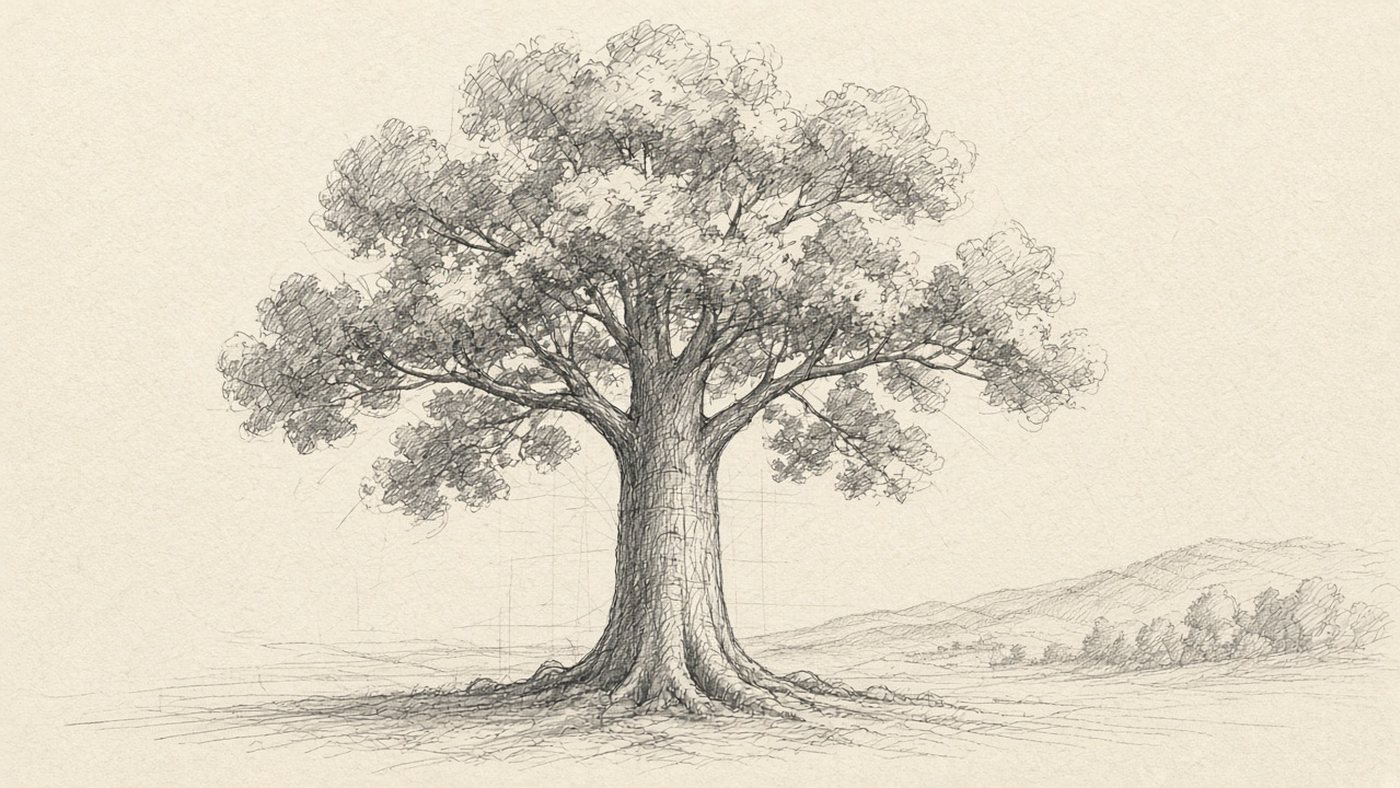
The ground is not a green carpet. It is a set of planes turned toward the light at different angles. A horizontal field is always lighter than the vertical wall of a forest.
Masses Instead of Leaves
A canopy is four to six "clouds" of foliage, with a light crown and shadow underneath. Start with the silhouette in one value, then the masses, and only then the leaves on the foreground. Species are covered in the article on how to draw trees.
Shadow Under the Canopy
The darkest part of a tree is not the trunk. It is the shadow inside the canopy and on the ground at the roots. Without a cast shadow, the tree hangs in the air.
Water and Reflections
Water barely has a color of its own. It reflects the sky and the banks. On a sunny day a river is blue. On an overcast day it is steel gray.
Horizontal Strokes
Paint water with horizontal strokes, even when the river recedes into depth. Closer to you the strokes are longer. Near the horizon they are shorter and tighter. A couple of light breaks in a dark reflection read as ripples.
The Reflection Is Darker Than the Object
The reflection of a light object is one value darker than the object itself, and the reflection of a dark object is one value lighter. Build it straight down from the point where the object meets the water, and soften the edge slightly.
Shortcut
A reflection is a view of the object from below, not a copy. A tree on the bank shows a little more of its lower branches in the water than you see from where you stand.
A Five-Color Palette
Mud comes from too many paints, not from too few. Take a warm yellow, a warm red, a cool blue, an ochre, and white.
Warm Light, Cool Shadow
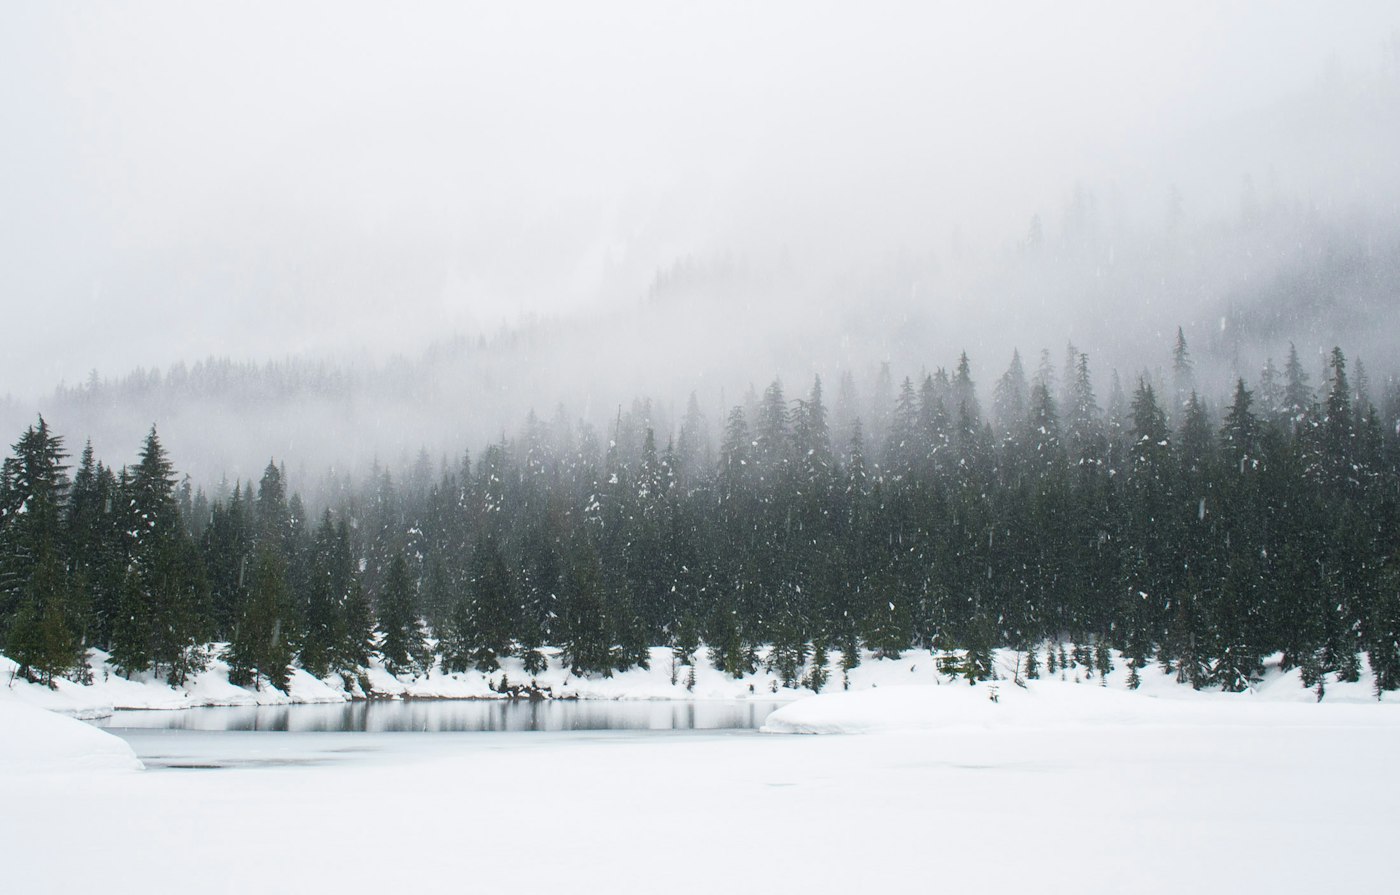
Shift anything lit by the sun toward warm, and shift everything in shadow toward cool. Shadow on snow is blue. Shadow on grass is blue-green, never black.
One Accent per Piece
Save the purest color for one spot: a red roof, an orange jacket, a yellow window. Mute everything else. A small accent holds the eye better than half a sheet of saturated color.
Finishing Touches
A piece gets worse in the finish more often than it gets better. A pause and two mechanical checks help.
Check Values in Black and White
Switch the piece to black and white and look at it from a distance. The three planes should differ in lightness, and the main subject should stay the most contrasted. If the distance matches the foreground, lighten it.
What to Cut Before You Finish
- sharp edges on the distant plane;
- trees and clouds that are all the same size;
- a second bright accent competing with the main one;
- extra detail inside the shadows.
The whole order of work fits into six steps:
- Make a 5×7 cm thumbnail with three value shapes.
- Draw the horizon a third of the way up the sheet.
- Fill the sky with a gradient from zenith to horizon.
- Block in the distance with a pale cool value.
- Build the middle ground with the main subject.
- Add a dark foreground, shadows, and a bright accent.
Where to place the main subject is covered in the article on the rule of thirds.
Time to draw, not just read
Theory fades in a couple of days if you never use it. Open the editor and spend 15 minutes on what you just read. That is enough for the skill to stick.
Try it now
A free online editor: brushes, layers, a palette, and a shared canvas. No install and no sign-up.
Start drawingTopics in this guide
- how to draw a landscape
- landscape for beginners
- landscape drawing step by step
- how to draw sky and trees
- planes in a landscape
How to Draw a Portrait: Building the Face Without the Scary Mistakes →