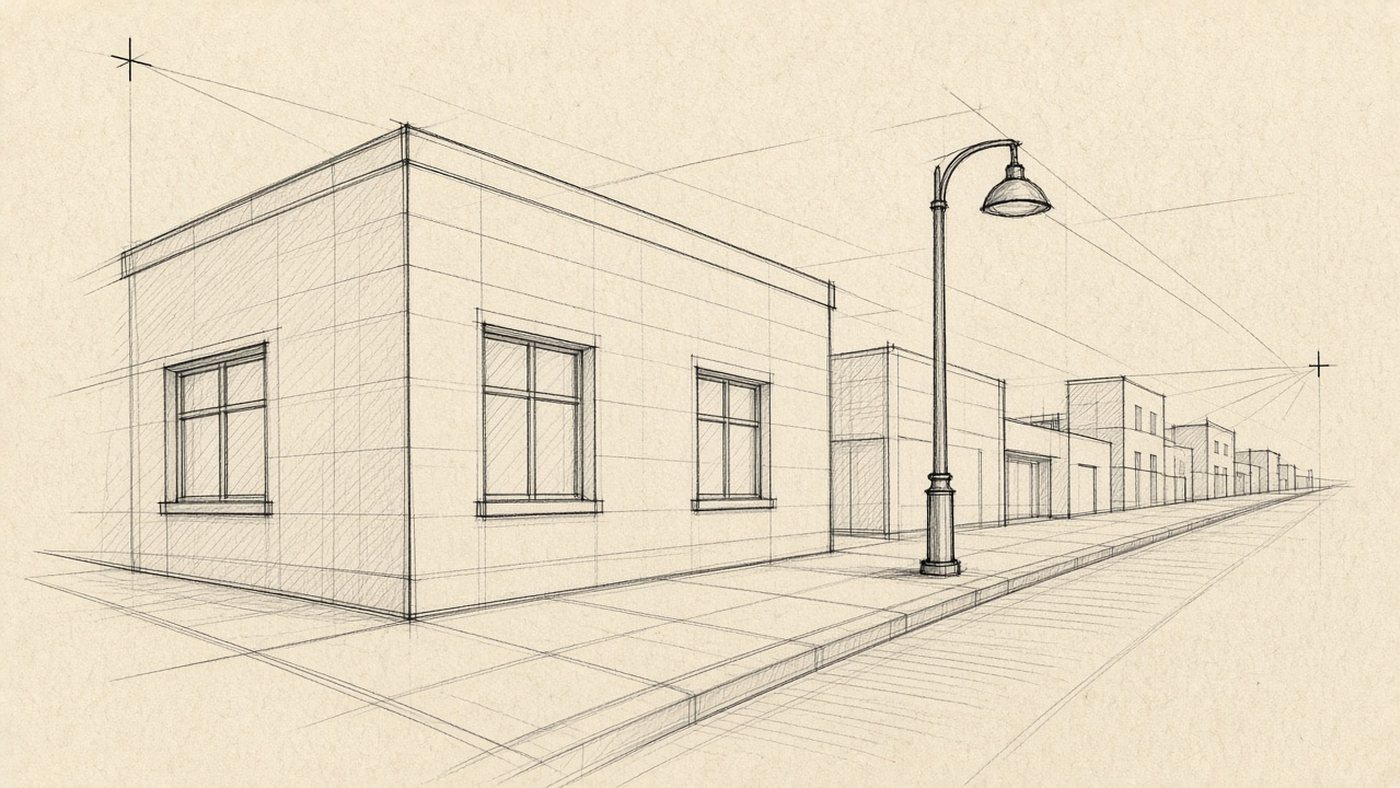
How the Thirds Grid Works
Divide the page with two vertical lines and two horizontal lines into nine equal parts. You get a 3 by 3 grid with four intersections inside the frame. Place everything important on those lines and intersections, not in the geometric center.
Four Power Points
The intersections are the power points, the places the eye enters most naturally. Pick one for the main object, and do not fill the other three with rivals. You can give a second point to a supporting detail, but with less contrast.
The Horizon on a Line, Not in the Center
A horizon exactly in the middle splits the frame into two equal halves, and those halves compete. Raise it to the top third if the ground is the interesting part, and drop it to the bottom third if the sky is the point. The difference shows at once: shift the line by two centimeters and compare the two versions.
Framing Examples
The rule is useful because it hands you ready solutions for the most common subjects.
Portrait: Eyes on the Top Line
Place the eye line on the top horizontal of the grid, not in the center of the face. Shift the head toward one of the verticals, and leave more empty space in front of the face than behind the back of the head. That open space in the direction of the gaze is what makes a portrait feel alive, rather than like a passport photo.
Landscape: Sky or Ground
- dramatic clouds: horizon on the bottom third, with two thirds of the frame for the sky;
- an interesting foreground: horizon on the top third;
- a lone tree: on a vertical line, not in the center;
- a reflection in water: the shoreline on a third, so the reflection does not compete with the original.
Shortcut
Photograph your finished drawing and lay a 3 by 3 grid over the photo. If every important object landed in the center square, the frame is almost certainly dull.
The Rule of Thirds in Digital
In an editor you do not have to draw the grid by hand, and you can change the frame as many times as you want.
Turn the Grid On in the Editor
Turn on the guides and place a 3 by 3 grid over the canvas. Keep it on while you sketch, and turn it off when you move on to detail. It helps to keep a separate layer with the four lines and simply hide it. More on that kind of work is in the article on layers.
Crop a Finished Piece
Even a weak frame can often be saved by cropping. Take the crop tool and move the frame so the main object lands on a power point. Make three crops of the same piece and compare them side by side.
When the Rule Gets in the Way
The rule of thirds is a crutch for improving a frame quickly, not a law. There are subjects where it ruins the picture.
A Centered Composition
A symmetrical subject in the center gives force and direct contact with the viewer. That is how icons, posters, and frames with a straight-on gaze are built. If you want a feeling of stillness and solemnity, place the object in the center on purpose. How to hold the balance in a frame like that is covered in the piece on rhythm and balance.
Symmetry and Minimalism
In minimalism, empty space does the work, not the power points. One small object and a huge clean field around it can sit anywhere, including the center. The ratio of the areas matters more here: a rule of 90 percent empty space is stronger than any grid.
A Framing Exercise
You can learn framing in one week if you make four versions of one subject every day.
One Subject, Four Frames
- Pick a simple scene: a mug on a table by a window.
- Draw a frame with the object in the center. That is the control version.
- Make a second frame, with the mug on the left power point.
- In the third, raise the table line to the bottom third.
- In the fourth, crop the mug with the edge of the frame.
Checking with Thumbnails
Draw these frames at 5 by 5 cm, and spend no more than 90 seconds on each. At that size you only see how the masses are distributed, and that is what decides the frame. Lay the four thumbnails side by side, squint, and pick the one that reads from a meter away.
Time to draw, not just read
Theory fades in a couple of days if you never use it. Open the editor and spend 15 minutes on what you just read. That is enough for the skill to stick.
Try it now
A free online editor: brushes, layers, a palette, and a shared canvas. No install and no sign-up.
Start drawingTopics in this guide
- rule of thirds
- framing a drawing
- 3 by 3 grid
- power points composition
- how to crop a drawing
← Rhythm and Balance: how to lead the eye through a drawing Fabric Folds: logic instead of random lines →