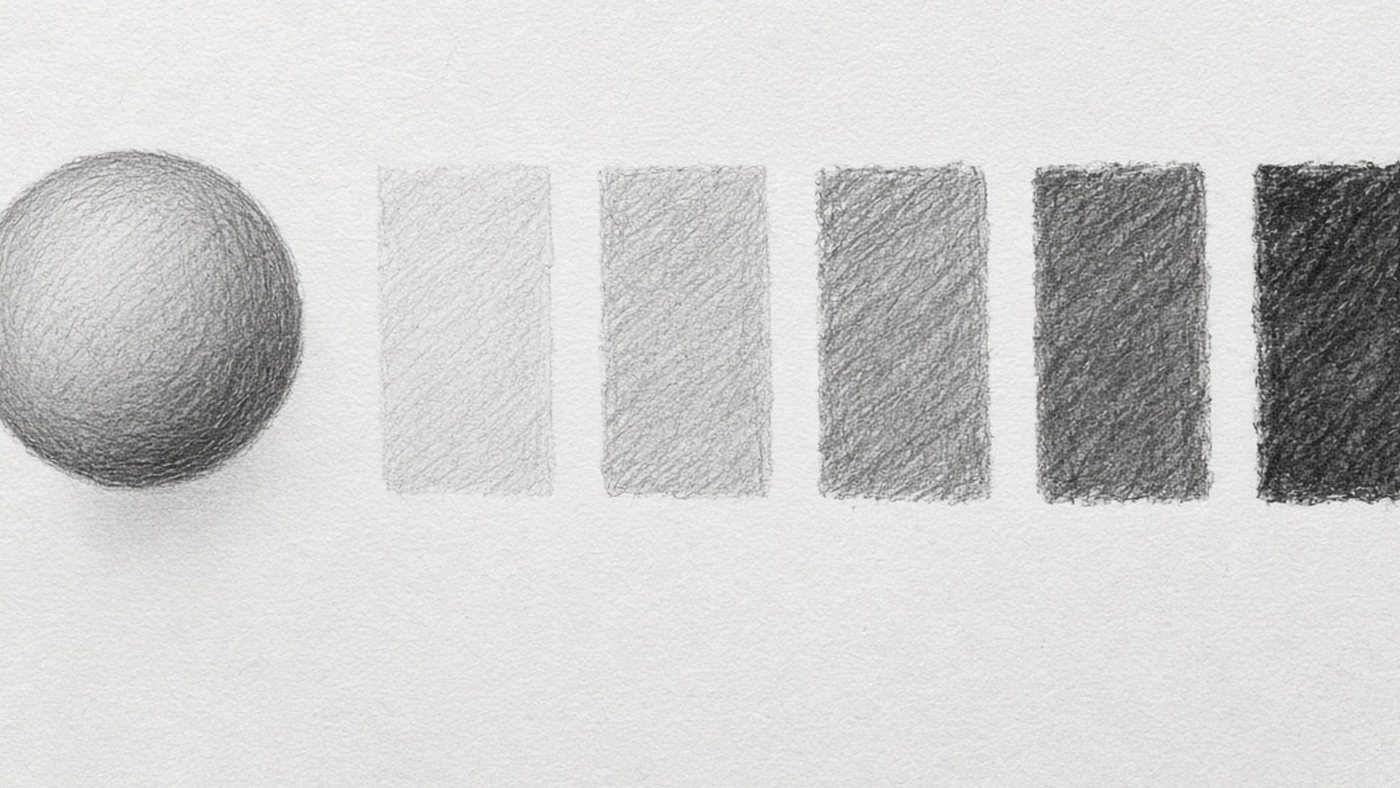
Five zones of light and shadow on a sphere
A sphere is the perfect trainer: it has no corners, so light passes into shadow smoothly and every zone shows at once. Set a mandarin orange on the table, turn on a desk lamp to the left, and sit so the object is at eye level.
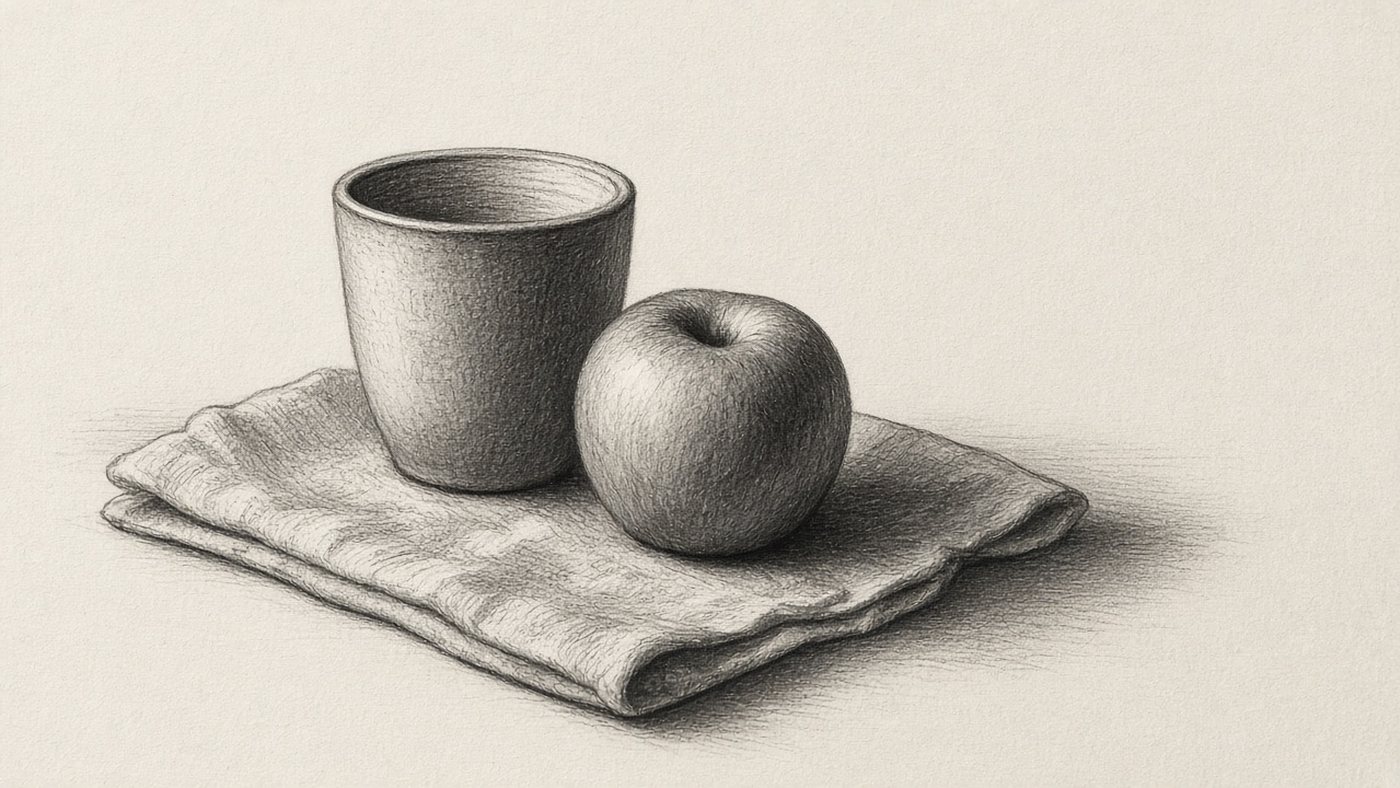
Light, halftone, and form shadow
The highlight is the brightest point, where the ray hits the surface at a right angle. Next comes the lit area, then the halftone, where the form turns away from the lamp, and the form shadow, the area the light does not reach at all.
Reflected light and cast shadow
Light from the table and the walls comes back into the form shadow. That is reflected light, and it is always darker than the lightest part. The cast shadow falls on the table. At the base of the object it is dense and sharp, and as it moves away it lightens and softens. The details are in the article on reflected light.
How the light source changes the picture
The same object under different light looks like two different objects. Before you hatch, settle two questions: where the light is coming from, and how large the source is.

Hard light and soft light
A small source, a phone flashlight or a bare bulb, gives hard light: a sharp shadow edge and a high-contrast shift. A large source, such as a window on an overcast day, gives soft light with a wide, blurred halftone.
Backlight and silhouette
Put the lamp behind the object and it turns into a dark shape with a glowing rim along the edge. The method is useful when the silhouette matters and the details only get in the way.
Value: how to avoid a gray mush
A beginner's main trouble is a whole drawing in two close shades of gray. The work looks muddy because it has neither a true white nor a true black.
A scale of five values
- Draw five squares of 3 cm in a row.
- Leave the first one white, and fill the last with the blackest mark the pencil can make.
- Make the middle square exactly halfway between them.
- Fill the two that remain so the steps are equal.
- Squint: if two squares have merged, redo them.
How to get a smooth shift inside one shape is covered in the piece on the value scale.
The darkest spot and the lightest spot
Every drawing needs one darkest place and one lightest place. Usually that is the shadow under the object and the highlight on it. Put those down first, and the other values will fall into place between them.
Common mistake
Beginners darken the whole outline of the object. That makes it look cut out of paper. Darken only the edge of the form shadow, and leave the edge on the lit side almost invisible.
Light and shadow on complex forms
Once the zones on a sphere make sense, you can move them onto anything. The only difference is how fast the form turns away from the light.
Cube and cylinder
A cube has three faces and three flat values: light, middle, and dark, with no shift inside a face. On a cylinder the value changes smoothly around the curve, but stays the same along the whole height. Hatch along the axis so you do not knock the form off.
The face and folds
A face is a set of volumes: the sphere of the skull, the box of the jaw, the wedge of the nose. Look for the shadow under the cheekbone, under the nose, and under the lower lip, not for wrinkles. The same idea works in a portrait and on cloth: a fold is a cylinder, and it has light, a halftone, and shadow.
Volume exercises
Light and shadow settle through practice on one simple object, not through taking apart complicated scenes. The two exercises below are enough for two weeks at 20 minutes.
One object, three light sources
- Set out a mug and a lamp on the left, and draw for 10 minutes.
- Move the lamp overhead and draw the same mug again.
- Put the lamp behind the mug and make a third drawing.
- Lay the three sheets side by side and compare where the cast shadow is longer.
A drawing in three values
Allow yourself nothing but white, middle gray, and black. Assign every area to one of the three groups, with no smooth transitions. A drawing like that reads from across the room, and you can choose the stroke for it from the article on hatching techniques.
Time to draw, not just read
Theory fades in a couple of days if you never use it. Open the editor and spend 15 minutes on what you just read. That is enough for the skill to stick.
Try it now
A free online editor: brushes, layers, a palette, and a shared canvas. No install and no sign-up.
Start drawingTopics in this guide
- light and shadow
- light and shadow in drawing
- how to draw shadows
- halftone and reflected light
- volume in drawing
← Composition: How to Place Objects So the Piece Reads Color Theory: How Beginners Stop Getting Mud →