What a stroke is for
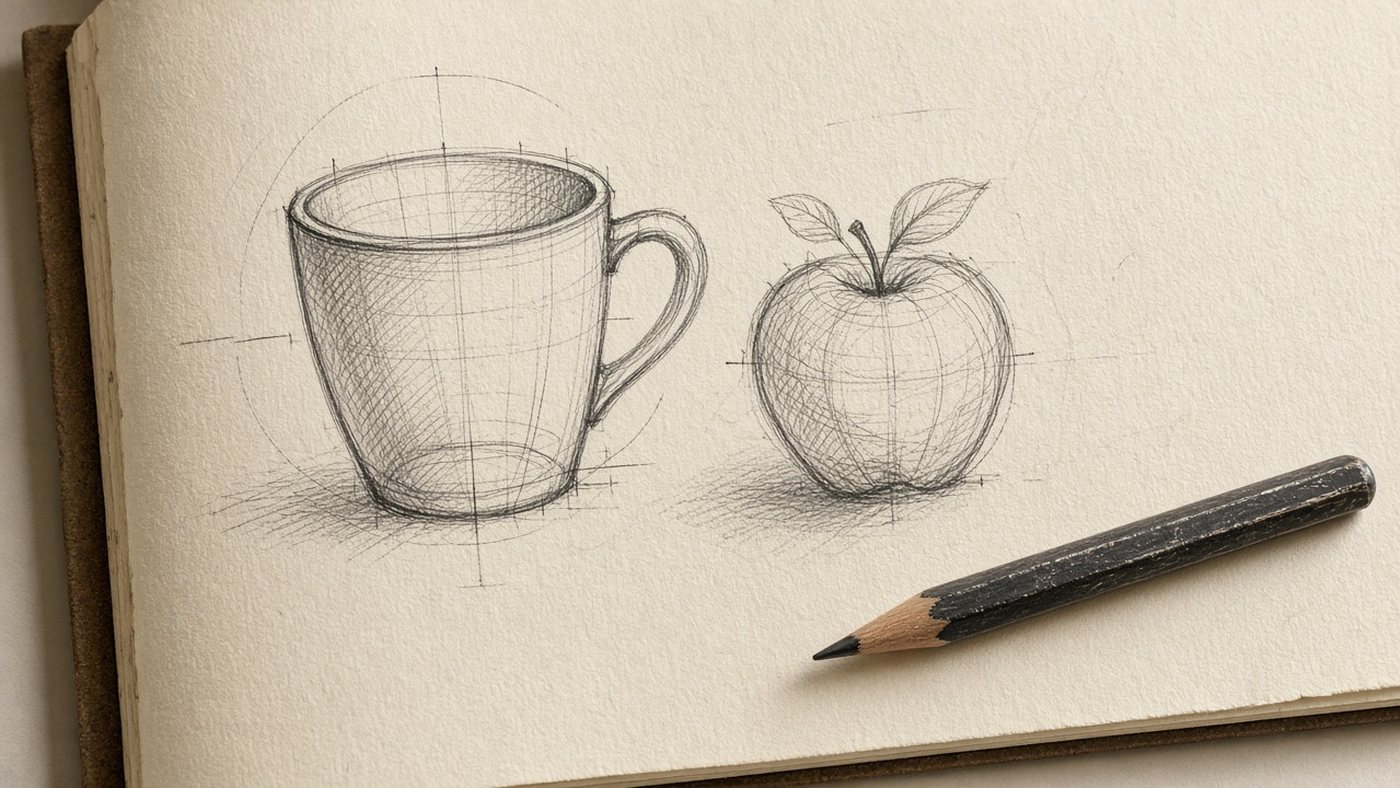
A stroke does two jobs at once: it sets the value, and it tells you what the surface is made of. The same gray shape can be metal, fur, or ground. The only difference is the character of the stroke.
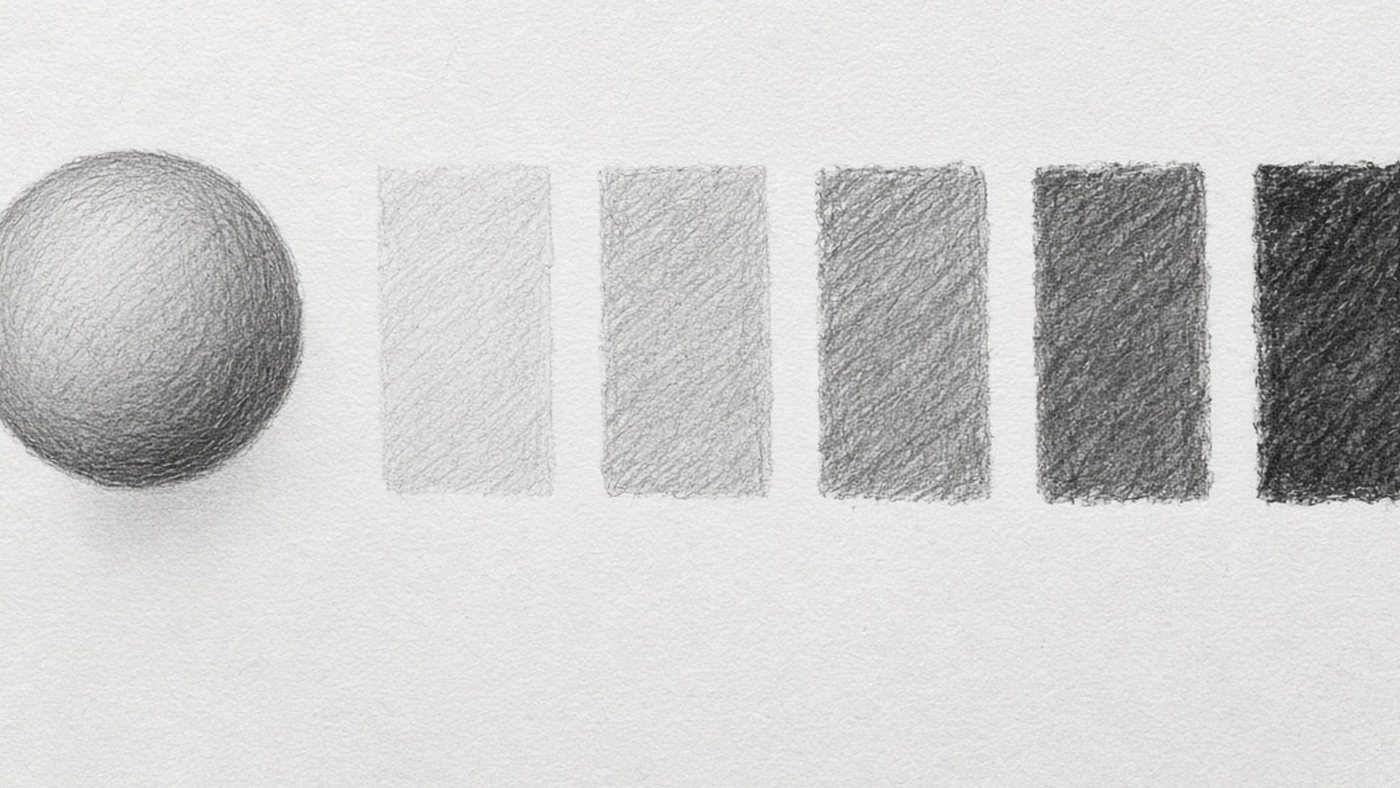
Value plus the character of the surface
A dense, even stroke reads as a smooth surface: glass, plastic, polished metal. A broken, uneven stroke gives something loose: stone, bark, cloth. Choose the technique before you start filling, not after.
A stroke that follows the form
The direction of the stroke should follow the surface. On a cylinder, run the lines along the axis or around the curve. On a sphere, use arcs that follow the curvature. On a flat face of a cube, keep one direction only. A stroke across the form breaks the volume, even when the value is right. How to place value across a volume is covered in the article on light and shadow.
Basic techniques
The two techniques below cover eighty percent of the jobs. Master them until they are automatic before you reach for anything unusual.

Parallel hatching
The lines run in one direction with an even gap. You build value with the distance between lines, not with pressure: the tighter they sit, the darker it gets. Keep the strokes the same length, usually 2-3 centimeters, and the shape will stay even.
Cross-hatching
- Lay a first layer of parallel lines at a 45-degree angle.
- Run the second layer at 90 degrees to the first.
- Turn the third another 45 degrees, and place it only in the shadow.
- Make each following layer smaller in area.
- Build the darkest place with four or five layers.
Techniques for texture
When you need to show a material, not just a shadow, the stroke changes shape. These methods are easy to practice on 3x3 cm squares: one square, one texture.
Contour hatching
The lines wrap the volume, like the parallels on a globe. A stroke like that explains the form by itself, which is why it shows up in anatomy drawings and technical sketches. On cloth folds, contour hatching shows which way the material turns.
Dots, zigzag, and scribbles
- dots: a smooth, gradual value, sand, skin; you build the value with density;
- zigzag: a fast fill for a background, grass, a tree crown;
- looped scribbles: stone, moss, loose ground;
- short broken strokes: fur and hair, following the direction of growth;
- large shapes in one value: glass and reflective metal.
Blending and soft transitions
Blending gives the smoothest gradients, and it also ruins drawings more often than anything else. It works only where the surface really is smooth.
When you should not blend
Do not blend with a finger: skin oil leaves spots that an eraser cannot lift later. Do not blend textured materials. Blended fur turns into gray felt. And do not blend the whole drawing: without a clean stroke, the work looks muddy. Smoothness is better built by layering, as in the value scale exercise.
Tools for blending
A paper blending stump is for small areas, a piece of chamois or a cotton pad is for large planes, and a kneaded eraser is for lifting the light back out. A hard pencil blends poorly. A soft one, from 2B up, blends well.
Shortcut
Make yourself a cheat sheet: a page with 12 squares of 3 cm, one technique in each, labeled underneath. When you do not know how to hatch bark or cloth, you look at that page instead of trying things at random.
Hatching in digital work
In an editor, hatching follows the same rules, but you get a couple of conveniences that paper does not have. The main one is this: do not replace the stroke with a blur.
Textured brushes
A textured brush gives a grain like paper or charcoal, and the stroke looks livelier right away. For cross-hatching, use a hard brush at 2-4 pixels with pressure turned on. A set of options is in the overview of brushes for digital painting.
Hatching on its own layer
Keep the hatching on its own layer above the construction. Then you can erase a failed shadow without losing the drawing. Drop the layer opacity to 60 percent if the value came out too heavy. This method helps most in line art, where clean lines matter more than anything.
Time to draw, not just read
Theory fades in a couple of days if you never use it. Open the editor and spend 15 minutes on what you just read. That is enough for the skill to stick.
Try it now
A free online editor: brushes, layers, a palette, and a shared canvas. No install and no sign-up.
Start drawingTopics in this guide
- hatching
- hatching techniques
- cross-hatching
- how to hatch with a pencil
- texture in drawing
← Proportions: How to Check Your Work and Keep the Figure Intact Geometric Shapes: a base for any object →