Why the line shakes
A shake is not a verdict on your hands. It comes from two habits: the wrong movement, and moving too slowly. Both change in a couple of weeks of short warm-ups, 5 minutes each.
Drawing from the hand instead of the shoulder
The hand is a precise tool, but a short one: its range covers 3-4 centimeters. When you pull a 20-centimeter line with the hand, the arm hits the limit of its movement and starts to tremble. Long lines are drawn from the elbow and the shoulder. Short ones are drawn from the fingers.
Slow movement and the fear of a mistake
The slower you move the pencil, the more tiny corrections the brain has time to add, and the line turns wavy. A fast movement is over before the brain can correct it, so it comes out straight. Fear of a mistake makes you move slowly, and that locks you in a loop.
The mechanics of a confident line
A confident line is a three-step technique, not inborn accuracy. Take it apart once, and repeat it on purpose for the first two weeks.

Look at the end point
Look at the point the line should reach, not at the pencil tip. The hand will adjust the path on its own, the same way you hit a mug by looking at the mug, not at your hand. That one change removes half the misses.
A ghost pass before the pencil touches
- Mark the start point and the end point.
- Move your hand above the page 3-4 times, without touching the paper.
- Once you feel the path, lower the pencil and draw the line in one motion.
- Do not go back and patch it with a second stroke.
- If you miss, draw a new line beside it.
Exercises for every day
The warm-up takes 5 minutes before the main work. Do it on a separate sheet, or on a technical layer in the editor. That sheet is not for anyone else to see.

Connecting the dots
Scatter 20 random dots across the page in pairs, and connect each pair with one line. Count the hits: on the first day you will get 8-10 out of 20, and after a week, 16-18. A number turns the warm-up into a workout you can measure.
Parallel lines and hatching
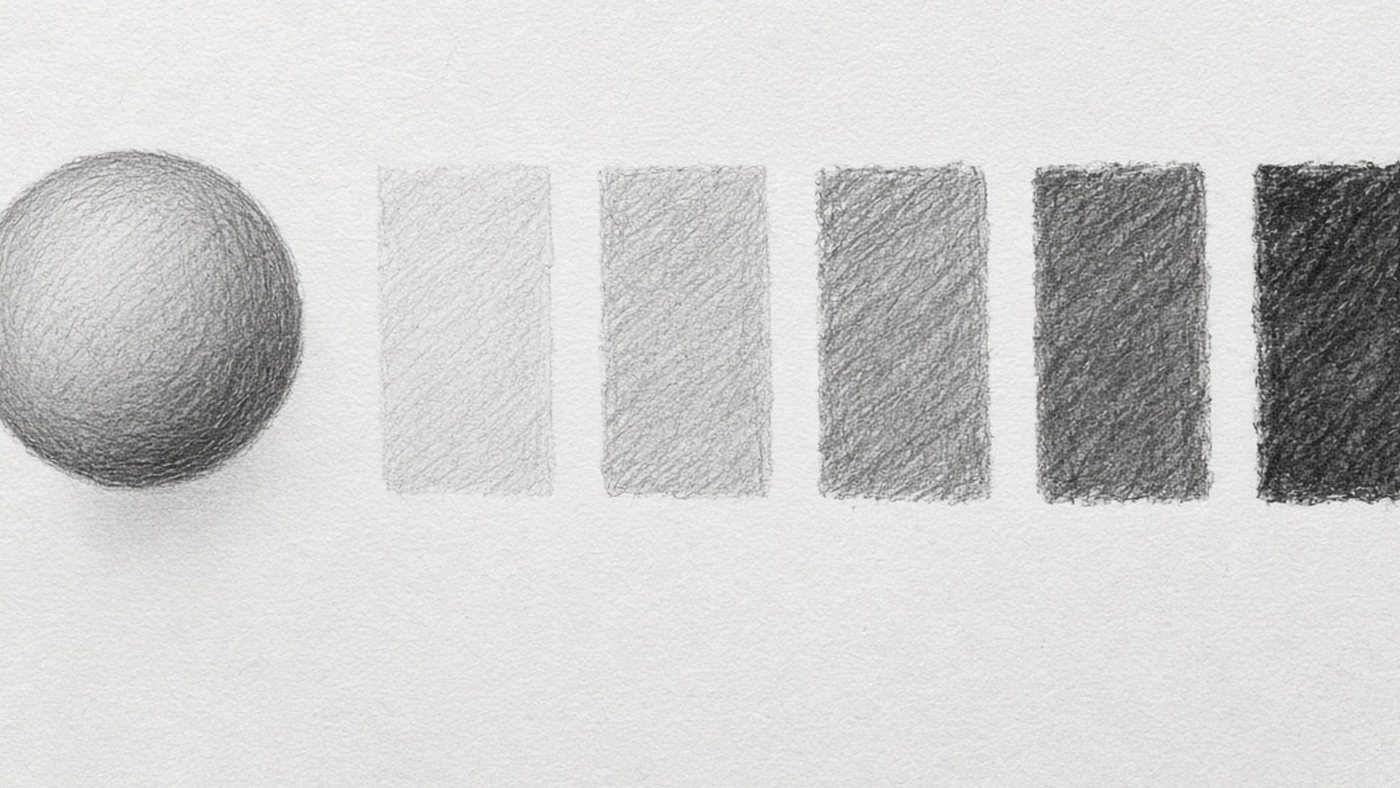
- fill a 5x5 cm square with parallel lines at an even gap;
- repeat them at a 45-degree tilt;
- do the same vertically and horizontally;
- then work in groups of five lines, with a pause between groups.
This exercise turns straight into value, so it pairs well with the methods in the article on hatching techniques.
Curves and ellipses
An ellipse bothers beginners more than a straight line, because you cannot hide a mistake in it. It is also pure mechanics: the hand travels in a circle instead of tracing an outline.
An ellipse drawn by circling
Swing your hand above the page along an oval path, make 5-6 empty circles, and lower the pencil without stopping the motion. Go around the shape two or three times in one flow, then pick the most accurate line and strengthen it. The rules for how ellipses open are in the article on geometric shapes.
Arcs through three points
Place three points: the start, the top of the arc, and the end. Make a ghost pass, then one smooth curve through all three. That is how you draw arches, the backs of characters, and the line of action, anywhere you need a long, smooth arc.
Common mistake
Many people "finish" a line with short patches so they can hit the point more accurately. You get a hairy stroke made of ten hairs. It is better to draw one inaccurate line and leave it: on the drawing it looks more honest.
The digital side
In an editor the line depends on your hand and on the brush settings. A couple of checkboxes can help you, or they can slow the learning down.
Line stabilization in the editor
Stabilization averages the cursor path and removes the small shake. For line art and long, smooth contours, set it at 20-40 percent. How it works together with pressure is covered in the piece on line stabilization.
When the stabilizer works against you
At high settings the line starts to lag behind the cursor, and hitting the point you want gets harder. Stabilization also hides the shake instead of curing it. Turn it off completely for the warm-up, and in a sketch keep it no higher than 10 percent.
Time to draw, not just read
Theory fades in a couple of days if you never use it. Open the editor and spend 15 minutes on what you just read. That is enough for the skill to stick.
Try it now
A free online editor: brushes, layers, a palette, and a shared canvas. No install and no sign-up.
Start drawingTopics in this guide
- how to draw straight lines
- a confident line
- line drawing exercises
- shaky hand while drawing
- ellipse exercises
← Drawing Form: How to Draw Solid Objects, Not Outlines Proportions: How to Check Your Work and Keep the Figure Intact →