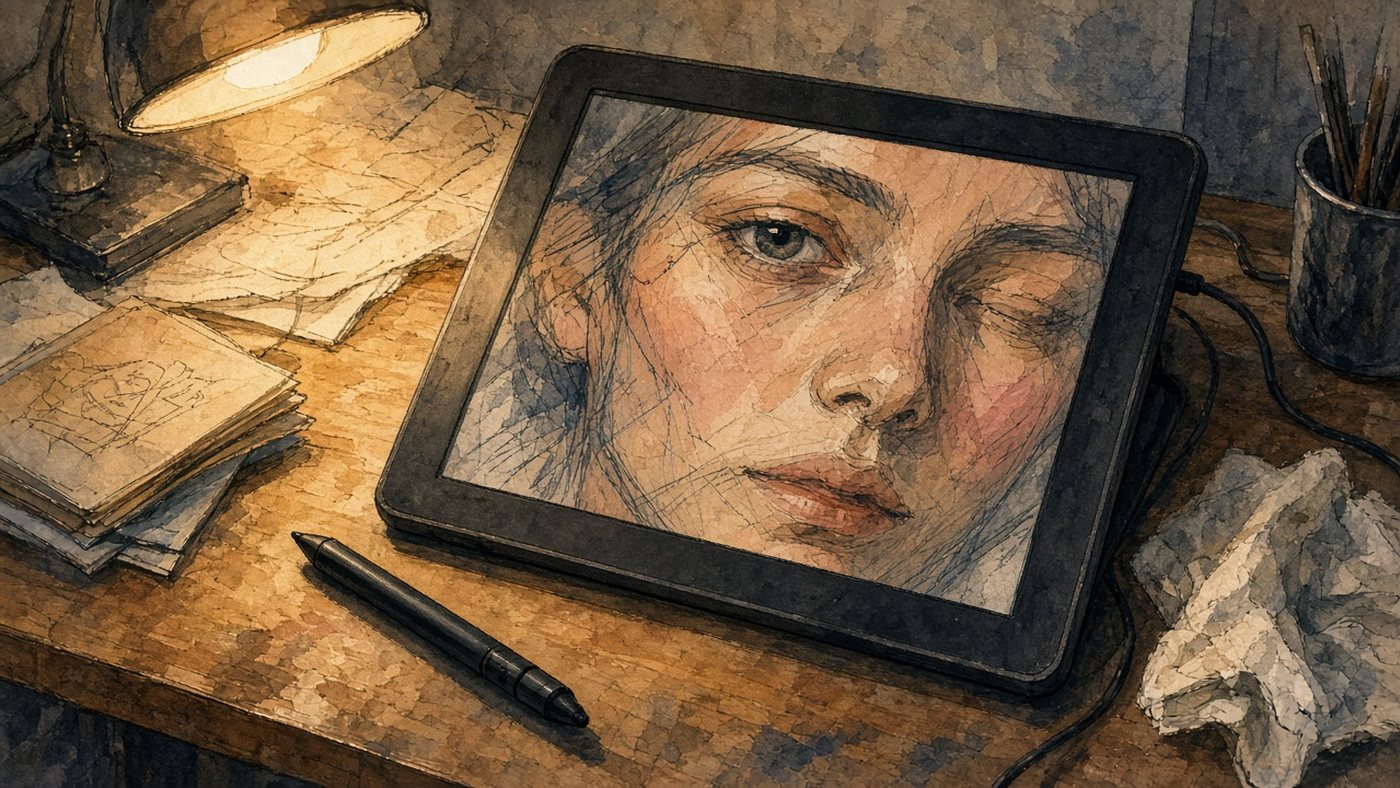
What you need to start
The kit is minimal: a tablet, a pen, and a browser. Everything else is a nice extra, and you can draw for months without it. The main thing is to check that the pen and the model understand each other.
Model and pen compatibility
Apple pens exist in several generations, and they are not interchangeable. The first generation fits older models with a Lightning connector and charges straight through it. The second attaches with a magnet to the side edge and works with models that have flat edges. The pairing is easy to check: open your tablet's tech specs page and find the line about the supported pen. If the magnet on the edge does not hold the pen, the generation is wrong.
Alternatives to Apple Pencil
Third-party pens with a fine tip cost noticeably less. What to know before you buy:
- almost all current models support palm rejection;
- far from all of them pass pressure. Read the specs carefully;
- tilt, for imitating a flat lead, is usually available only on the original;
- a pen like this charges its battery separately, usually over USB-C.
For sketches and line art, a third-party option covers the job completely. For painting with a smooth build of color, you still need pressure.
Setting pressure and tilt
Out of the box, the pen works more roughly than it can. Two settings, five minutes, and the stroke feels noticeably better.
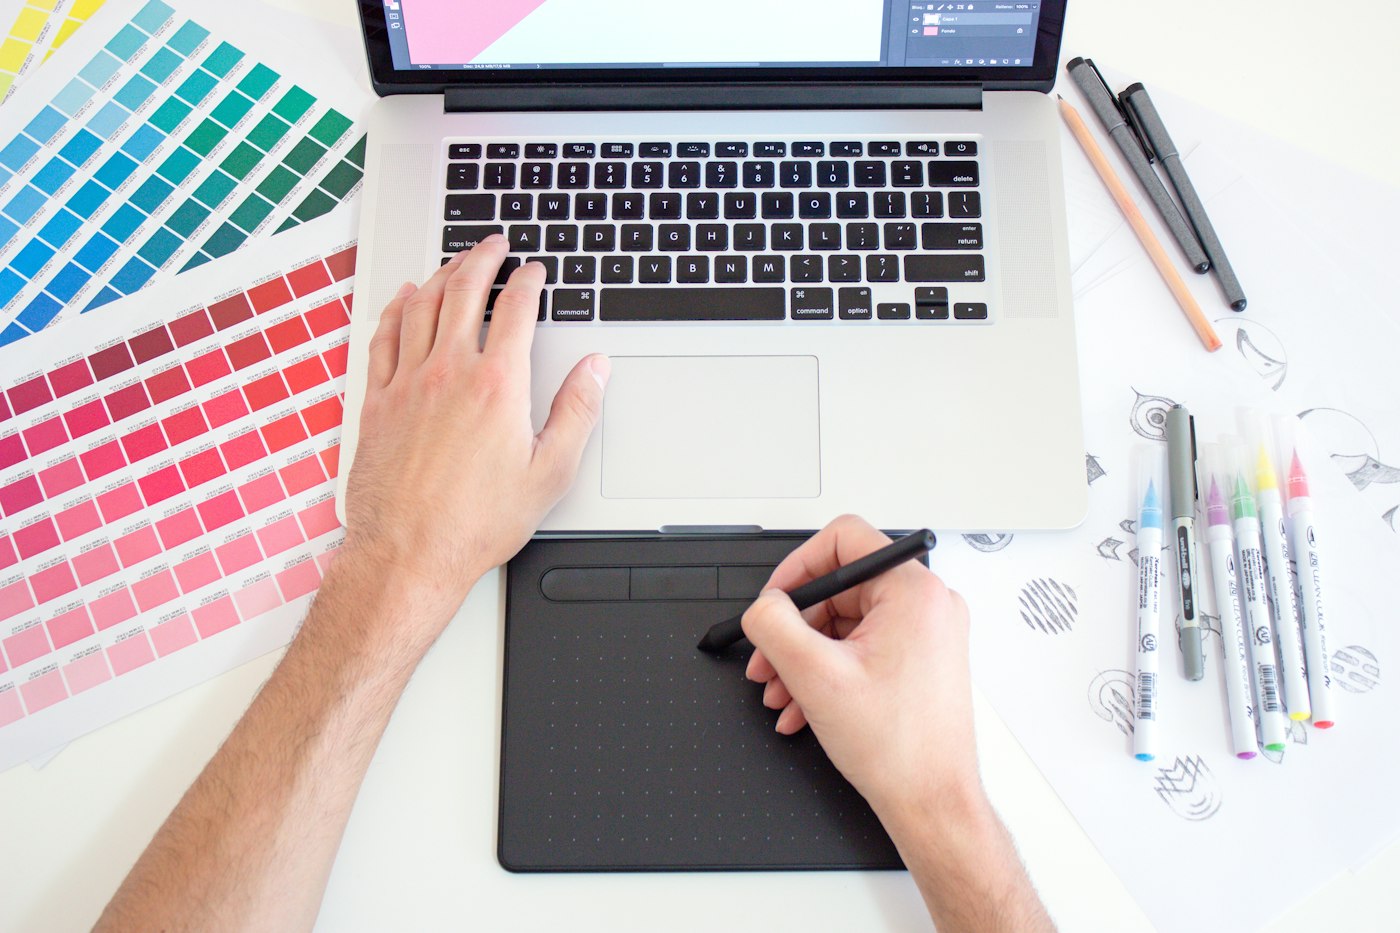
The pressure curve
The curve describes how physical force turns into line thickness. By default it is straight, and that does not suit everyone. If you press lightly and the line comes out thin, push the curve up so a small force gives more thickness. If the opposite happens and the line goes thick right away, drop the start of the curve. Test on a 2000 × 2000 canvas with long arcs, smoothly increasing and easing the pressure. A detailed breakdown of the settings is in the article on line stabilization and pressure.
Turning off accidental touches
In the editor settings, find the option for ignoring finger touches while you draw with the pen. Turn it on, and a palm on the screen will stop leaving blobs. While you are there, check that double-tap on the pen is off, if it keeps switching your tool in the middle of a stroke.
Gestures that speed up the work
Gestures on a tablet replace keyboard shortcuts. Three or four habits save tens of minutes on every piece.
Undo and redo with two fingers
A double tap with two fingers undoes the last action. Three fingers brings back what you undid. This is the most common gesture in digital drawing, and it is the first one to make automatic. Keep the fingers of your free hand over the screen so undo fires without moving the pen. On a computer, the shortcuts from the guide on artist keyboard shortcuts play the same role.
Zoom, rotate, and eyedropper on hold
You can learn the basic set in one evening:
- Pinch two fingers together and the picture zooms out. Spread them and it zooms in.
- Rotate two fingers and the canvas turns to an angle that suits your hand.
- Pinch sharply and the piece fits the whole screen.
- Hold the pen on the canvas and the eyedropper turns on and picks up the color.
- Drag two fingers across the canvas and the picture moves without changing scale.
Rotating the canvas is especially useful for arcs: a line always goes more easily in the natural direction of your hand.
Drawing in the browser on iPad
You don't need to buy an app to start. A browser editor opens from a link and already understands a pen with pressure.
How to open the editor
Type the editor's address, wait for the canvas to load, and create a new file. Then add the page to the home screen through the Share menu. An icon appears that opens the editor like a regular app, with no address bar. Save work with the export button: the file goes to the gallery or to Files, and from there it is easy to send to the cloud.
Full-screen mode
The browser bar eats vertical space and gets in the way of reaching the tools. Launching from the home screen hides it. On top of that, clear the screen of anything that distracts: turn notifications off and close split screen. A canvas that fills the screen changes how the work feels right away. You are looking at the drawing, not the interface.
Tip
Put a matte screen protector on the screen. The pen slips on glossy glass, and a matte surface gives a little resistance. Your hand draws the line more accurately and gets less tired.
Beginner mistakes on iPad
Both typical mistakes have nothing to do with the tablet itself. They come from an unfamiliar way of working. You can fix them in a couple of sessions.
Drawing with your palm on the canvas
On paper, your hand rests on the sheet, and that is normal. On a tablet, that position leads to accidental strokes, a canvas that shifts, and a sudden zoom. Even with palm rejection on, a palm sometimes gets through. Train yourself to hold the hand slightly raised, bracing on the edge of the palm at the very edge of the screen. A light glove that leaves two fingers free helps too. It physically keeps skin off the glass.
A canvas that is too small
The screen is small, so beginners pick a 1000 × 1000 canvas and then cannot detail the work or print it. Set at least 2000 pixels on the long side, and 3000 is better if the tablet is recent. Also watch the layer count: on smaller models, after twenty layers the editor starts to lag. The mobile format is good for sketches overall, and its limits are covered in the articles on drawing on a phone and drawing on a tablet without paper.
Time to draw, not just read
Theory fades in a couple of days if you never use it. Open the editor and spend 15 minutes on what you just read. That is enough for the skill to stick.
Try it now
A free online editor: brushes, layers, a palette, and a shared canvas. No install and no sign-up.
Start drawingTopics in this guide
- drawing on ipad
- apple pencil for drawing
- how to draw on ipad
- ipad setup for drawing
- drawing gestures
← Drawing on a Phone: How to Draw with a Finger Without the Struggle Artist Keyboard Shortcuts: 12 Shortcuts That Save Hours →