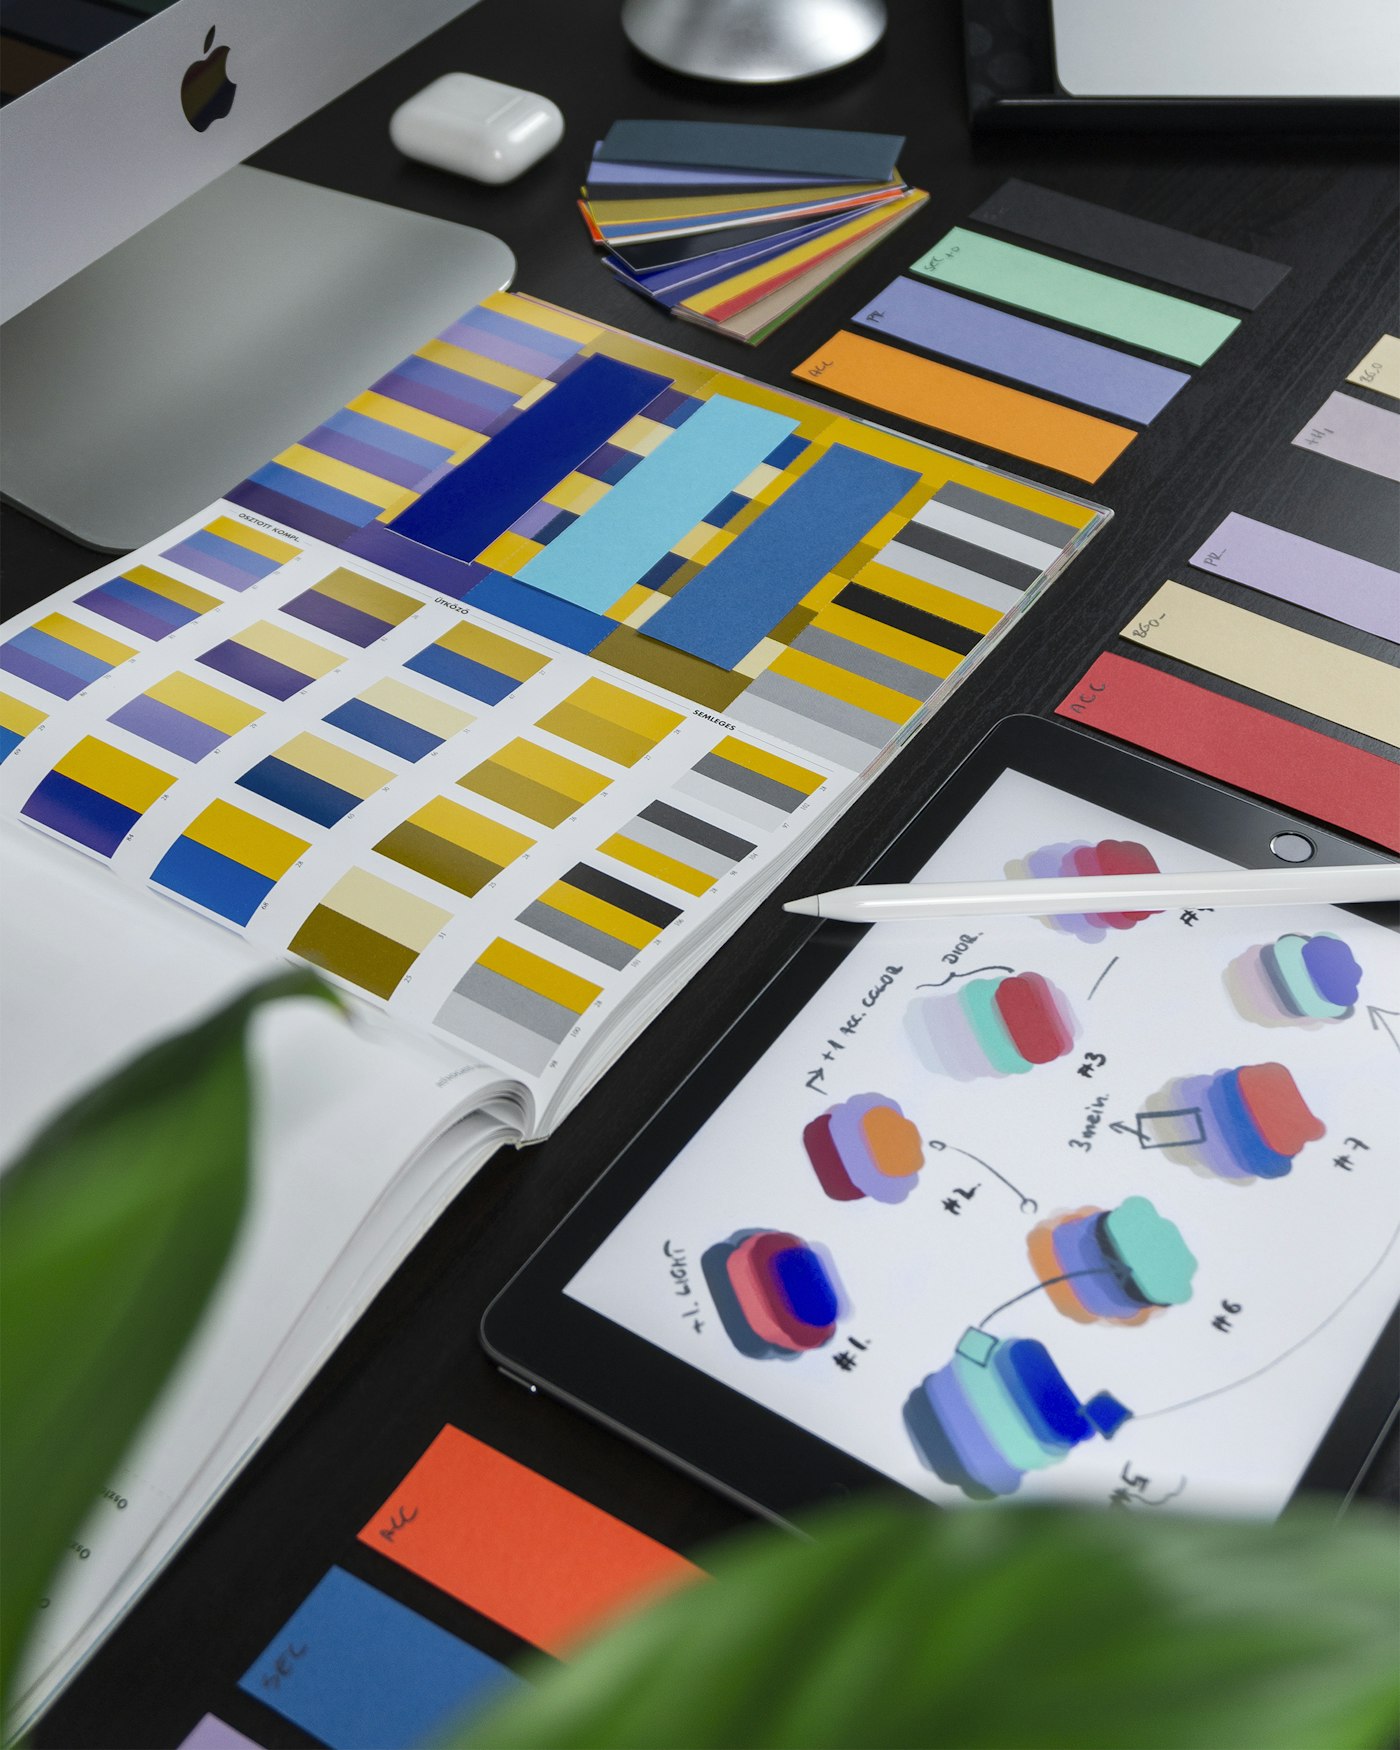
How a blend mode calculates pixels
A blend mode is the formula that mixes the color of the upper layer with the color of the layer below. Normal simply covers whatever sits underneath. The others compare pixel brightness and produce a new result. You do not need the formula. Remember which mode darkens, which one lightens, and which one boosts contrast.
The layer above changes the layer below
You assign the blend mode to the upper layer, and it affects everything underneath. Swap the layers and the result changes. Order matters here as much as it does in ordinary work with layers in a graphics editor.
Why white and black act strangely
In Multiply, white is fully transparent: it does not darken anything. In Screen, black behaves the same way. That is useful. If you paint too much, go over it with white or black and the layer turns neutral again.
Multiply: shadows and color
Multiply multiplies brightness values, so the result is always darker than the original. It is the main blend mode for shadows and hatching.
A soft shadow on one layer
Take an apple filled with red on its own layer. Above it, create a new layer, set the blend mode to Multiply, and set the opacity to about 60%. Paint the shadow in a gray-blue. The base color stays intact, and the shadow keeps the color of the object.
The risk of muddy shadows
Pure gray and black in Multiply kill the color: the apple goes dead, not just darker. Use saturated cool colors: blue, purple, green. If the shadow still looks muddy, check the logic in the article on light and shadow in a drawing.
Screen and Add: light
These blend modes work the other way. They add light and make the picture lighter. Black pixels in them disappear completely.
Highlights and glow
For a soft glow, use Screen at 40–70% opacity. With a large soft brush, pass over the lit side of the object in a warm yellow. Add hits harder. It works well for sparks and lamps, but it blows out color easily.
Rim light
Rim light is a narrow bright edge along the side of an object that faces the light. Make a layer in Screen, take a hard brush at 4–8 pixels, and trace the edge of the silhouette. The strip should break. A continuous outline looks like a sticker.
Common mistake
Beginners set the layer opacity to 100% and get scared by the result. Almost every blend mode is meant for the 20–70% range. Start at 30% and raise it until the effect is visible, but not loud.
Overlay and Soft Light
Overlay and Soft Light are contrast blend modes. They push dark areas darker and light areas lighter, and they barely touch the midtones.
Boosting contrast
Did the piece come out flat and gray? Add a layer in Overlay, paint the dark zones a deep blue, and paint the light zones a warm orange. Soft Light follows the same logic, but about three times more gently.
Tinting the piece
One color atmosphere pulls a drawing together:
- Create a new layer above everything else.
- Set the blend mode to Overlay and fill the layer with one color.
- Drop the opacity to 15–25%.
- With a light-pressure eraser, lift the tint off the main subject.
Color and hue
These blend modes take the hue from the layer above and leave the lightness of the layer below. Volume and form stay intact.
Recolor without losing value
You drew a character in a blue jacket, and now you need green? A layer set to Color does it in one stroke: the shadows and highlights stay put. That is faster than repainting by hand or wrestling with layer masks.
A fast palette swap
Make three copies of the layer with different fills and toggle them to compare versions. The groundwork for experiments like that is in color theory for beginners.
A working order
Blend modes pay off when they go in the right order. Light on top of shadow works. Shadow on top of light almost never does.
Local color, then shadow, then light
Start with a flat fill and no blend mode, then shadows, then highlights, and only after that the details:
- local color: Normal, 100%;
- shadow: Multiply, 50–70%;
- midtone: Multiply, 30%;
- highlights: Screen, 40–60%;
- glow and sparks: Add, 20–40%;
- color grade: Overlay, 15–25%.
The final color grade
On the last step, shrink the piece to thumbnail size. If the atmosphere does not read, add an Overlay layer and shift the color toward warm. Then check the edges: glow often spills past the silhouette.
Time to draw, not just read
Theory fades in a couple of days if you never use it. Open the editor and spend 15 minutes on what you just read. That is enough for the skill to stick.
Try it now
A free online editor: brushes, layers, a palette, and a shared canvas. No install and no sign-up.
Start drawingTopics in this guide
- blend modes
- multiply layer
- screen blend mode
- overlay in drawing
- how to paint light with layers
← Resolution and DPI: which canvas size to choose Layer masks: draw cleanly without the eraser →