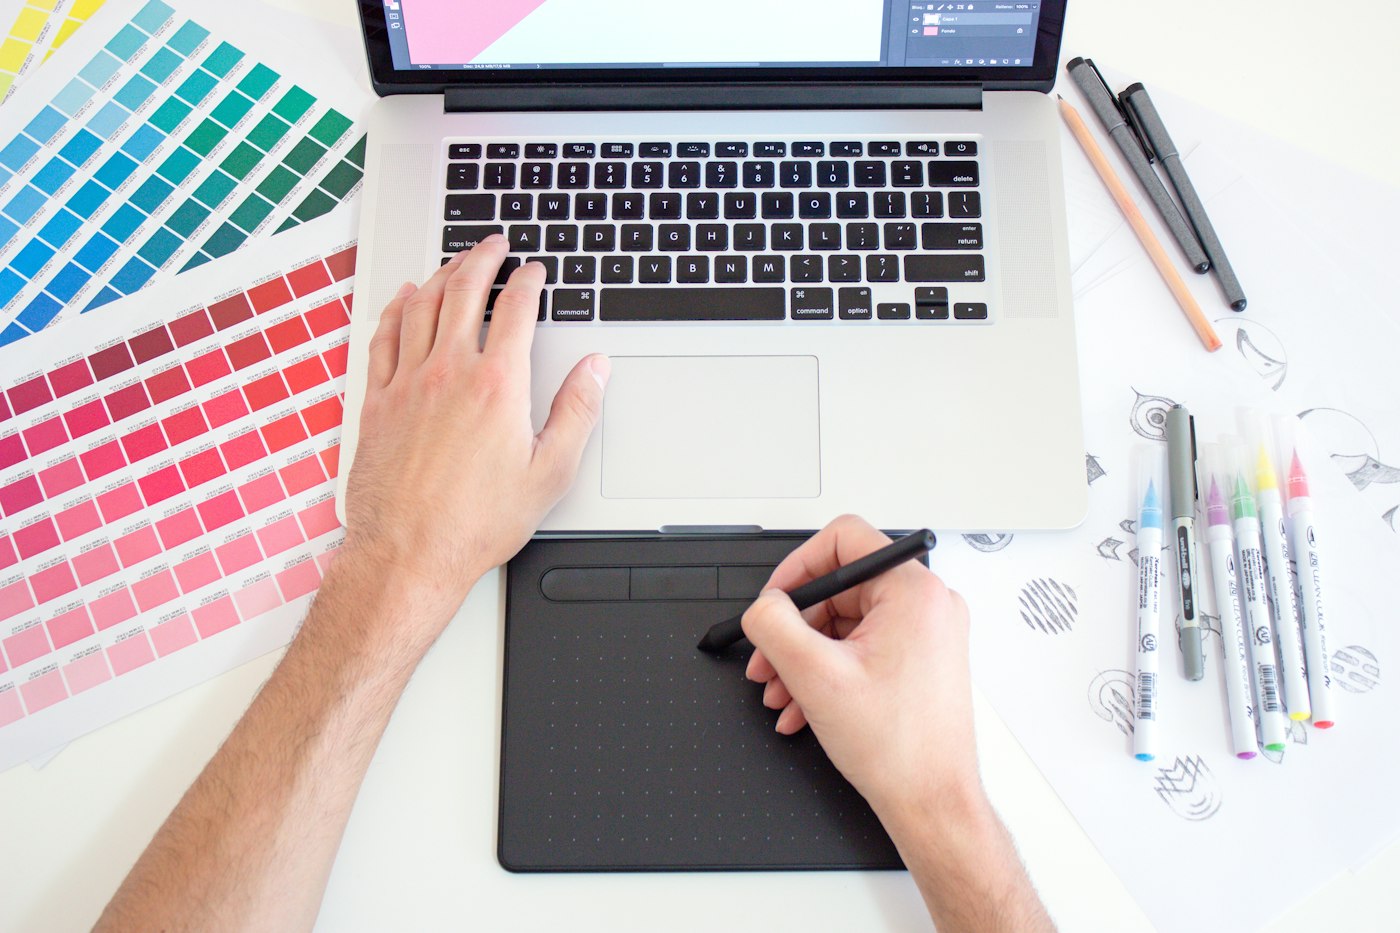
Pixels versus centimeters
A digital drawing does not know centimeters. It is made of pixels, tiny colored squares laid out on a grid. Centimeters show up only when you print, so a size in pixels always needs a second number: density.
What resolution means
Resolution is the canvas size in pixels, for example 1920 × 1080 or 4000 × 5000. The first number is the width, the second is the height. More pixels means more detail you can actually draw. On a 500 × 500 canvas, thin eyelashes will not fit, no matter how far you zoom in.
Where DPI comes from
DPI is dots per inch, the multiplier between pixels and a real-world size. A file 3000 pixels wide at 300 DPI gives you about 25 centimeters of paper. The same file at 72 DPI stretches to nearly a meter, but the print comes out loose and soft. The DPI number itself does not add pixels. It is only a note stored in the file.
A canvas for the screen
On a screen, DPI does not matter. Only pixels do. Match the monitor resolution and the requirements of the place where you plan to publish the work.
Social posts and profile pictures
Draw larger than you need, so you can scale down later. Scaling down does not hurt the image. Scaling up always does.
- square post: 2000 × 2000 pixels;
- vertical post: 2000 × 2500;
- Stories: 1080 × 1920;
- profile picture: 1000 × 1000, with large details;
- channel banner: 2560 × 1440.
Wallpapers and banners
Draw desktop wallpapers at 2560 × 1440, and at 3840 × 2160 if you want room for 4K monitors. Use 1440 × 3120 for phone wallpapers. Make web banners twice the size you need. High-density screens will show them sharper.
A canvas for print
Paper shows everything you did not finish. Here pixels and DPI work together, and you need to calculate the size before the first stroke.
300 DPI, and when 150 is enough
The standard for a quality print is 300 DPI. A4 at 300 DPI is 2480 × 3508 pixels. A3 is 3508 × 4961. For a poster viewed from two meters away, 150 DPI is enough. The math is simple:
- Decide the physical print size in centimeters.
- Divide it by 2.54 to get inches.
- Multiply the inches by the DPI you need. That is your pixel count.
- Add bleed and create the canvas.
Bleed for the trim
A print shop cuts paper with a small error, so leave 2–3 millimeters of bleed at the edges. The background should run into that zone, or a white strip will show. Keep important details and the signature 5 millimeters inside the edge.
Tip
Keep two presets: 3000 × 3000 at 300 DPI for print, and 2000 × 2000 for the web. The first scales down for any job. The second opens quickly even on a weak laptop.
Why upscaling does not save you
You cannot enlarge a finished file without loss. The program does not know what was between the pixels, so it has to invent that data.
Interpolation and blur
When you scale up, the editor averages neighboring pixels. A line one pixel wide turns into a blurry band three pixels wide. Line art and small text suffer the most. Why that happens is clearer in the guide to raster vs vector.
AI upscaling: where it stops
Upscale algorithms invent a plausible texture. They do not restore your real strokes. A 2× enlargement usually passes unnoticed. At 4× you can already see a hand that is not yours. Small details in the face go first.
How not to kill performance
A huge canvas is not always better. It eats memory and turns drawing into a fight with lag.
A canvas that is too large, and the lag
Each layer on a 6000 × 6000 pixel canvas takes more than a hundred megabytes of memory. Ten layers like that, and the brush starts to lag behind the cursor. In a browser, a comfortable maximum is about 4000 pixels on the long side. If the delay gets in the way even on a smaller canvas, check the settings for line stabilization and pressure.
Working size and export size
Keep two sizes separate. In the working file, hold the layers and a resolution that still feels comfortable, and export a separate copy for each platform. Always keep the source file. You can make a version at any size from it. How to do that cleanly is covered in the article on exporting a drawing without losing quality, and platform requirements will help when you put together an artist portfolio.
Time to draw, not just read
Theory fades in a couple of days if you never use it. Open the editor and spend 15 minutes on what you just read. That is enough for the skill to stick.
Try it now
A free online editor: brushes, layers, a palette, and a shared canvas. No install and no sign-up.
Start drawingTopics in this guide
- canvas resolution
- DPI for print
- canvas size for drawing
- how many pixels you need
- social media image size
← PNG, JPG, or SVG: Which Format to Save a Drawing In Blend modes: 6 modes you actually need →