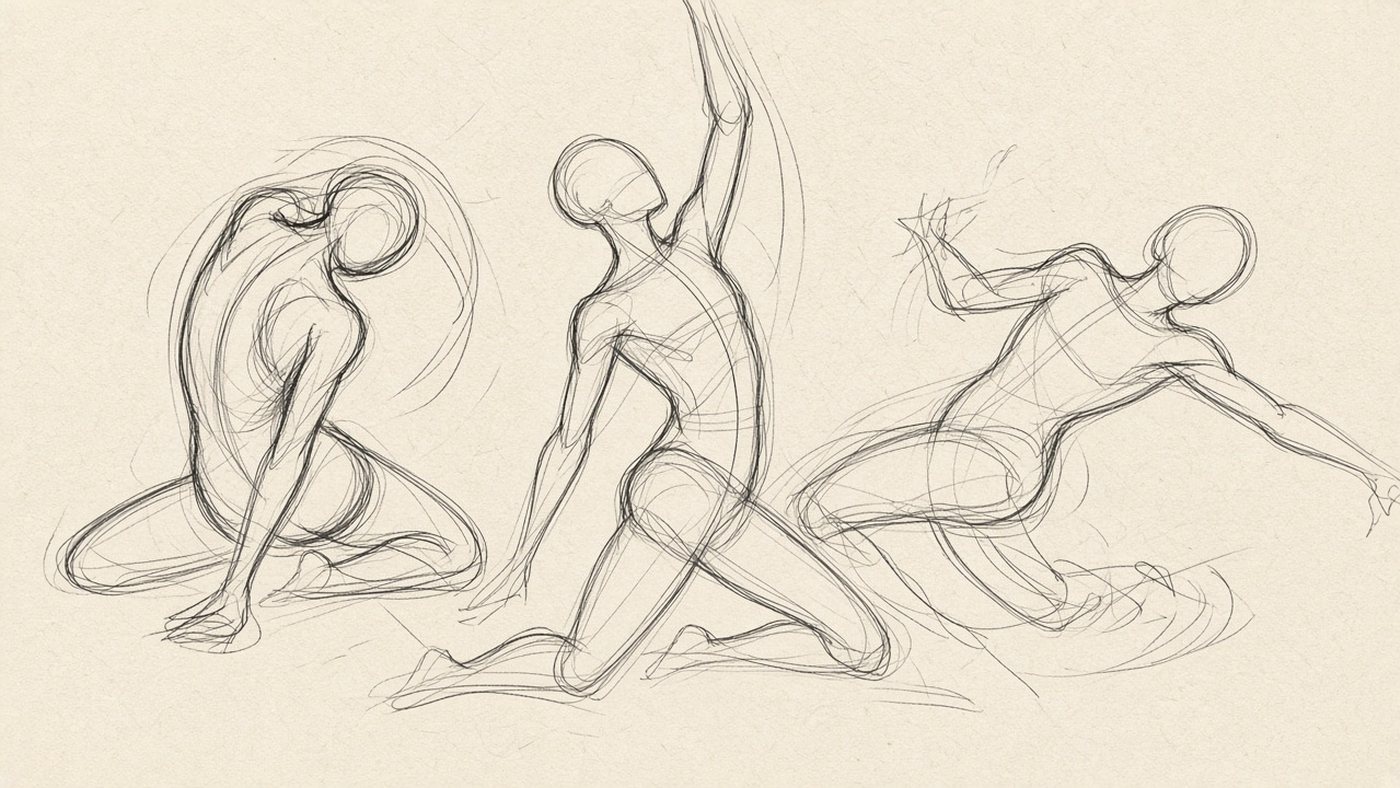
Why an artist needs anatomy
Anatomy lets you draw a person when no reference is at hand, and it keeps turns from scaring you. What matters to an artist is not the name of a muscle. It is the form that muscle makes on the surface, and how that form changes when the body moves.
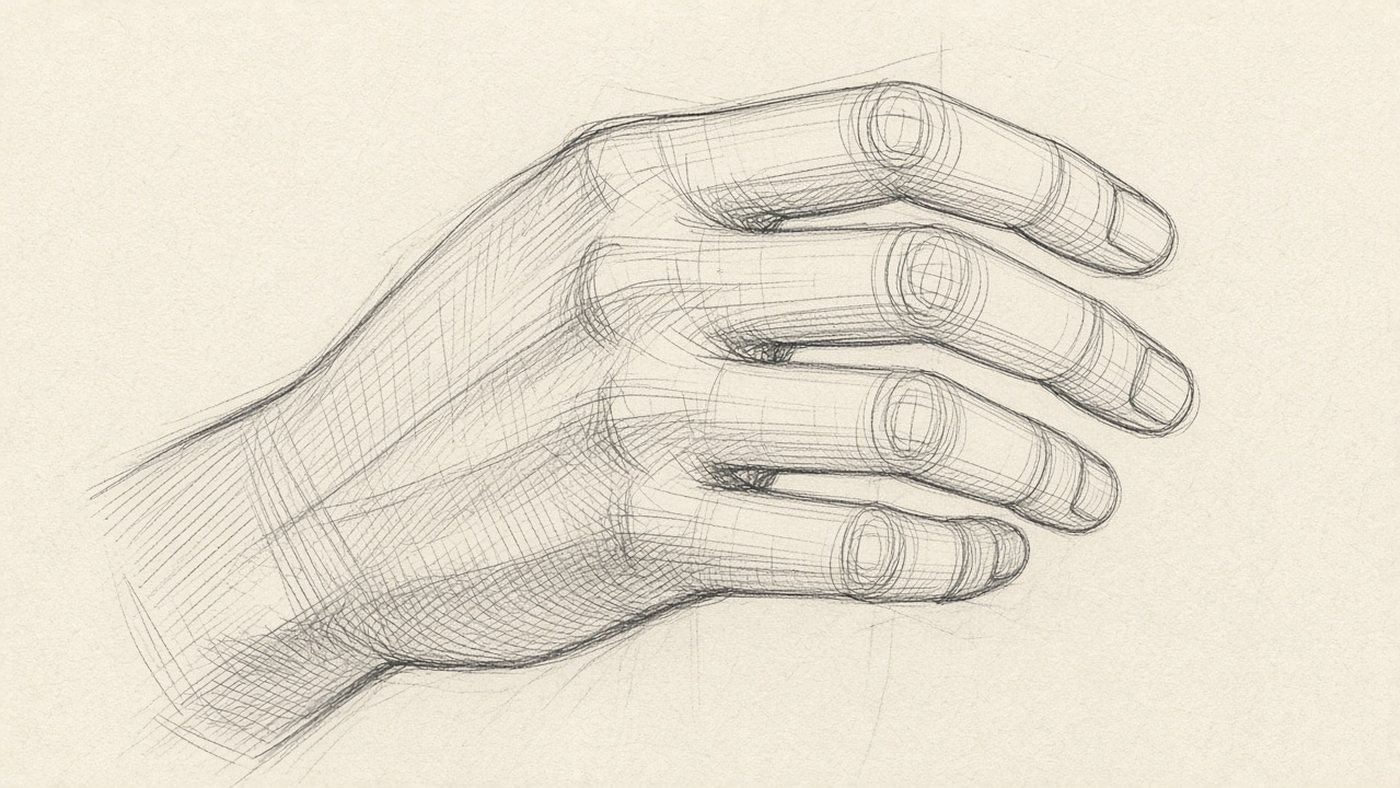
Understanding instead of copying
You can copy a photo with no anatomy at all, but you will not be able to turn that same figure 30 degrees. Knowing the frame lets you build what the reference does not show: a hidden shoulder, an arm behind the back.
When anatomy gets in the way
If you render every muscle, the figure starts to look like an anatomy chart, not a person. A living drawing is held up by movement and silhouette. Muscles only refine the form at the very end.
Step 1: the frame and the axes
Start with two or three lines, not with the outline of the body. A mistake in the frame is ten times cheaper to fix than one found at the detail stage.
The line of action
Draw one smooth arc from the head through the torso to the supporting leg. That line sets the whole character of the pose: the more it bends, the more alive the figure feels. A straight vertical makes a dull "post."
Rib cage and pelvis as two boxes
It helps to reduce the body to two volumes: the rib cage as an egg or a box, the pelvis as a smaller box. Turn the boxes in different directions and you get a twist in the torso. How to build them is shown in the article on drawing form.
Step 2: figure proportions
Proportions hold the figure together. If the head is a bit too big, no amount of anatomy will save the drawing, so the measurements are learned before the muscles.
Eight heads and other measurements
- an adult's height is about 7.5-8 heads;
- the pelvis line splits the figure in half;
- the elbow sits at waist level;
- the hand with the fingers is about as long as the face;
- the foot is about as long as the forearm;
- the knee is halfway between the pelvis and the floor.
How to check these relationships on the page is shown in detail in the piece on proportions in drawing.
How male and female figures differ
On a male figure the shoulders are wider than the pelvis, the rib cage is larger, and the silhouette is closer to an inverted trapezoid. On a female figure the pelvis is wider relative to the shoulders, the waist sits higher, and the bend of the line of action is usually easier to see.
Step 3: large muscle masses
Learn muscles in groups, not one by one. For drawing, it is enough to know which mass starts where and where it attaches. That explains why the form bulges in that exact spot.
Back, arms, and legs without the details
On the back, remember the lats: two broad masses that make the silhouette a V. On the arm, two masses are enough, the flexors underneath and the extensors on top. On the leg, the quadriceps in front and a large mass in back.
How muscles change the silhouette
When a muscle tightens it gets shorter and thicker, so the silhouette of an arm with a fist is different from a relaxed arm. Watch the asymmetry: the bulge sits higher on one side of the limb than on the other. That saves the drawing from looking rubbery.
Tip
Do not study more than two muscle groups in a week. Take one group, make 20 sketches from it, and only then take the next. An atlas read in one evening is forgotten in three days.
Step 4: construction figures and simplification
A construction figure is a simplified body made of simple volumes, with no face and no fingers. You use it to search for a pose and an angle quickly, in a minute or two.
A mannequin of cylinders
Build the figure like this: a sphere for the head, a box for the chest, a box for the pelvis, four cylinders for the limbs, and wedges for the hands and feet. Mark the joints with small spheres. A mannequin like that takes 90 seconds to draw.
Foreshortening through simple volumes
To understand foreshortening, draw an arm cylinder pointed straight at the viewer: it becomes a short segment with an ellipse on the end. Add cross-sections, ellipses across the cylinders, and the volume reads at once.
How to practice
Anatomy sticks through the number of sketches, not the number of pages you read. Twenty minutes a day shows results within a month.
30-second sketches
- Set a timer for 30 seconds and turn on a set of figure photos.
- In that time, draw only the line of action and the two boxes of the torso.
- Make 20 of these sketches in a row, without going back to earlier ones.
- Then make 5 sketches of 2 minutes each: add the limbs as cylinders.
- Make the last sketch in 10 minutes, with the muscle masses.
A figure from memory
Once a week, draw a figure with no reference, then compare it with a photo and write down exactly what you forgot. The method is the same as drawing from memory: it shows the holes in what you know more clearly than any quiz.
Time to draw, not just read
Theory fades in a couple of days if you never use it. Open the editor and spend 15 minutes on what you just read. That is enough for the skill to stick.
Try it now
A free online editor: brushes, layers, a palette, and a shared canvas. No install and no sign-up.
Start drawingTopics in this guide
- anatomy for artists
- human figure proportions
- how to draw people
- skeleton and muscles for drawing
- construction figure
← Color Theory: How Beginners Stop Getting Mud Drawing Form: How to Draw Solid Objects, Not Outlines →