Three Forces That Make a Fold
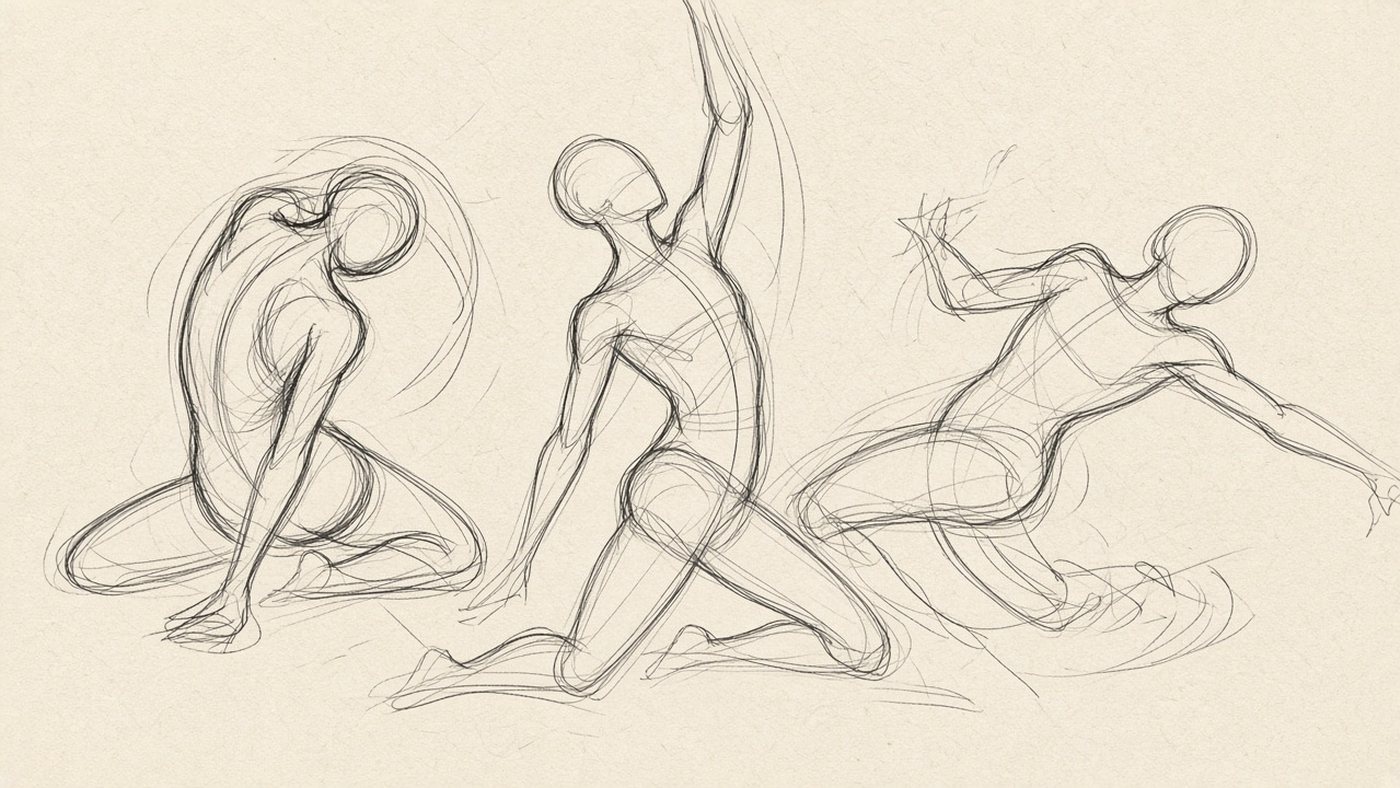
Fabric does not wrinkle at random. Only a few forces act on it. Find them, and the folds line up on their own, without lines you invented. A beginner's mistake is drawing a pattern instead of how the material behaves.
Gravity
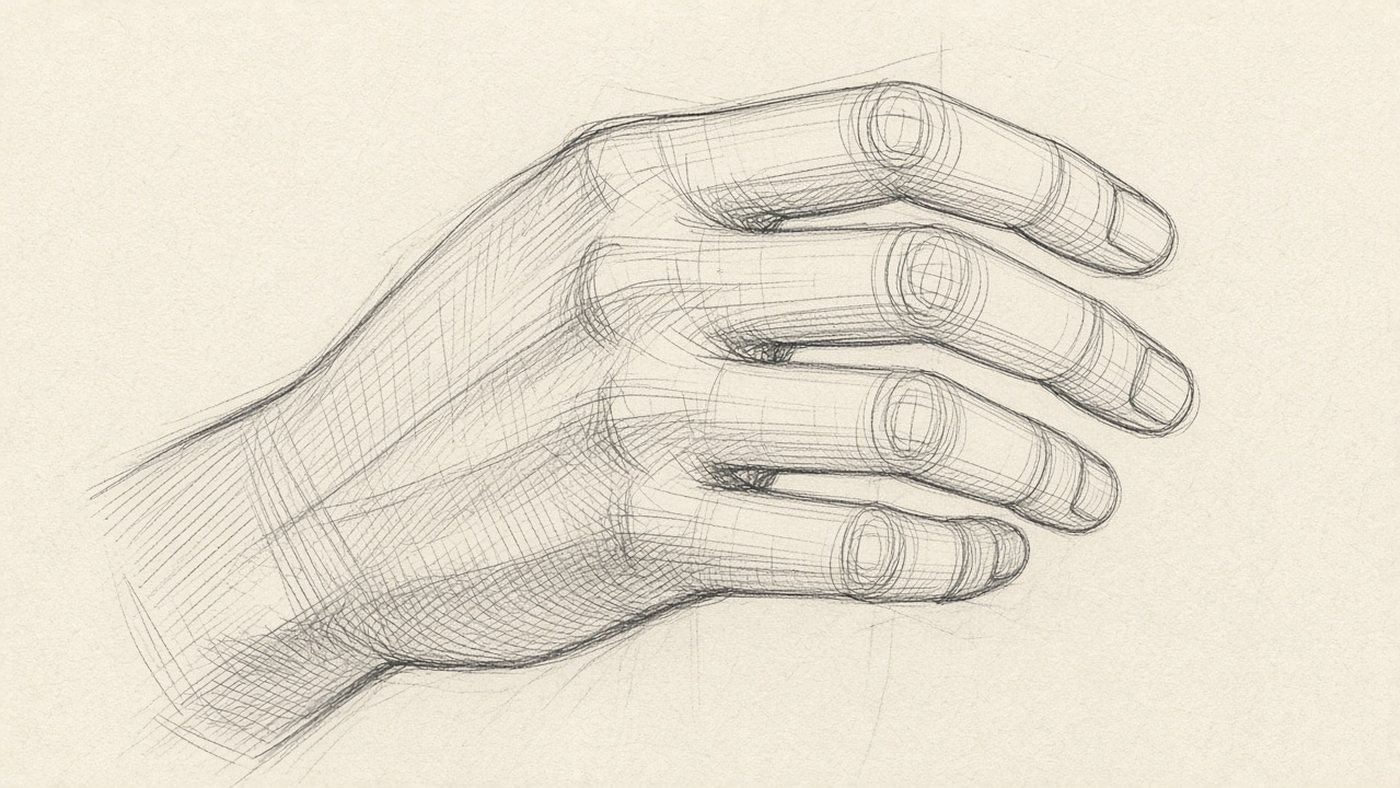
Fabric always falls downward, and the folds run in the direction of that fall. Hang a towel over the back of a chair and look: the lines run straight down from the point of support. If a fold runs sideways for no reason, the drawing looks fake at once.
Tension and Support
A support is the place where the fabric is held by something: a shoulder, a nail, a belt. Tension shows up between two supports, and that is where long, straight folds appear. On a shirt pulled tight across the shoulders, the folds run almost in a straight line from one shoulder to the other.
The Main Types of Folds
There are only six or seven kinds of folds, and they repeat on any piece of clothing. Learn them, and you stop guessing.
Tubular and Hanging Folds
A tubular fold is a cylinder of fabric, the most common form on a sleeve and a pant leg. A hanging fold appears when the material drapes freely from one point, for example from a shoulder or from the edge of a table. Draw them as cylinders and cones, only softer and slightly flattened.
Radial, Zigzag, and Spiral
- radial: they fan out from a tension point, from an elbow, a fist, or a button;
- zigzag: they show up on a bent knee or elbow, when the fabric bunches like an accordion;
- spiral: they wrap around an arm or a leg, and they are typical of a sleeve;
- pool: they gather in a puddle at the bottom of a pant leg or on the floor under a tablecloth;
- inert: sagging fabric with no tension, soft and limp forms.
Common mistake
Do not draw every fold the same thickness. Near a tension point they are narrow and sharp, and toward the free edge they widen and soften. A change in thickness is half of what makes them look real.
Tension Points on the Figure
Clothes catch on the body in predictable places. Find those places on the reference, and the folds start to make sense.

Shoulders, Elbows, Knees, and Waist
The shoulder carries the whole weight of a shirt, so the main lines run downward from there. An elbow or a knee makes a zigzag when it bends: the fabric pulls tight on the outside and bunches on the inside. The waist and the belt work as a second hook, and the folds leave them in a fan going down.
How the Pose Changes the Folds
A raised arm throws every fold toward the armpit, and a seated pose gathers them at the crotch and under the knee. Try a direct test: photograph yourself in a T-shirt standing, sitting, and with your arms raised. Three photos will show you more than a dozen references from other people, which is also what the article on working from reference recommends.
The Material Matters
The same bend of an arm makes a completely different pattern in silk and in denim. The material decides how many folds there are and what they look like.
Silk, Denim, Knit, and Leather
Silk makes many small, sharp folds and crisp highlights. Denim is heavy and stiff: there are few folds, they are large, and the ridges are rounded. Knit clings to the body and barely makes folds, but it shows the form underneath. Leather folds in occasional large creases and catches highlights in bands.
Fabric Thickness and Soft Edges
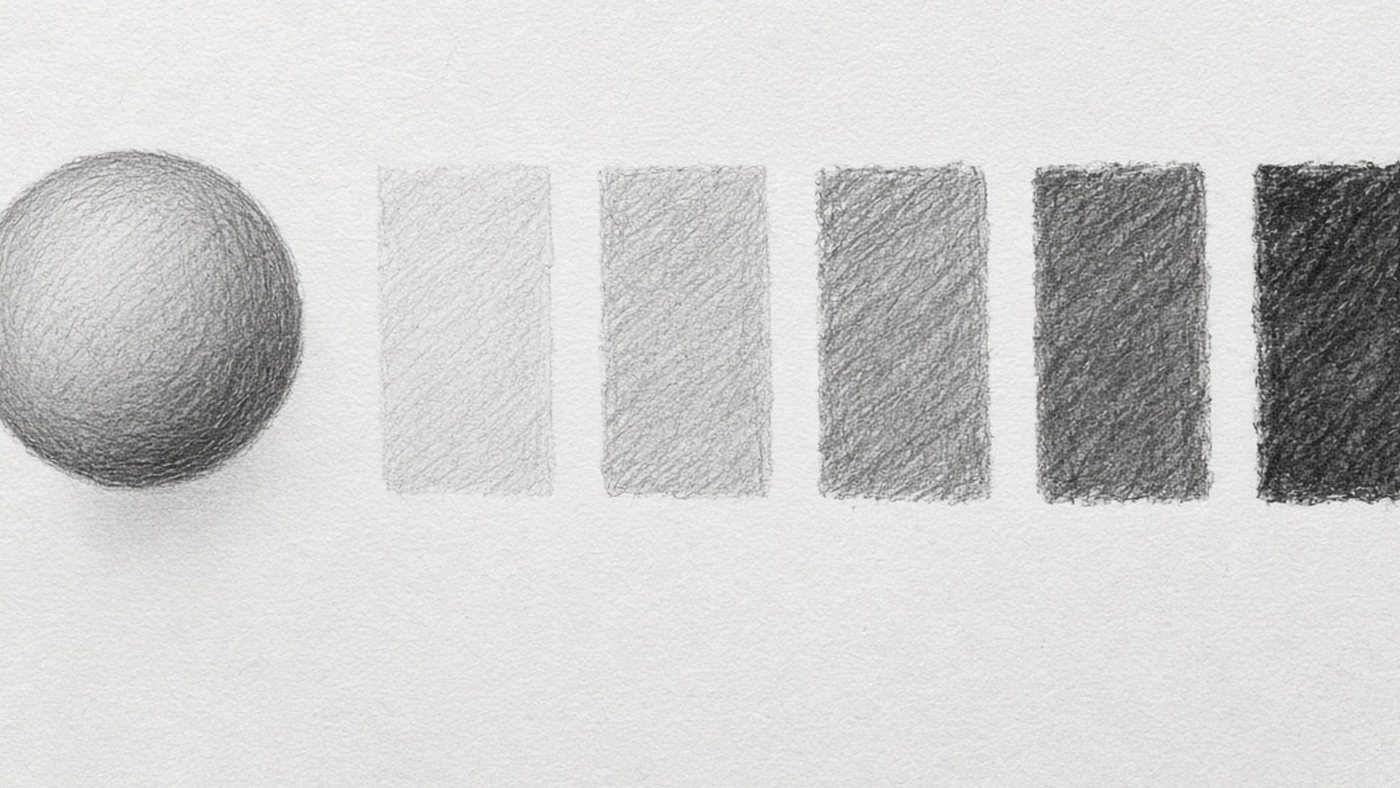
The thicker the material, the wider the bend and the softer the shadow transition. Thin fabric makes a sharp ridge, with a fast shift from light to shadow. Work those transitions by the rules of light and shadow: a fold has its own light, its own halftone, and its own reflected light.
The Order for Drawing Folds
Folds are not the first thing you draw, and they are not the last. They have their own place in the sequence.
The Body Form Comes First
Block in the figure under the clothes, even if you will not see it in the end. Fabric lies on a volume, and without that volume the folds hang in empty air. Spend 3 minutes on a construction figure made of cylinders. That saves half an hour of reworking.
Large Folds, Then Small Ones
- Build the figure with simple volumes.
- Mark the tension points with small circles: shoulders, elbows, waist, knees.
- Draw 3-5 main folds between those points.
- Add one or two small folds next to each large one.
- Hatch the shadows, and leave the brightest highlight on the ridge.
Time to draw, not just read
Theory fades in a couple of days if you never use it. Open the editor and spend 15 minutes on what you just read. That is enough for the skill to stick.
Try it now
A free online editor: brushes, layers, a palette, and a shared canvas. No install and no sign-up.
Start drawingTopics in this guide
- how to draw folds
- fabric folds drawing
- drapery drawing
- drawing clothes
- types of fabric folds
← Rule of Thirds: a fast way to improve the frame Reflected Light: why a shadow is never gray →