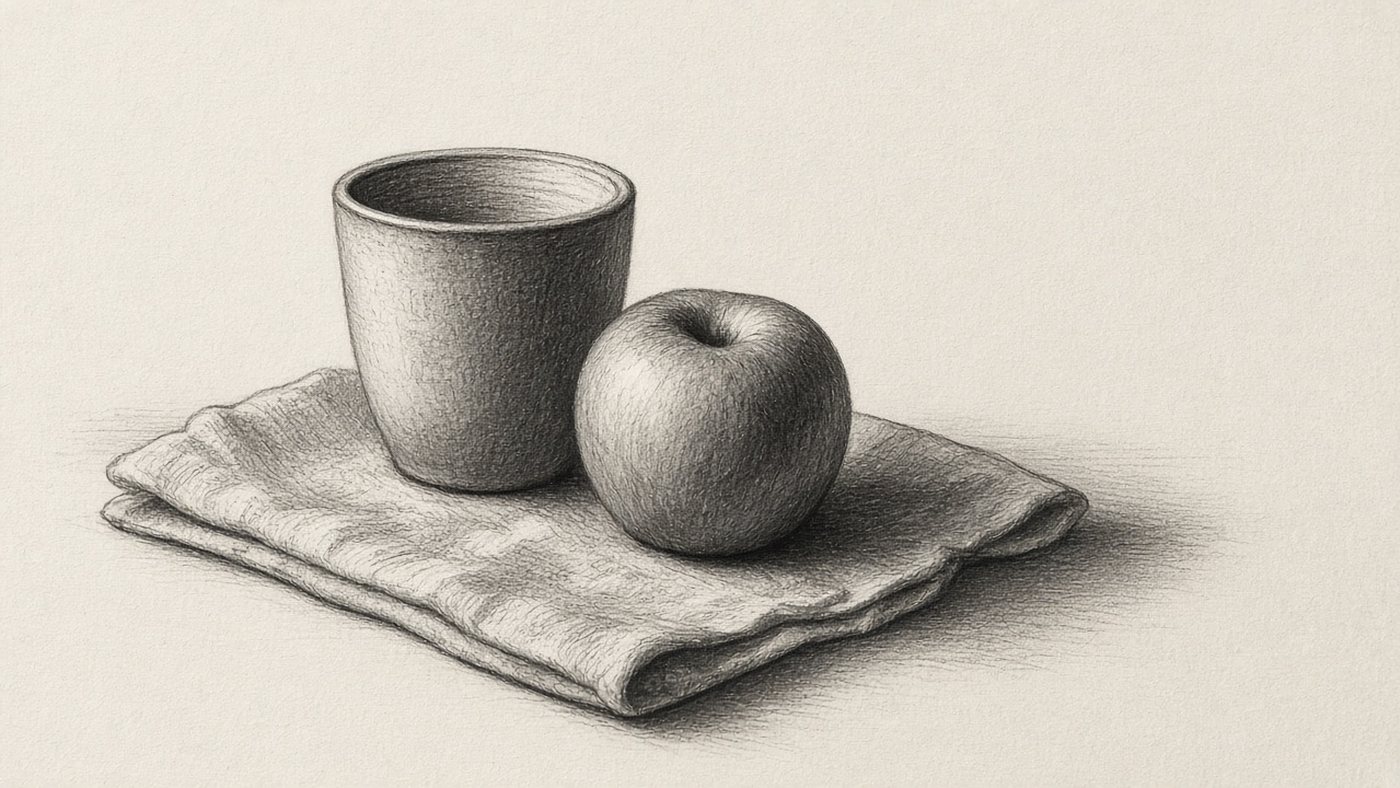
Reference versus Copy
A reference is a clue to how an object is built, not a finished drawing. A copy repeats someone else's frame point for point. The question you ask the photo is different: "how is this built," or "how do I trace this."

What to Take from the Photo
From a snapshot, take what is hard to invent: proportions, the direction of folds, the shape of a shadow, the character of the silhouette. Write three observations in words before the first line. Then the hand draws a diagram, not pixels.
What to Invent Yourself
Composition, palette, simplification, and mood are yours to choose. A gray photo does not have to become a gray piece. Change the crop, remove what is extra, and push the contrast.
Where to Find Material
A good reference is one where the form is visible, not just a pretty picture. Look for clear light and a readable silhouette.
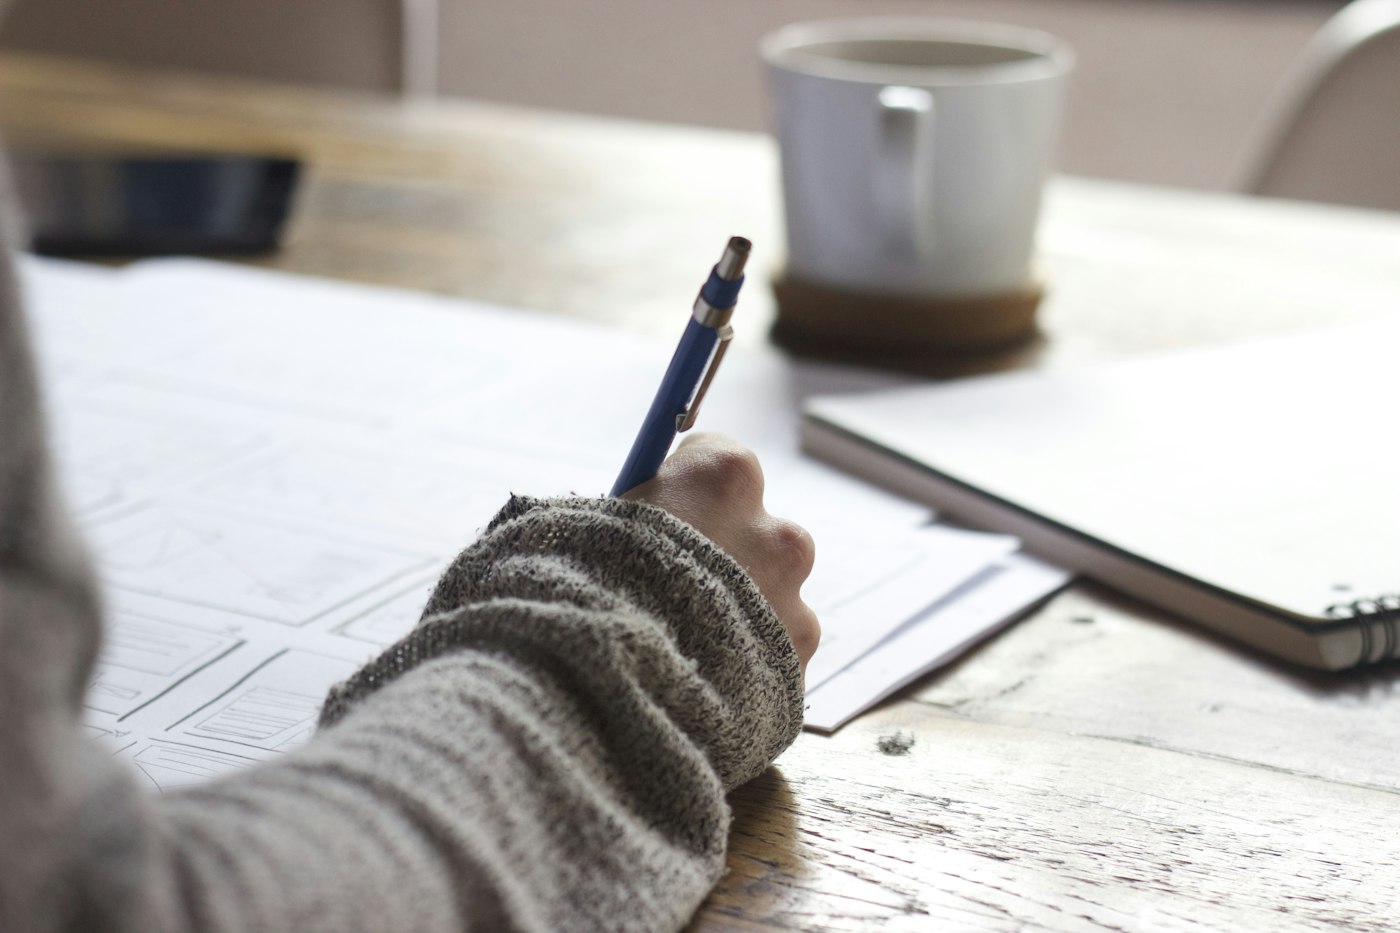
Stock Photos and Your Own Photos
Your own shots are more convenient than someone else's: you remember the angle and can reshoot a detail. Photograph the object from three sides under one lamp.
- Your phone's photo gallery: faces, hands, everyday things.
- Free stock sites with a license filter.
- A still life on the table: a mug, keys, paper.
- Frames from the window: trees, cars, people passing by.
Pose Libraries and 3D Models
For the figure, pose libraries and simple 3D mannequins are convenient: you rotate the angle yourself. For a portrait, a live photo is more reliable. 3D often lies about the soft tissue of the face.
Breaking Down a Reference
Do not start with the pupil or the handle of a mug. Masses first, then details. Without a diagram the drawing falls apart, even if the pieces are accurate.

Silhouette and Big Masses
Squint, or shrink the photo to the size of a postage stamp. Two or three shapes will remain. Transfer them with broad strokes. If the silhouette is not recognizable, details will not save it.
A Lighting Plan
Find the light source: left, right, above, or from behind. Mark the light, the midtone, the form shadow, and the cast shadow. How to break the zones down is in the guide on light and shadow. Until the plan is clear, it is too early to lay in color.
A Palette with the Eyedropper
Sample five to seven colors with the eyedropper: the lightest, the darkest, the local color, the shadow, and the reflected light. A "gray" shadow is almost always cool or warm. The eye lies more often than the eyedropper. Park the swatches at the edge of the canvas and take paint only from there.
Tip
Before the line, paint the reference as three rectangles: light, middle, and dark. If the masses match, the contour will not pull the proportions apart.
The Several-References Rule
One snapshot rarely covers the job. A build from two or three sources gives you freedom and lowers the risk of blind copying.
Pose from One, Light from Another
Take the pose from one photo, the lighting plan from another, and the fabric from a third. Then the work becomes a construction kit, not a tracing. Compare the method with copying other artists: there you study someone else's decisions, here you assemble your own.
How to Avoid a Frankenstein
A mix falls apart when the light sources argue, or when the parts are at different scales. Keep one direction of light. If the arm is from one photo and the torso from another, compare the length of the hand to the forearm with a ruler on the screen.
Working with a Reference in the Editor
The editor tempts you to trace: the photo sits under a layer, and the hand rides the contour. Remove that option in advance.
Keep the Reference Beside the Canvas, Not Under a Layer
Open the photo in a second window and draw on an empty canvas. A neighboring layer at low opacity is only for a short check. For an accurate transfer of proportions, use the method from the article on grid drawing, not a tracing.
Flip to Check
Flip the canvas horizontally once every ten minutes. The skews your eye filled in jump out immediately. Flip the photo too: the brain stops recognizing the frame and sees the form.
Copyright
A study and publishing a piece "as my own picture" are different things. That mix-up hits your reputation faster than a crooked line.
What You Should Not Publish
You cannot post a tracing of someone else's photo, or a frame from a film, as original work, and you certainly cannot sell it. You cannot take someone else's art and recolor it slightly. That is no longer study. It is plagiarism.
How to Label Studies
- Label it "study from a photo," and name the photographer or the source.
- Do not put a practice tracing as the first file in a portfolio.
- For your own pictures, shoot them yourself, or use photos with a free license.
- After the study, draw the object from memory. That checks whether you understood the form. The transition is covered in the article on drawing from memory.
Time to draw, not just read
Theory fades in a couple of days if you never use it. Open the editor and spend 15 minutes on what you just read. That is enough for the skill to stick.
Try it now
A free online editor: brushes, layers, a palette, and a shared canvas. No install and no sign-up.
Start drawingTopics in this guide
- how to draw from reference
- drawing references
- where to find references
- breaking down a photo for a drawing
- tracing or drawing
← A 30-Day Drawing Plan: A Calendar of Assignments How Long It Takes to Learn to Draw: Honest Timelines and Benchmarks →