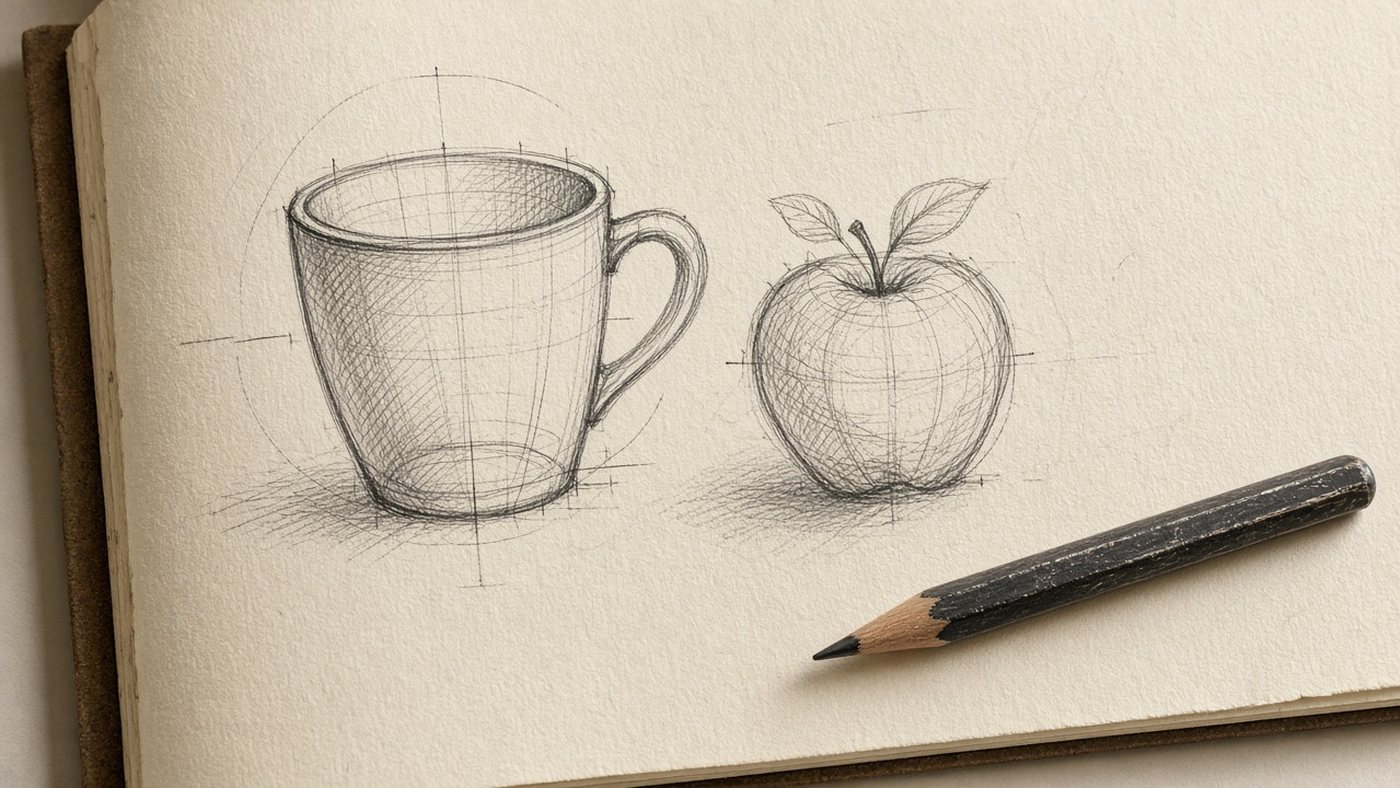
Why draw from life
A photo already decided perspective, crop, and often contrast for you. Live setup makes you move your head, compare angles, and see how light sits on volume—not on a flat pixel. That trains your eye faster than an endless reference gallery.
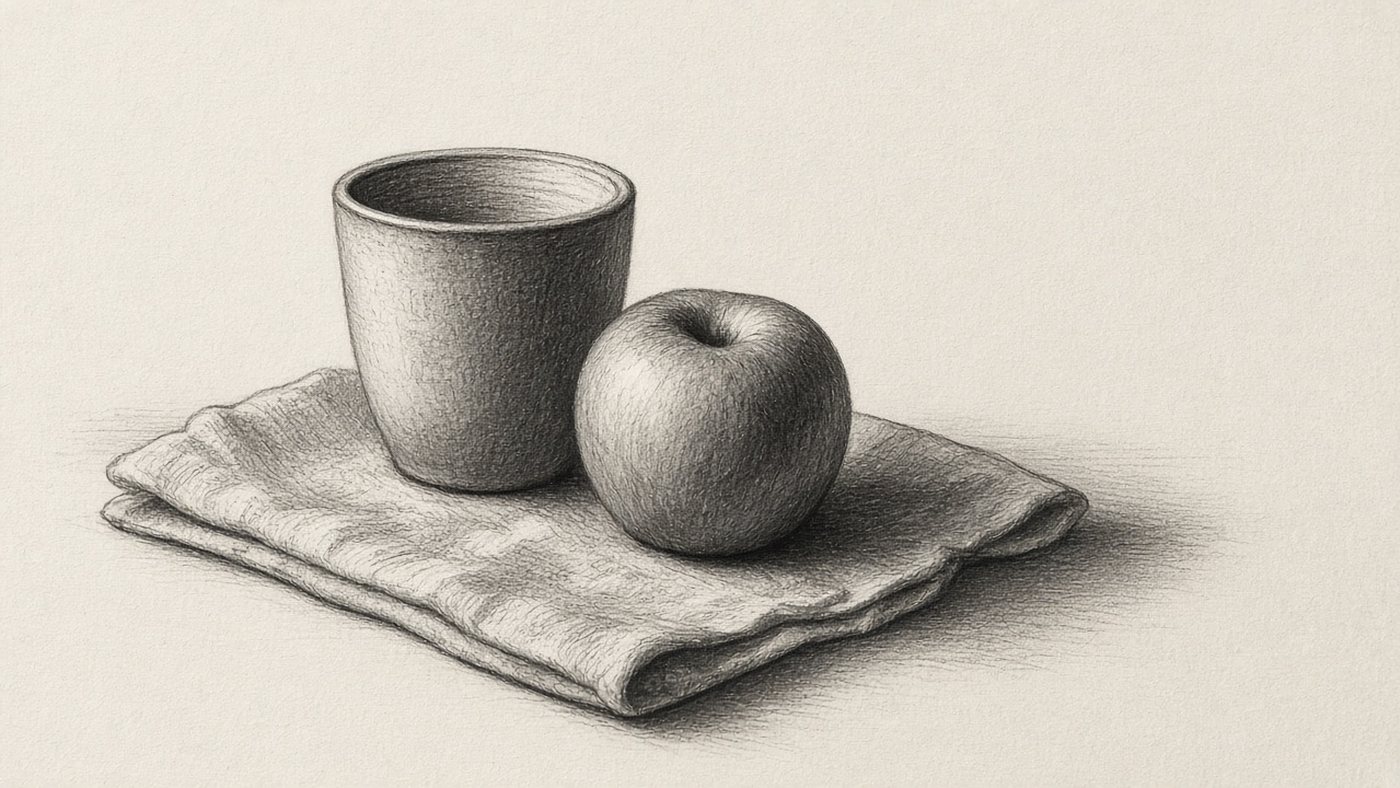
Volume and light in person
In photos highlights and shadows often merge. In person you see halftones, reflections, and soft transitions on a curve. Even a simple cup by a window teaches you to separate object form from the color of shadow on the table.
Memory and speed
A short life sketch trains you to hold proportion for a minute or two—a skill that later helps you build a scene without a photo. Speed matters more than beauty here: the goal is to lock relationships, not a masterpiece.
Still life at home
You do not have to go to a park. Home setup gives you control over light and time—the ideal start if you are shy about drawing in public or worried about weather.
One light source
Two windows and an overhead lamp make a mush of shadows. Block the extras; keep one window or one desk lamp from the side. That makes value easier to learn and the setup repeatable the next day.
- lamp from the right at 45°—classic for still life;
- window on the left—soft daylight contrast;
- on a start piece, do not mix warm lamp and cool window in one drawing.
Three objects on the table
One object is thin for composition; ten is chaos. Three shapes at different scale (tall, wide, small) already give overlap and balance. That ties to exercises in still life for beginners.
Plein air: minimal kit
Going outside adds motion, weather, and distractions. The kit should fit one bag and pack in five minutes—or plein air stays an idea.
Sketchbook or tablet
An A5 sketchbook and pencil do not run out of battery and tolerate sun. A tablet works if you live in digital, but in bright light you need a brim or shade. Pick one main tool; the other is backup.
Chair and shade on the screen
A folding chair or a usable curb saves your back on an hour session. For a tablet—a light umbrella or hood so you can see the screen. Without that, the session fails from discomfort, not skill.
Life hack
First plein air—not a city panorama, but a bench by your building: one bush, a fence corner, a car. Less choice—more chance to finish in 20 minutes.
Quick sketch
Life changes: clouds, people, light. A long drawing on site often breaks expectations. A quick sketch is the right format for learning.
5 minutes on the structure
First five minutes—big shapes and perspective lines only, no texture. If the structure does not hold, detail will not save it. A phone timer beats "just a little more."
Value next, details last
- Structure and contours of large masses.
- Three values: light, mid, shadow.
- One focal zone (highlight, edge, texture).
- Leave the rest schematic—normal for plein air.
Moving into digital
A life sketch often stays a rough— that is normal. Digital helps you finish at home without losing the lesson you got on site.
Photo for checking
Photograph the setup from the same angle as the drawing right after the session. Light will change, but proportion and placement stay for comparison. Same idea as drawing from reference, only the photo is yours.
Finishing at home
At home do not redraw from zero: put the photo beside the sketch and fix one error (pole tilt, cup width). Life and digital complement each other. To slot practice into a schedule, pair short outings with the 30-day learning plan, which mixes sketch days and polish days.
Time to draw, not just read
Theory fades in a couple of days if you never use it. Open the editor and spend 15 minutes on what you just read. That is enough for the skill to stick.
Try it now
A free online editor: brushes, layers, a palette, and a shared canvas. No install and no sign-up.
Start drawingTopics in this guide
- drawing from life
- life drawing setup
- plein air drawing
- sketch from life
- draw from life
← Self-Study Drawing: A Plan Without Courses or a Teacher Finding a Drawing Mentor: Without Guru Myths →