Layout first, then the drawing
A comic page is a sequence, not a gallery of pretty panels. If the story does not read in stick figures, a detailed drawing will not save it. First decide what happens in the panel, and only then draw the faces.
Stick-figure thumbnails
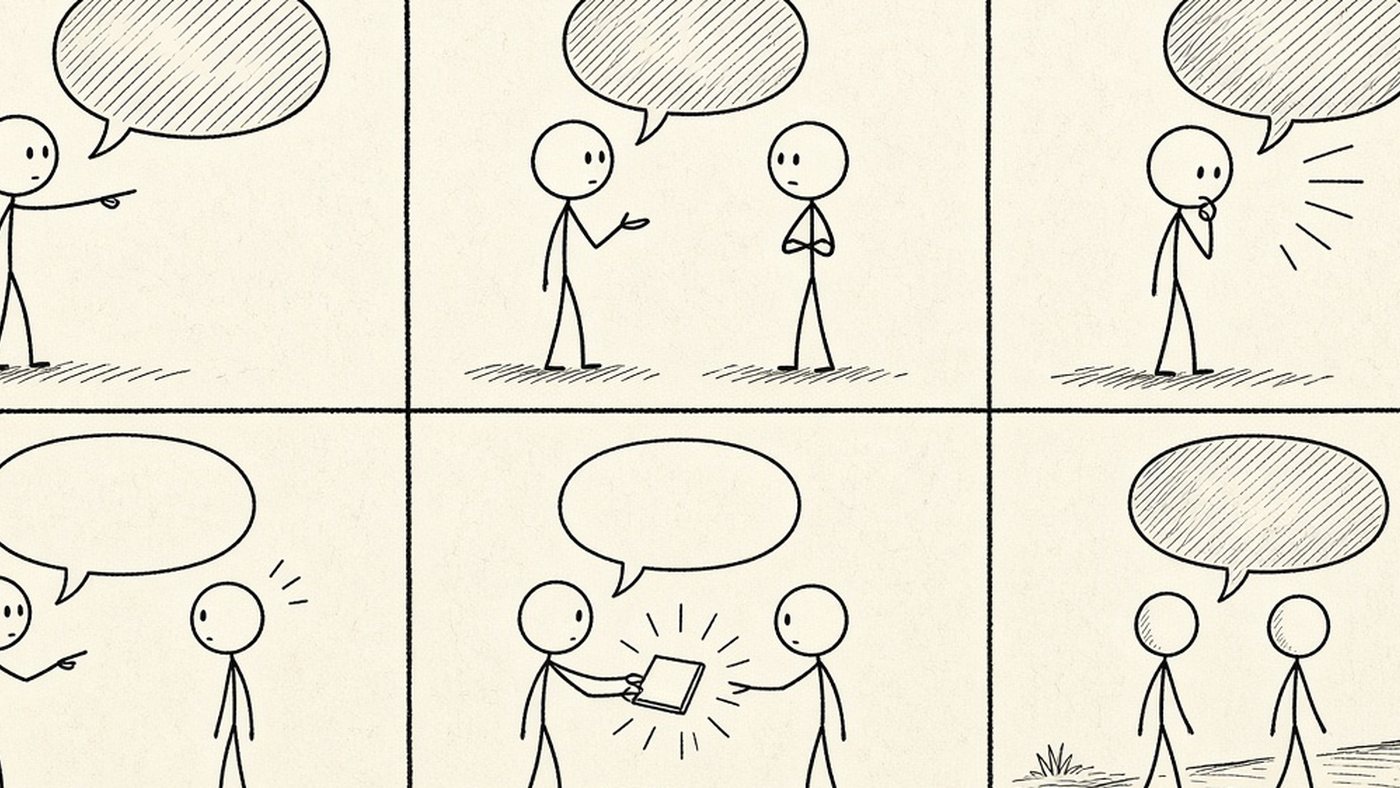
Sketch the page at the size of a matchbox: sticks, arrows for the gaze, rough balloons. What matters is panel order and gesture, not anatomy. Make three layouts in ten minutes and keep the clearest one. The speed of that search is close to sketching for beginners.
One idea, one panel
One panel holds one action or one line of dialogue. "He opened the door, saw the guest, and got scared" is three panels, not one. If a rectangle holds two events of equal weight, the reader does not know where to look.
Panel rhythm
Identical rectangles put a reader to sleep. Rhythm appears when size and shot change on purpose: a small panel speeds things up, and a large one slows down and places the accent.
Close-up, medium, and wide shot
A wide shot sets the place, a medium shot shows the action, and a close-up delivers the emotion. Three medium shots in a row read like a report. Changing the accents is covered in the article on rhythm and balance in composition.
A large panel as the accent
Give half the page to one panel at the turning point: the hit, the recognition, the wrong door. Compress the rest. Two accents like that on one page cancel each other.
Reading direction
In an American comic the eye moves left to right and top to bottom. Any arrow, hand, or character's gaze either leads along that path or knocks it off course.
Panel order and the eye
Run a finger across the page in reading order. If the finger jumps backward or upward, the layout is broken. Number the panels and hand the page to someone who does not know the plot.
Where the characters look
The hero's gaze should point to the next panel or to the person they are talking to. If both look left, toward the edge already read, the flow breaks. A face-to-face spread is easy to build so the speaker looks toward the reply.
- Write the scene in three to six sentences: who, where, what happened.
- Split each sentence into one panel and mark the shot.
- Draw a thumbnail of the page in stick figures.
- Check the reading path with a finger, and check where the heroes look.
- Only then enlarge the version you chose and draw the final.
Dialogue and sound
Text is a full part of the composition. A balloon dropped in later, "wherever it fits," covers the face and breaks the panel.
Placing balloons
The tail points at the speaker and does not cross anyone else's lines. The first balloon sits to the left of and above the second, or the reader hears the answer before the question. Do not hang text on the highest-contrast part of the drawing. The eye is already going there.
Leave room for the text first
In the thumbnail, draw balloons as gray patches the same size the line will take. If the patch ate half the panel, shorten the line. Manga uses the same rules, only with the page order mirrored. Faces are covered in the article on how to draw anime.
- one line, one balloon, not a paragraph;
- write sound larger than speech and closer to its source;
- do not cover the eyes and hands with a balloon. They carry the gesture;
- leave breathing room between the frame and the text;
- set a whisper and a thought apart by the cloud shape, not only by the font.
Tip
Before the final drawing, show the thumbnail with no captions. If the person retells the scene in their own words, the sequence works, and you can spend time on the drawing.
The first page
The first page teaches pace and how dense the text should be. Do not start with a complicated fight. Give a clear way into the scene.
Three to six panels
Three to six rectangles are enough for a first page. More, and a beginner risks losing the order. A formula that almost always reads: a wide shot of the place, a medium shot of the action, a close-up of the reaction. That is the same hierarchy as in the article on composition in a drawing.
Check: does it read without words
Cover the dialogue with paper. Place, action, and the change of emotion should still read. If the plot disappears, the panels are showing conversations, not events: add a gesture or a change of angle.
Time to draw, not just read
Theory fades in a couple of days if you never use it. Open the editor and spend 15 minutes on what you just read. That is enough for the skill to stick.
Try it now
A free online editor: brushes, layers, a palette, and a shared canvas. No install and no sign-up.
Start drawingTopics in this guide
- how to draw a comic
- storyboard
- comic page
- angles in comics
- manga storyboard
← Chibi and Cute Characters: The Rules That Make Kawaii Work Line Art and Minimalism: A Line That Holds the Drawing →