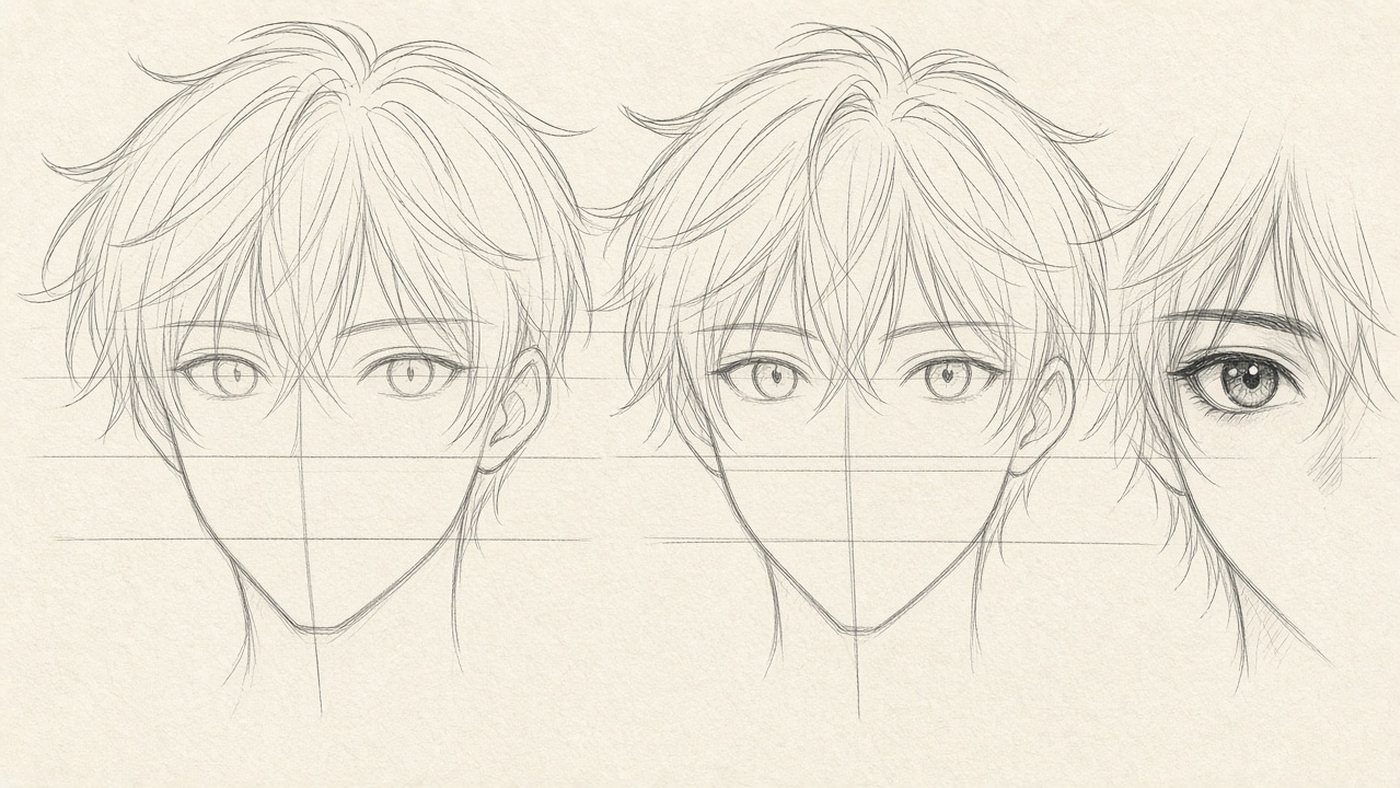
Why it looks cute
Cuteness reads instantly and barely depends on how clean the line is. The brain responds to the signs of a baby: a big head, short limbs, round shapes.
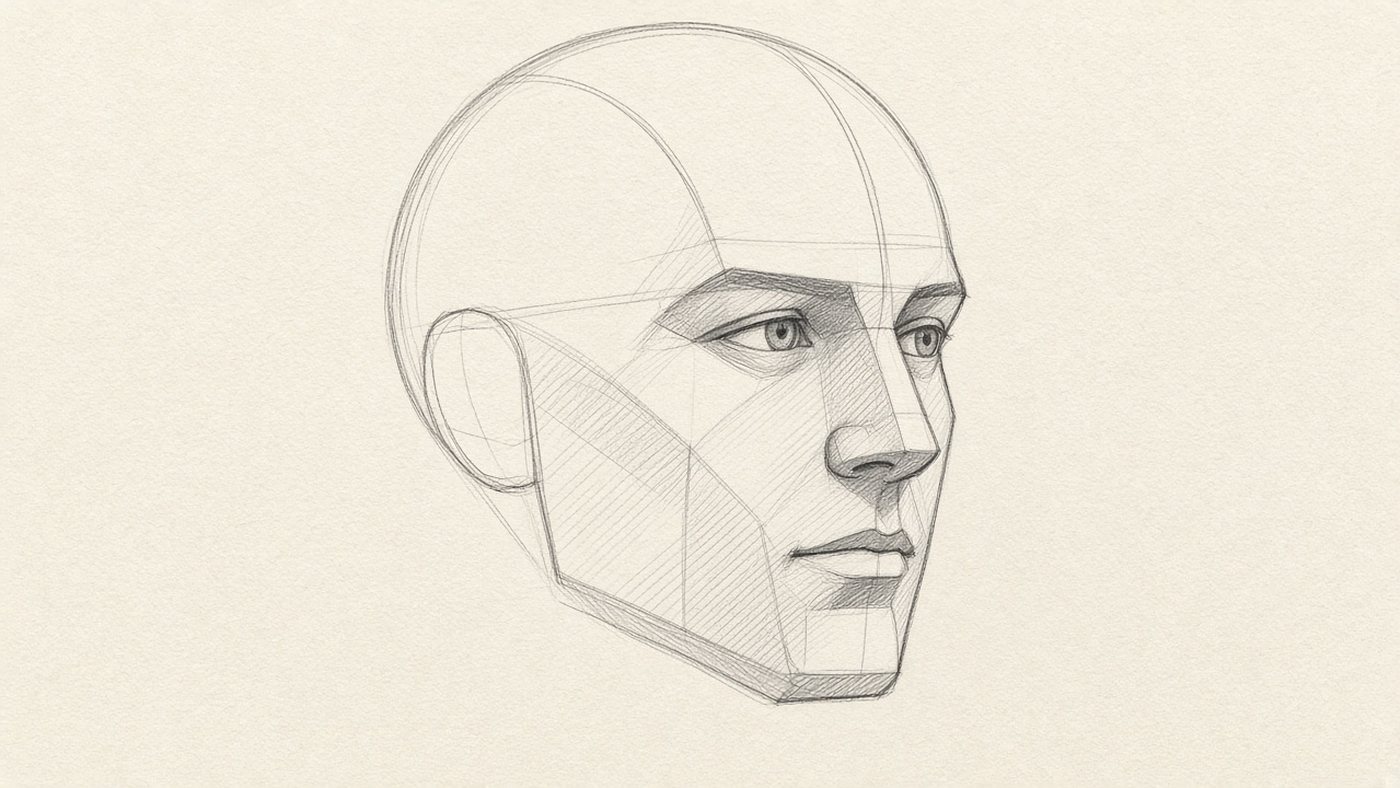
Baby proportions
On a baby the head takes about a quarter of the height, the eyes sit below the middle of the face, and the nose and mouth are tiny. Chibi takes that scheme and pushes it a little further. An adult hero in a kawaii style is still built like a child: a high forehead, a short torso, feet with almost no arch.
Large eyes and soft shapes
Sharp corners read as a threat, and circles read as safety. Round off the shoulders, knees, fingertips, and even the locks of hair. The eyes take a third of the head's height and sit wide apart. Keep the sphere under the eyelid: that breakdown is in the article on how to draw eyes.
Chibi proportions
Chibi is measured in heads, like any figure, only there are few heads. How many you use decides how toy-like the character feels.
Two or three heads tall
Two heads is a super-deformed sticker, and three is a workable chibi for a comic and an avatar. Four is already closer to a children's stylization than to kawaii. Start with three: a circle for the head, a short oval body of the same height, and the point of support right under it. A comparison with a normal figure is in the guide on proportions in a drawing.
Small hands and feet
The hand fits inside the character's eye, and the foot is a little longer. Draw the fingers as a mitten: the thumb separate, the rest as one block. If the limbs are adult, the cuteness disappears even with a huge head.
Face and emotion
In chibi the face is almost the whole piece. The body only supports the gesture, and the character lives in the eyes and eyebrows.
Eyes below the middle of the head
Place the eye line at about 60–65% of the head's height, measured from the top. Higher, and you get an adult skull. Lower, and you get a doll. Leave one eye's width between the eyes, reduce the nose to a dot, and put the mouth right under the nose. The same logic of stylization is covered in the article on how to draw anime.
Few features, maximum expression
Take out the nostrils, the eyelid folds, and the lip rolls. Emotion is carried by the eyebrows, the shape of the eye, and one line for the mouth. Draw one face five times and change only those three elements.
- Block in a circle for the head and a vertical axis.
- Place the eye line below the middle.
- Fit two large ovals for the eyes and a dot for the nose.
- Add eyebrows and a mouth for the emotion you chose.
- Attach a body of two or three heads and a gesture with the arms.
Simplifying details
Extra hardware kills kawaii faster than a proportion mistake. Chibi holds together on large shapes, not on buttons.
Clothing in large blocks
A sweater, a cloak, a skirt: three or four silhouette pieces. Leave seams and patterns for one accent: a bow, a badge, a stripe. If the costume reads in a black silhouette, the detail is enough.
Hair as one mass
Gather the hair into one volume with two or three accent strands. Separate hairs on the contour make the head heavy. How to build that mass on the skull is shown in the article on how to draw hair.
- no more than one pattern on the costume;
- no more than three colors plus the line;
- one signature feature in the design: ears, a bow, or a huge scarf;
- fingers as a mitten, if the gesture already reads;
- merge the shoes with the foot if the character is very small.
Tip
Check the cuteness in the silhouette: fill the character with black. If a round head, short limbs, and a soft gesture remain, the kawaii still works with no face.
Poses and movement
A chibi easily turns into a frozen toy. Movement comes back through an exaggerated gesture and a round silhouette, not through an anatomically correct step.
Round silhouettes
Build the pose from circles and soft arcs: head, belly, knees. Avoid long straights. Even a run is a series of ovals overlapping one another.
Exaggerated gestures
Joy is arms above the head, fear is a jump with spread palms, and embarrassment is the whole torso curled into a ball. An amplitude about one and a half times the "real" one looks natural in chibi. The line of action is one arc from the crown of the head to the supporting foot.
Time to draw, not just read
Theory fades in a couple of days if you never use it. Open the editor and spend 15 minutes on what you just read. That is enough for the skill to stick.
Try it now
A free online editor: brushes, layers, a palette, and a shared canvas. No install and no sign-up.
Start drawingTopics in this guide
- chibi drawing
- how to draw chibi
- cute characters
- kawaii style
- chibi proportions
← Pixel Art for Beginners: How to Draw Your First Sprite Comics and Storyboarding: How to Tell a Story in Panels →